Christmas and New Year have come and gone and I hope you all had a wonderful time during the break. Following on from the last three years I made my own Christmas cards and gift tags again, this time (really) trying not to make them too complicated. I went back to watercolours but also played around with using masking fluid in the making process.
Christmas cards
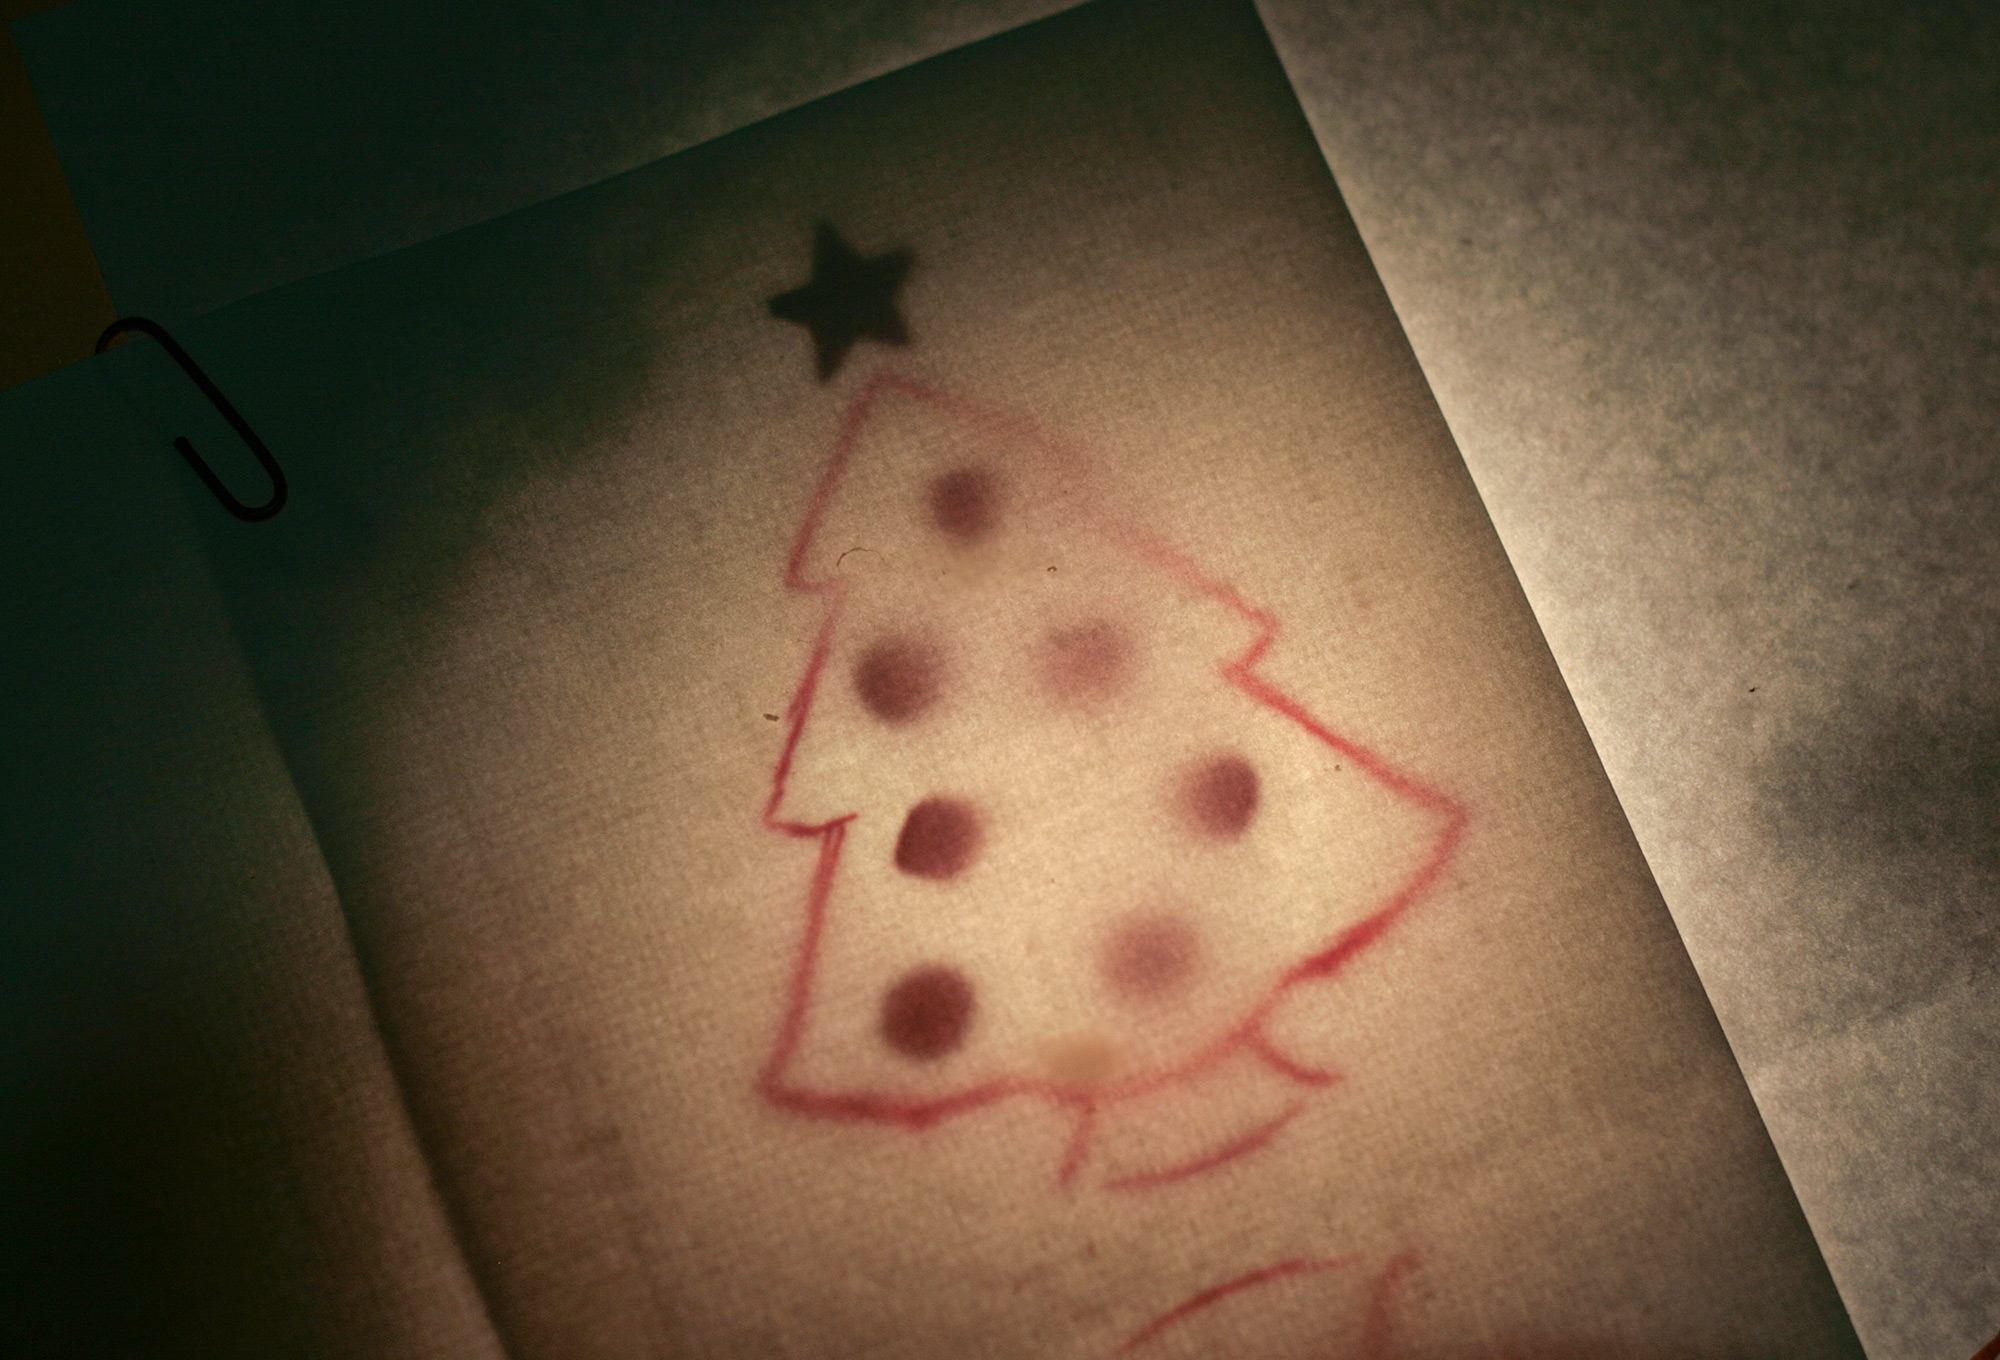
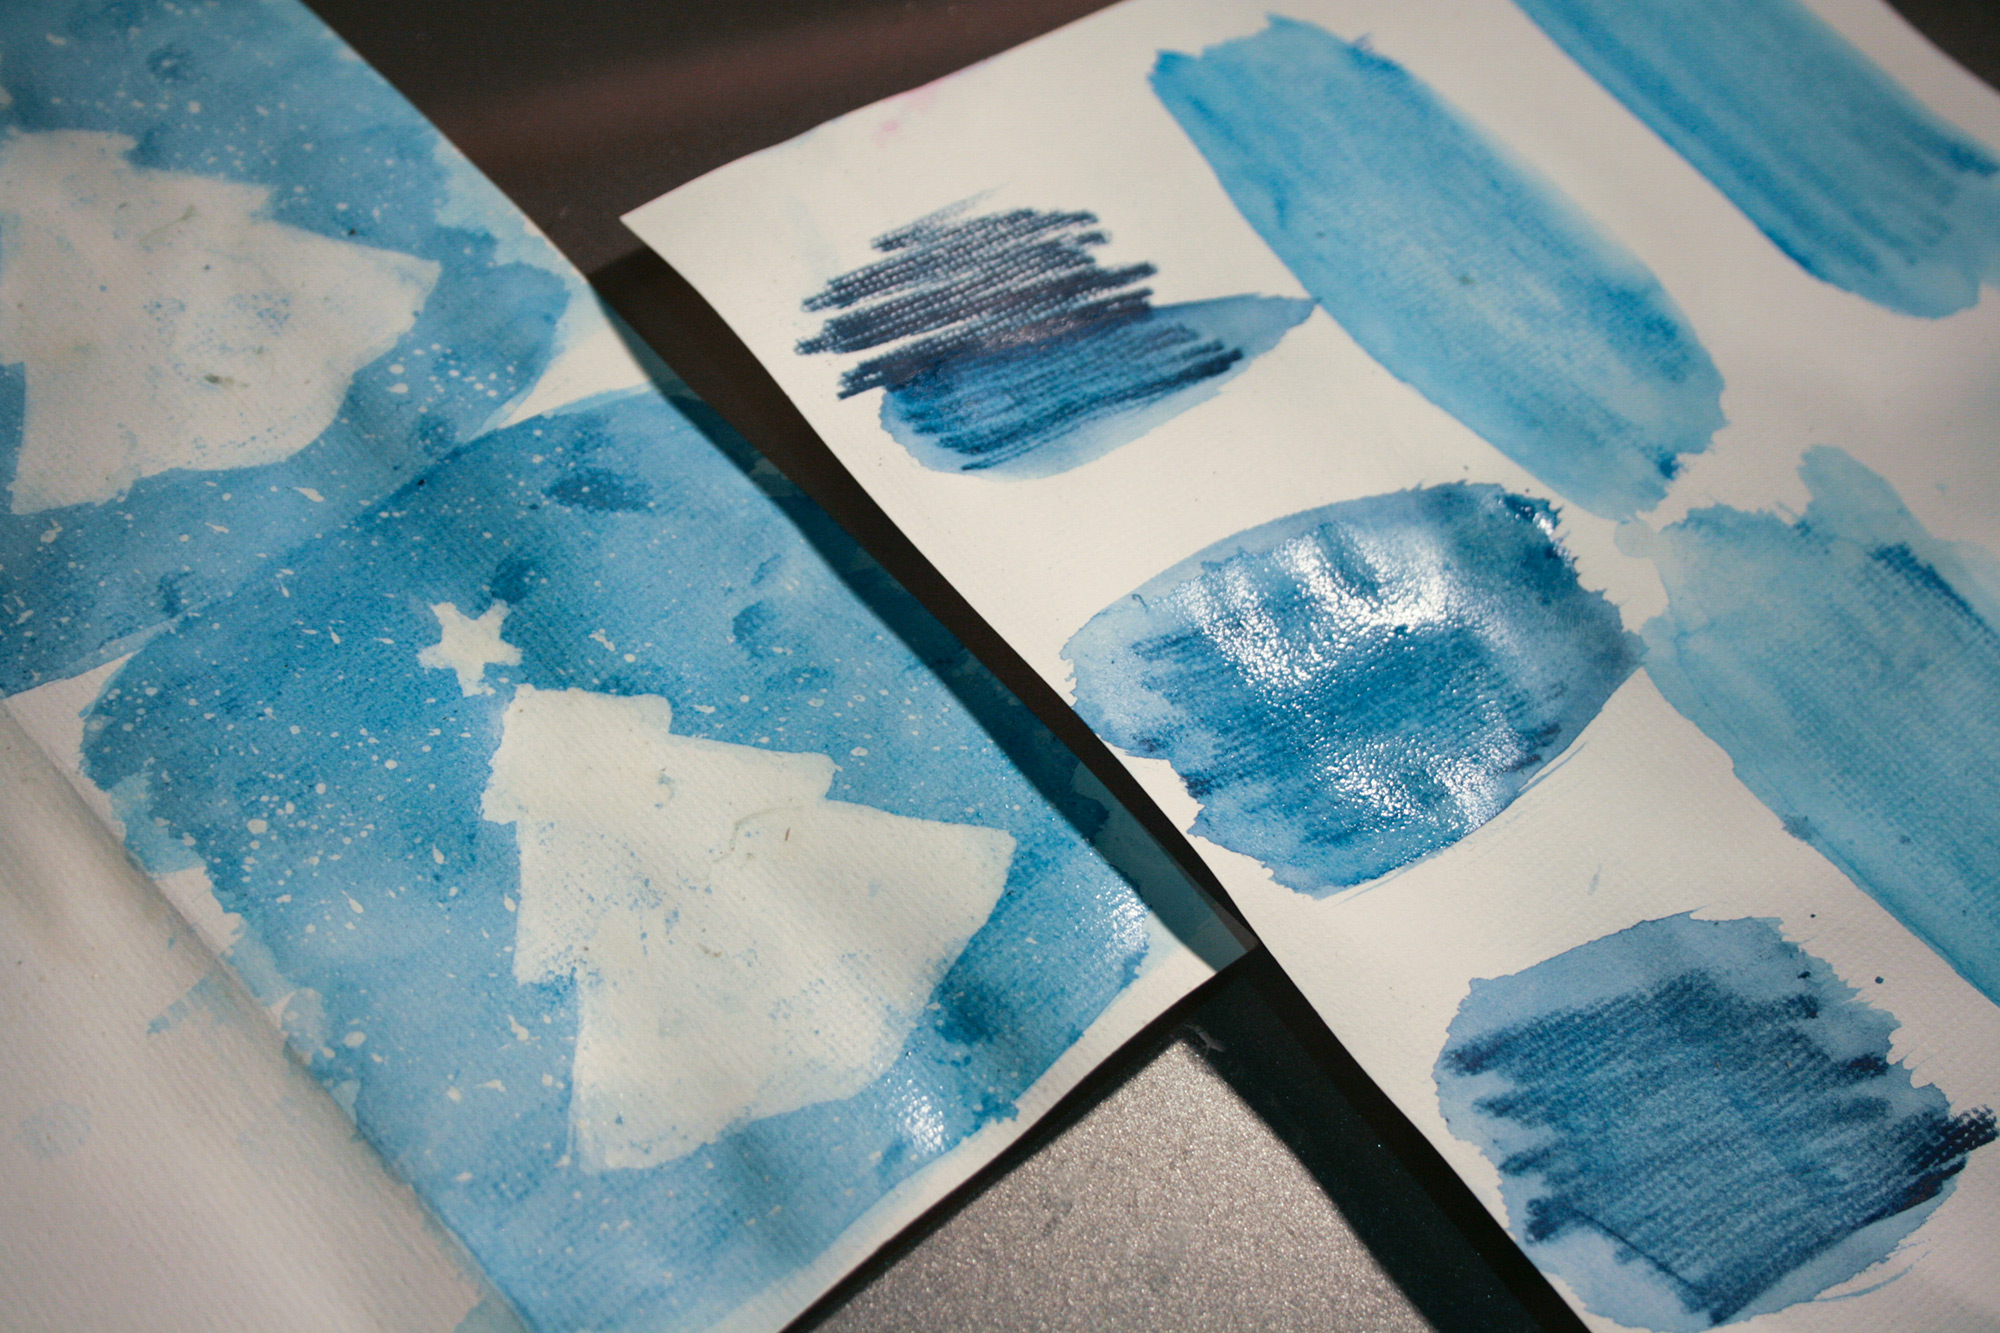
I did a lot of experimenting before coming to the final designs because I found masking fluid to be a bit of a tricky beast in the beginning. It lends itself to being applied on larger, less detailed spaces than the much smaller card size I intended to have. To make things easier for myself I created a really simple tree design with just the star on top. The below sketch was my template that I used. I’ve created a much nicer and cleaner version here that you can download should you want to try making these cards yourself.

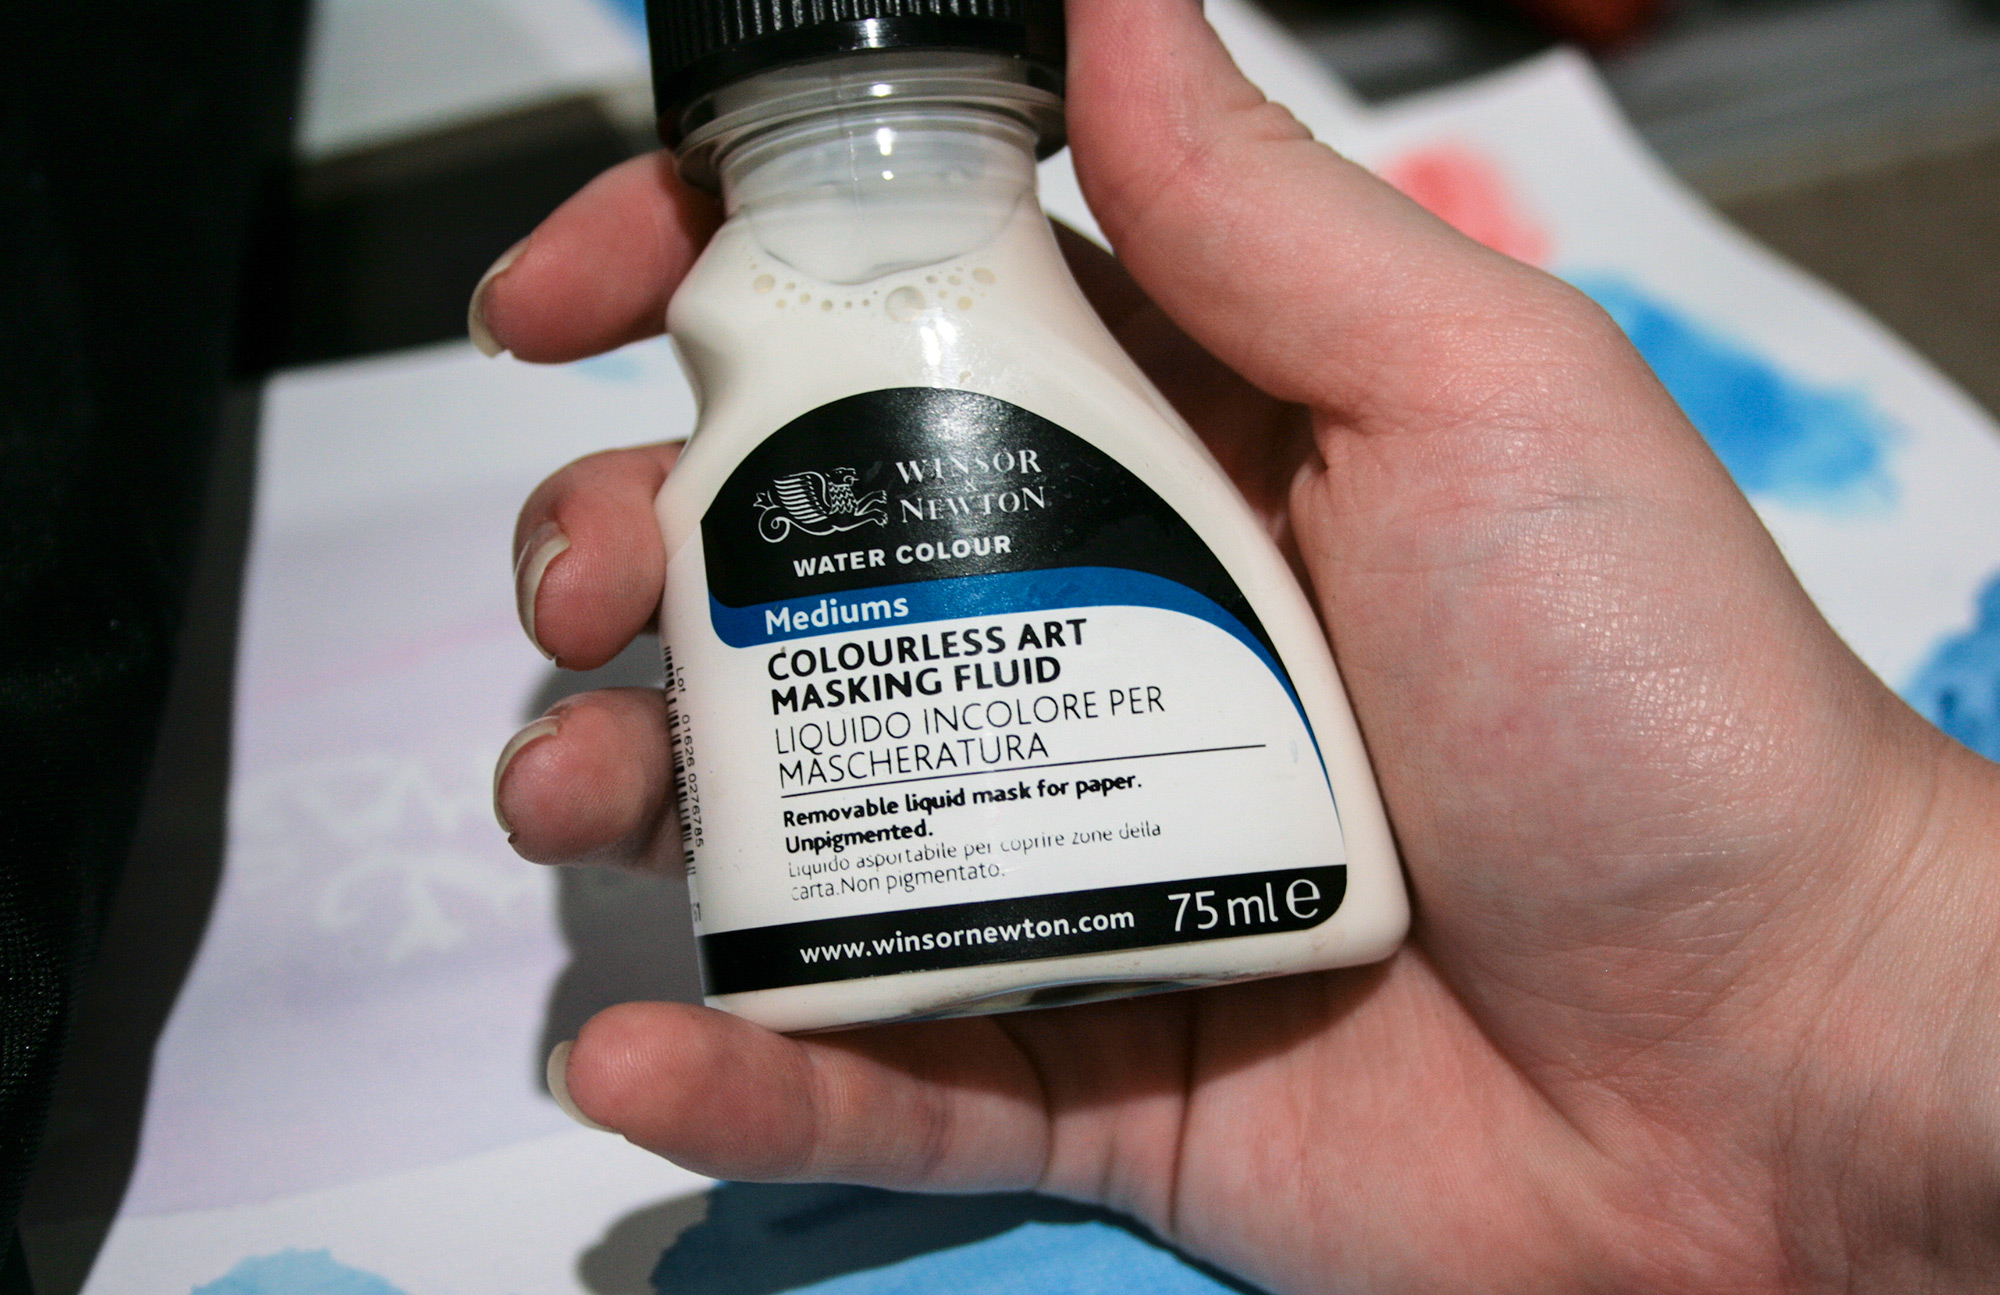
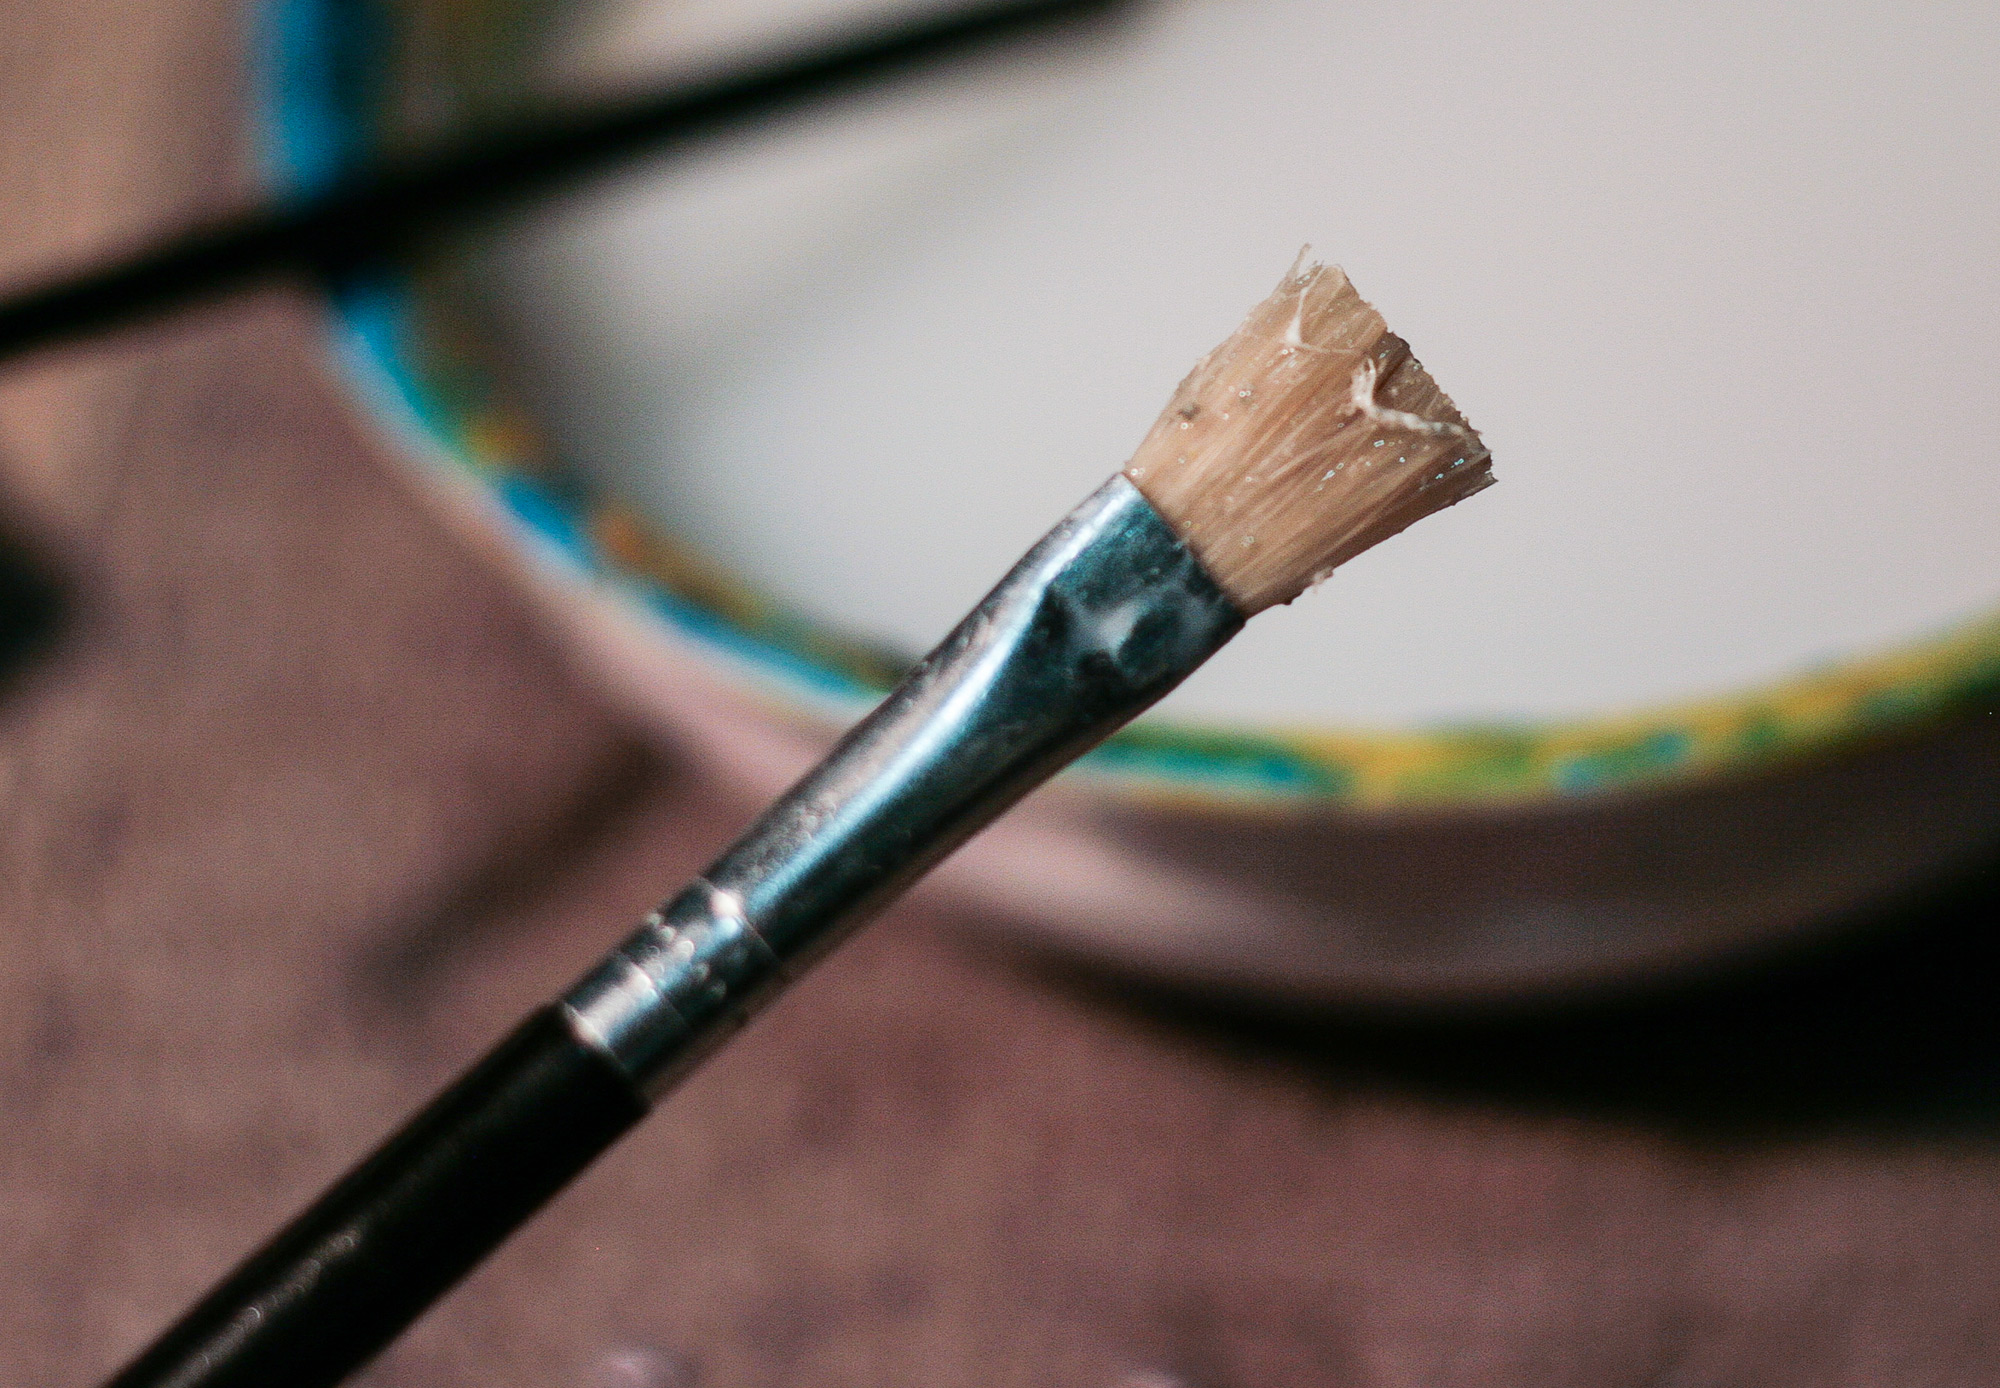
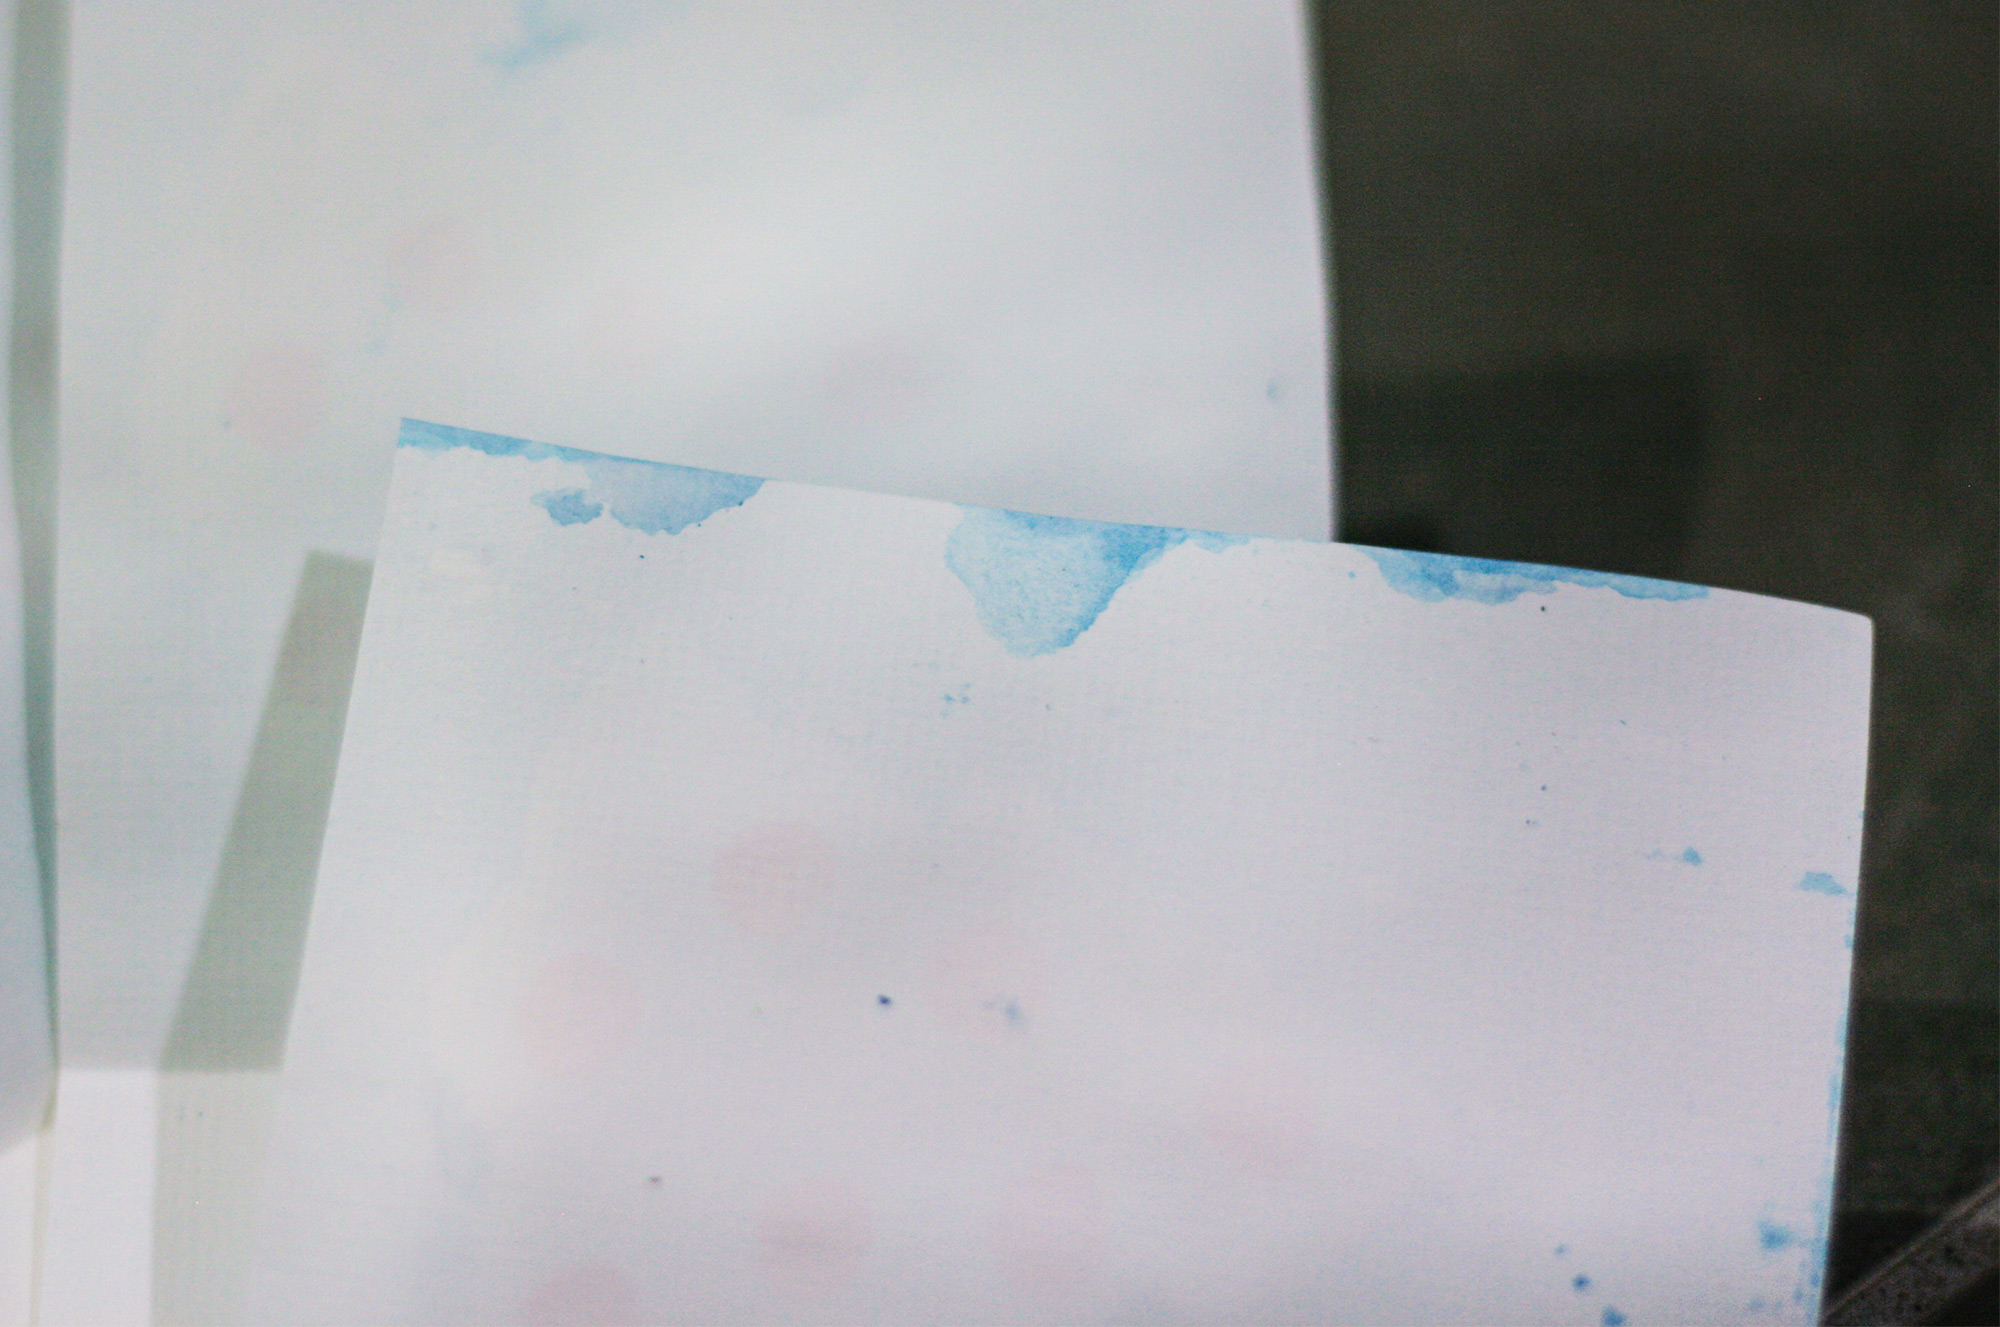
To apply the masking fluid, you can either trace the design and then apply between the lines or you can do what I did and just apply it directly while following the design through a lightbox or something similar. Tracing is probably the easier way to go because you can see where you’ve applied without the backlight obscuring it. This tutorial is a good example of that method. I always find removing pencil lines to be quite tedious so I decided to follow the guides through a lightbox. I filled in the ENTIRE tree area, including over the baubles, and the star. I also placed masking fluid along the crease at the back of the card so I wouldn’t accidentally flick any watercolour over that side. I found dipping my brush into water first made it easier to apply on the paper.
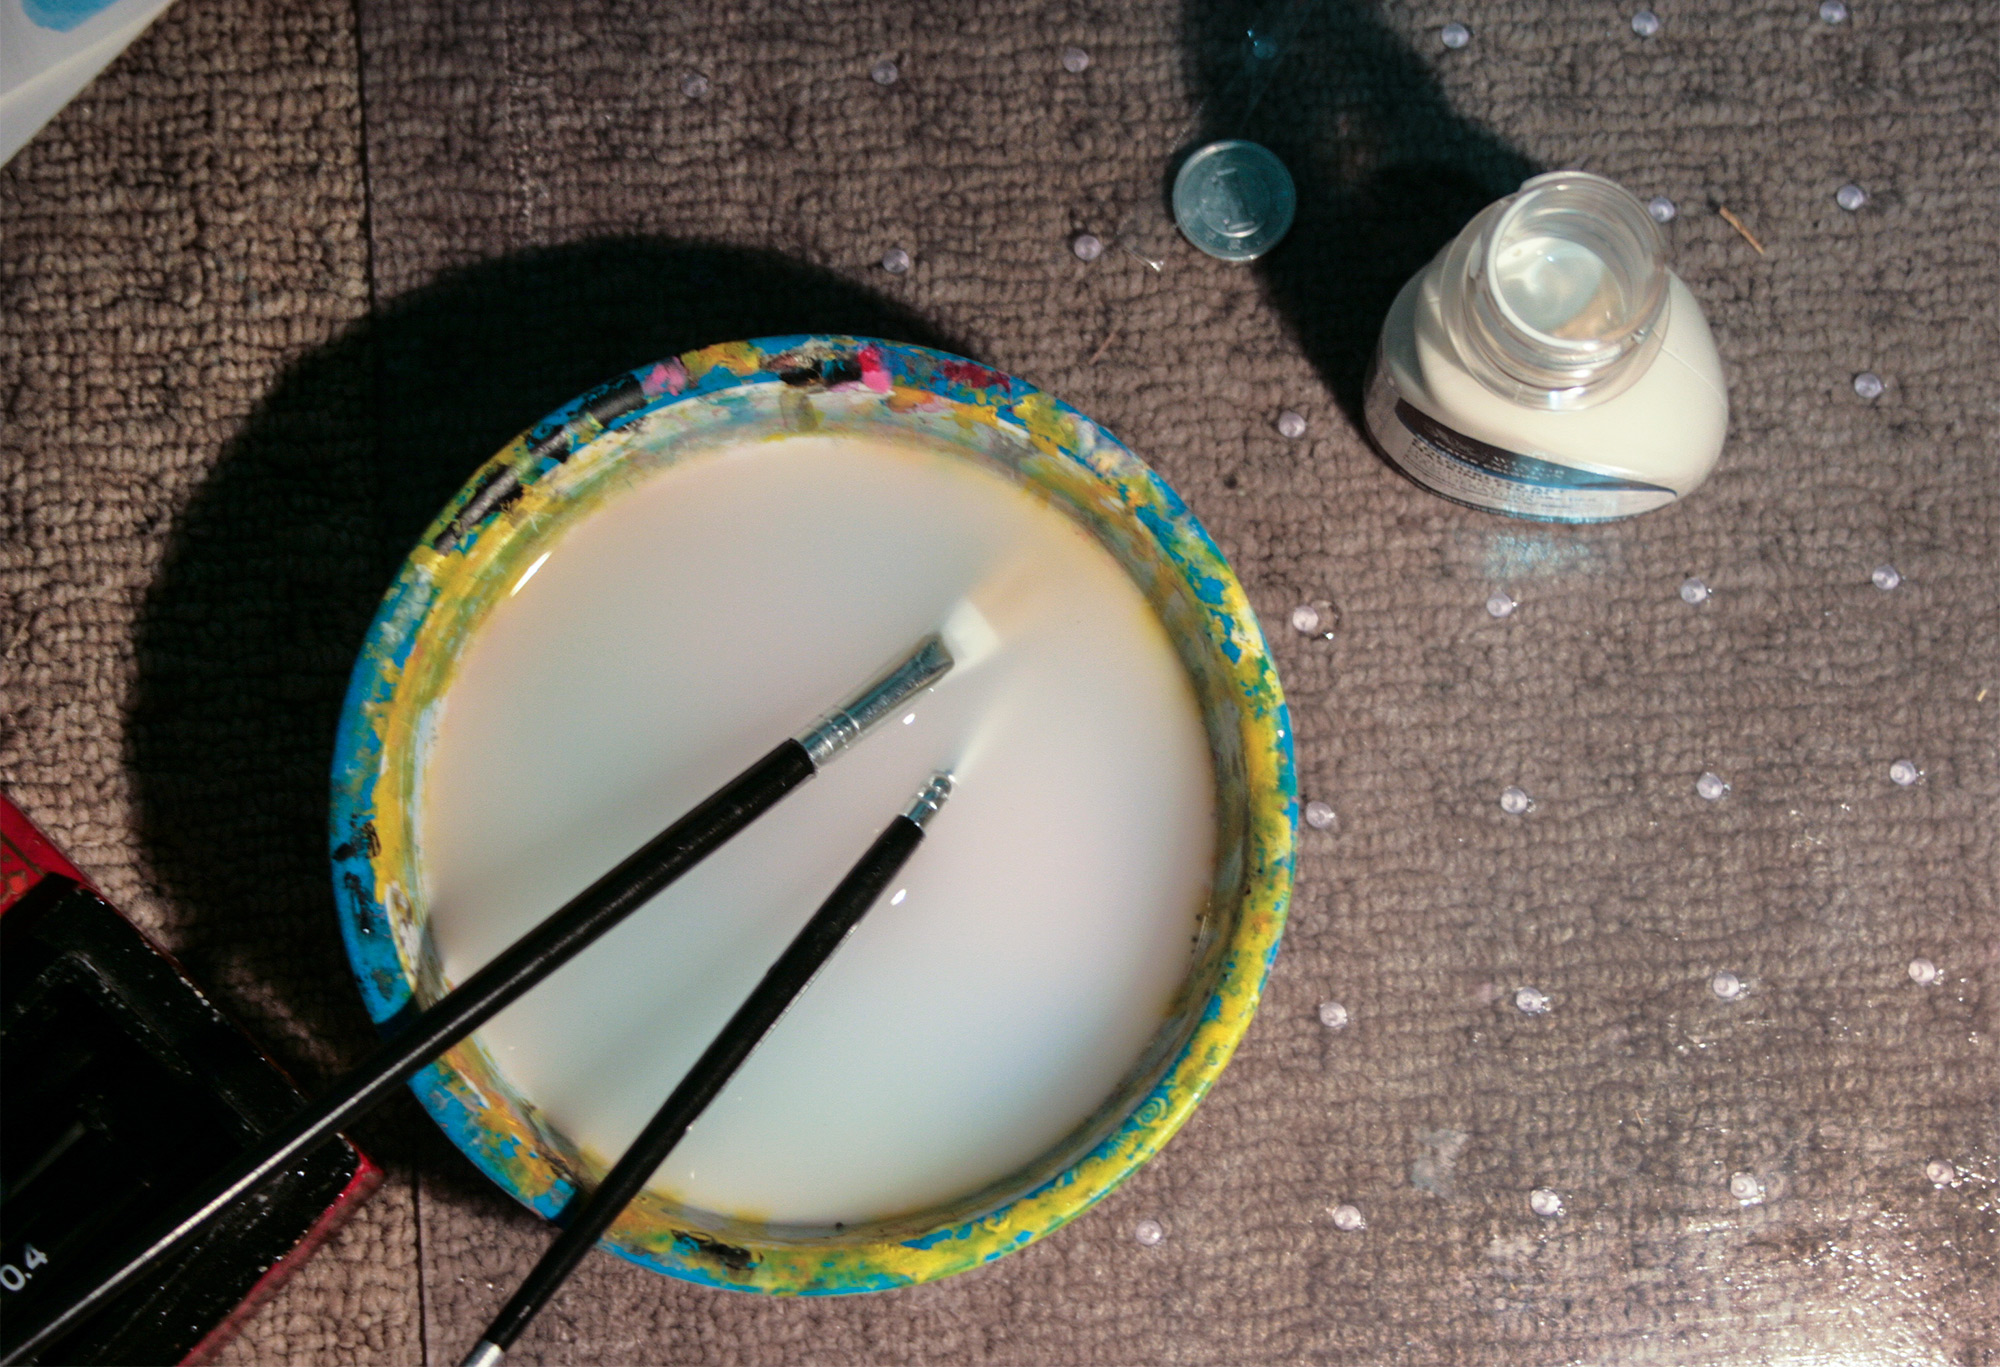
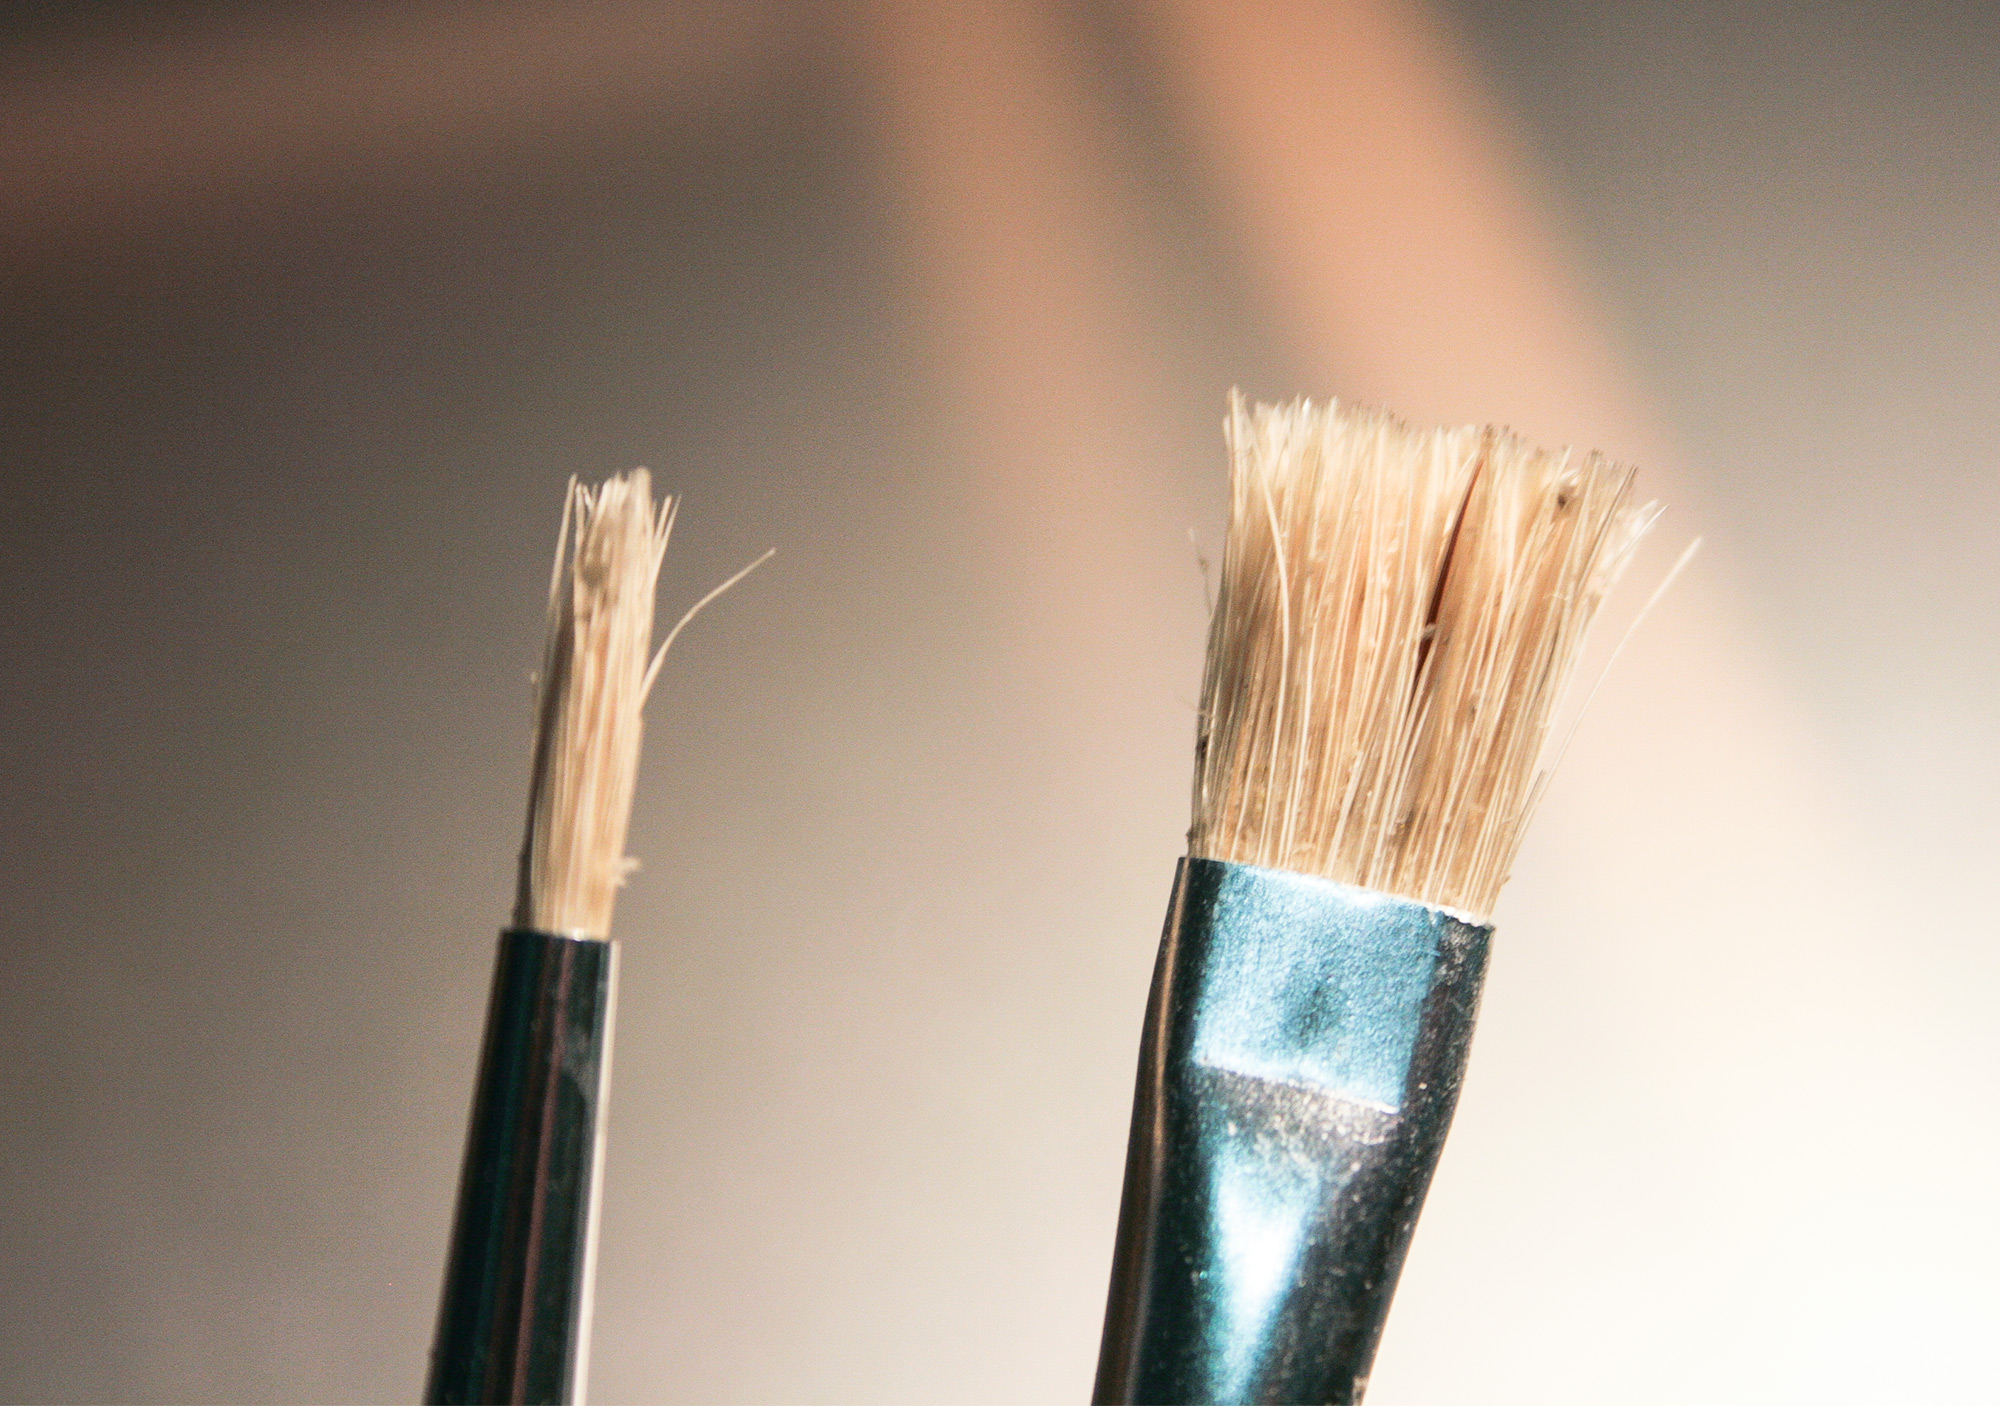
Speaking of brushes, when applying masking fluid make sure to use brushes you don’t care about getting ruined! The fluid will dry within the bristles and clump up and you’ll have to remove it, especially if doing multiple cards. I found rinsing the brush out in water before I dipped it back into the masking fluid each time helped the it last longer before I needed to clean it out. Using brushes with more courser bristles also helps with the cleaning then those with finer hairs are are lot harder to remove clumps from.
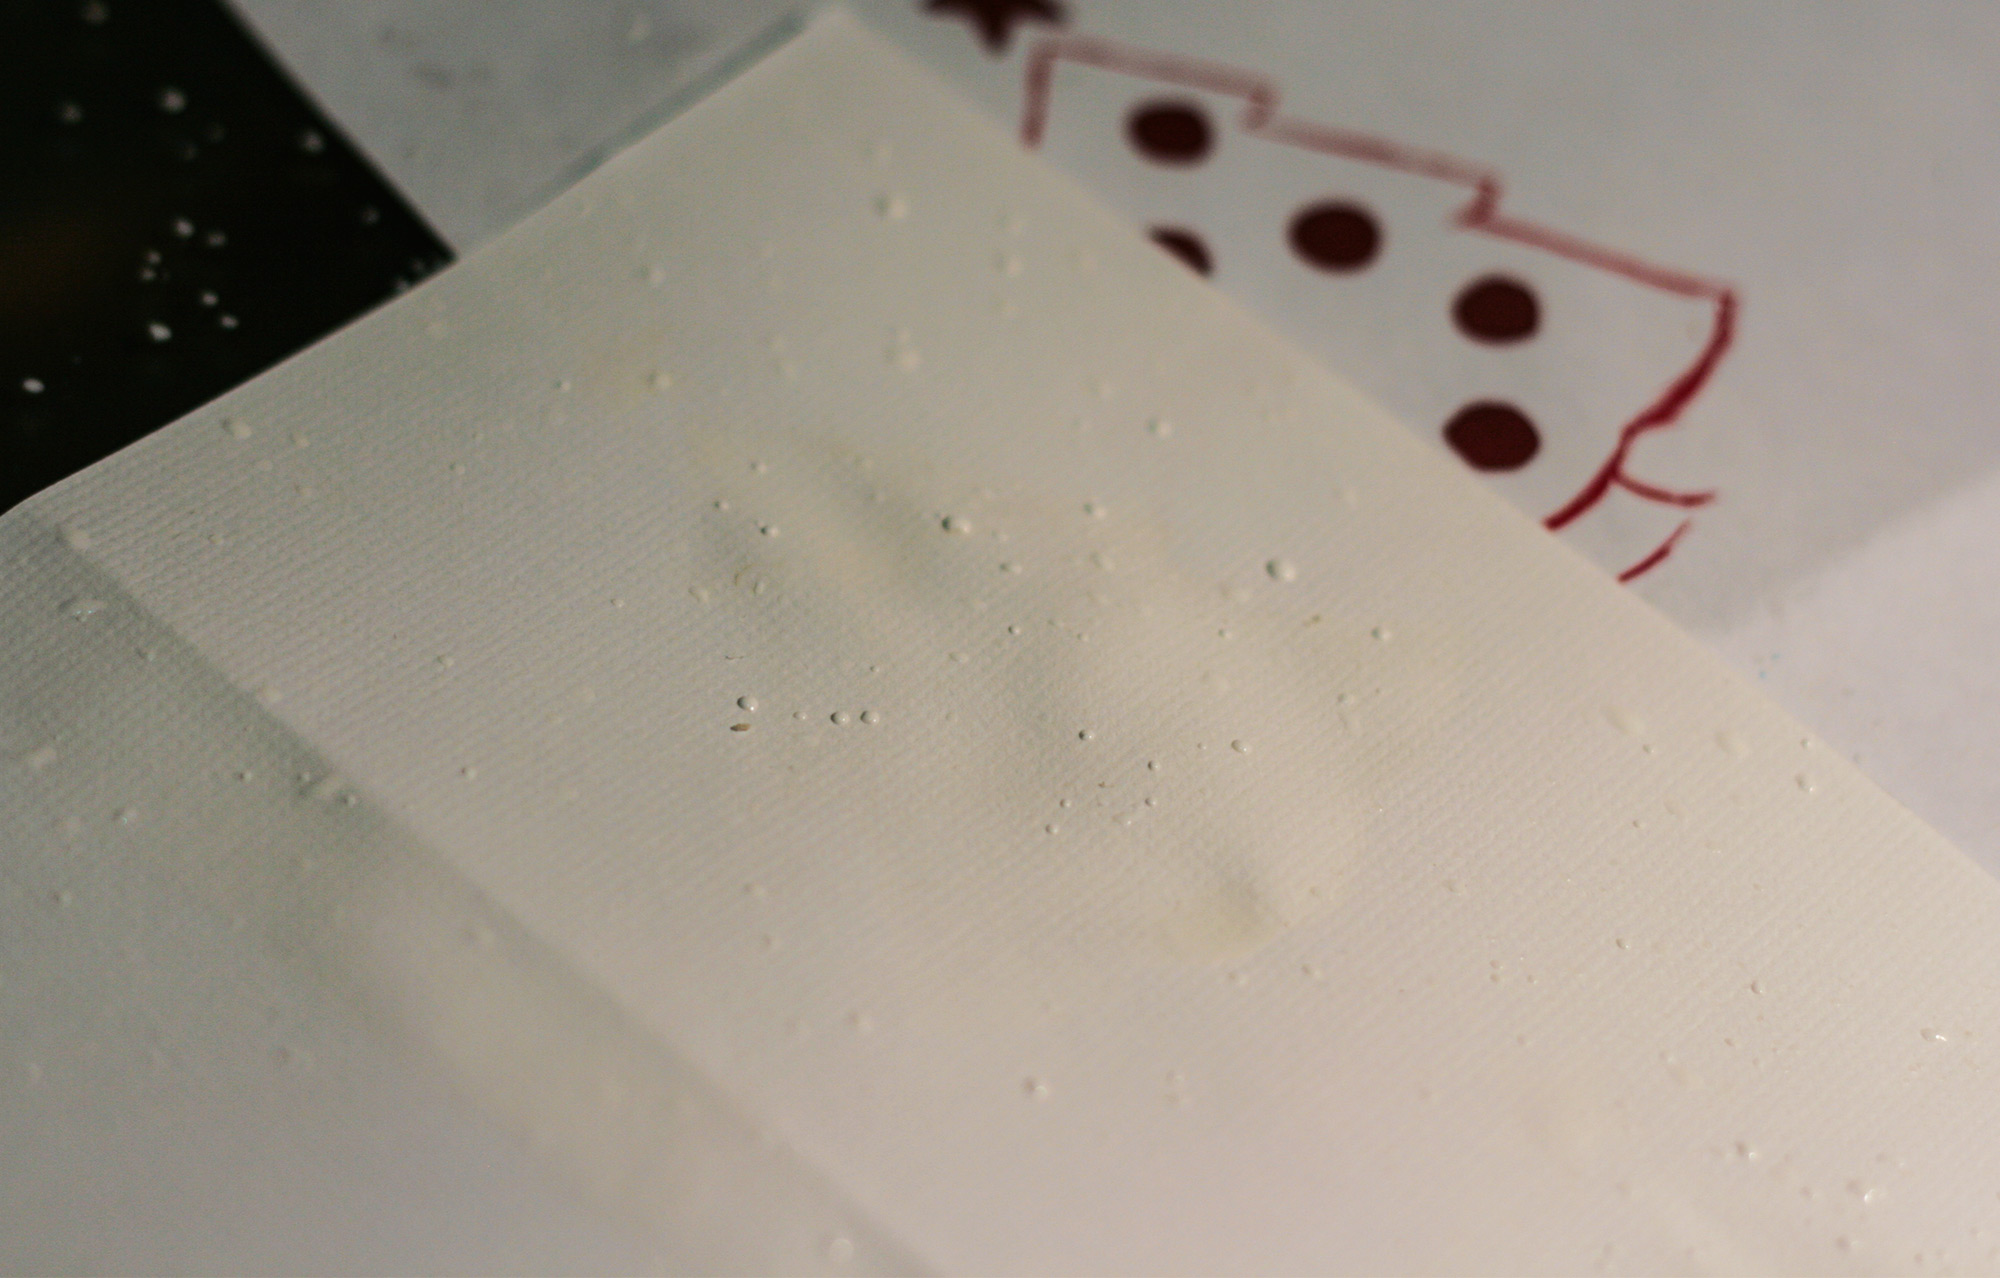
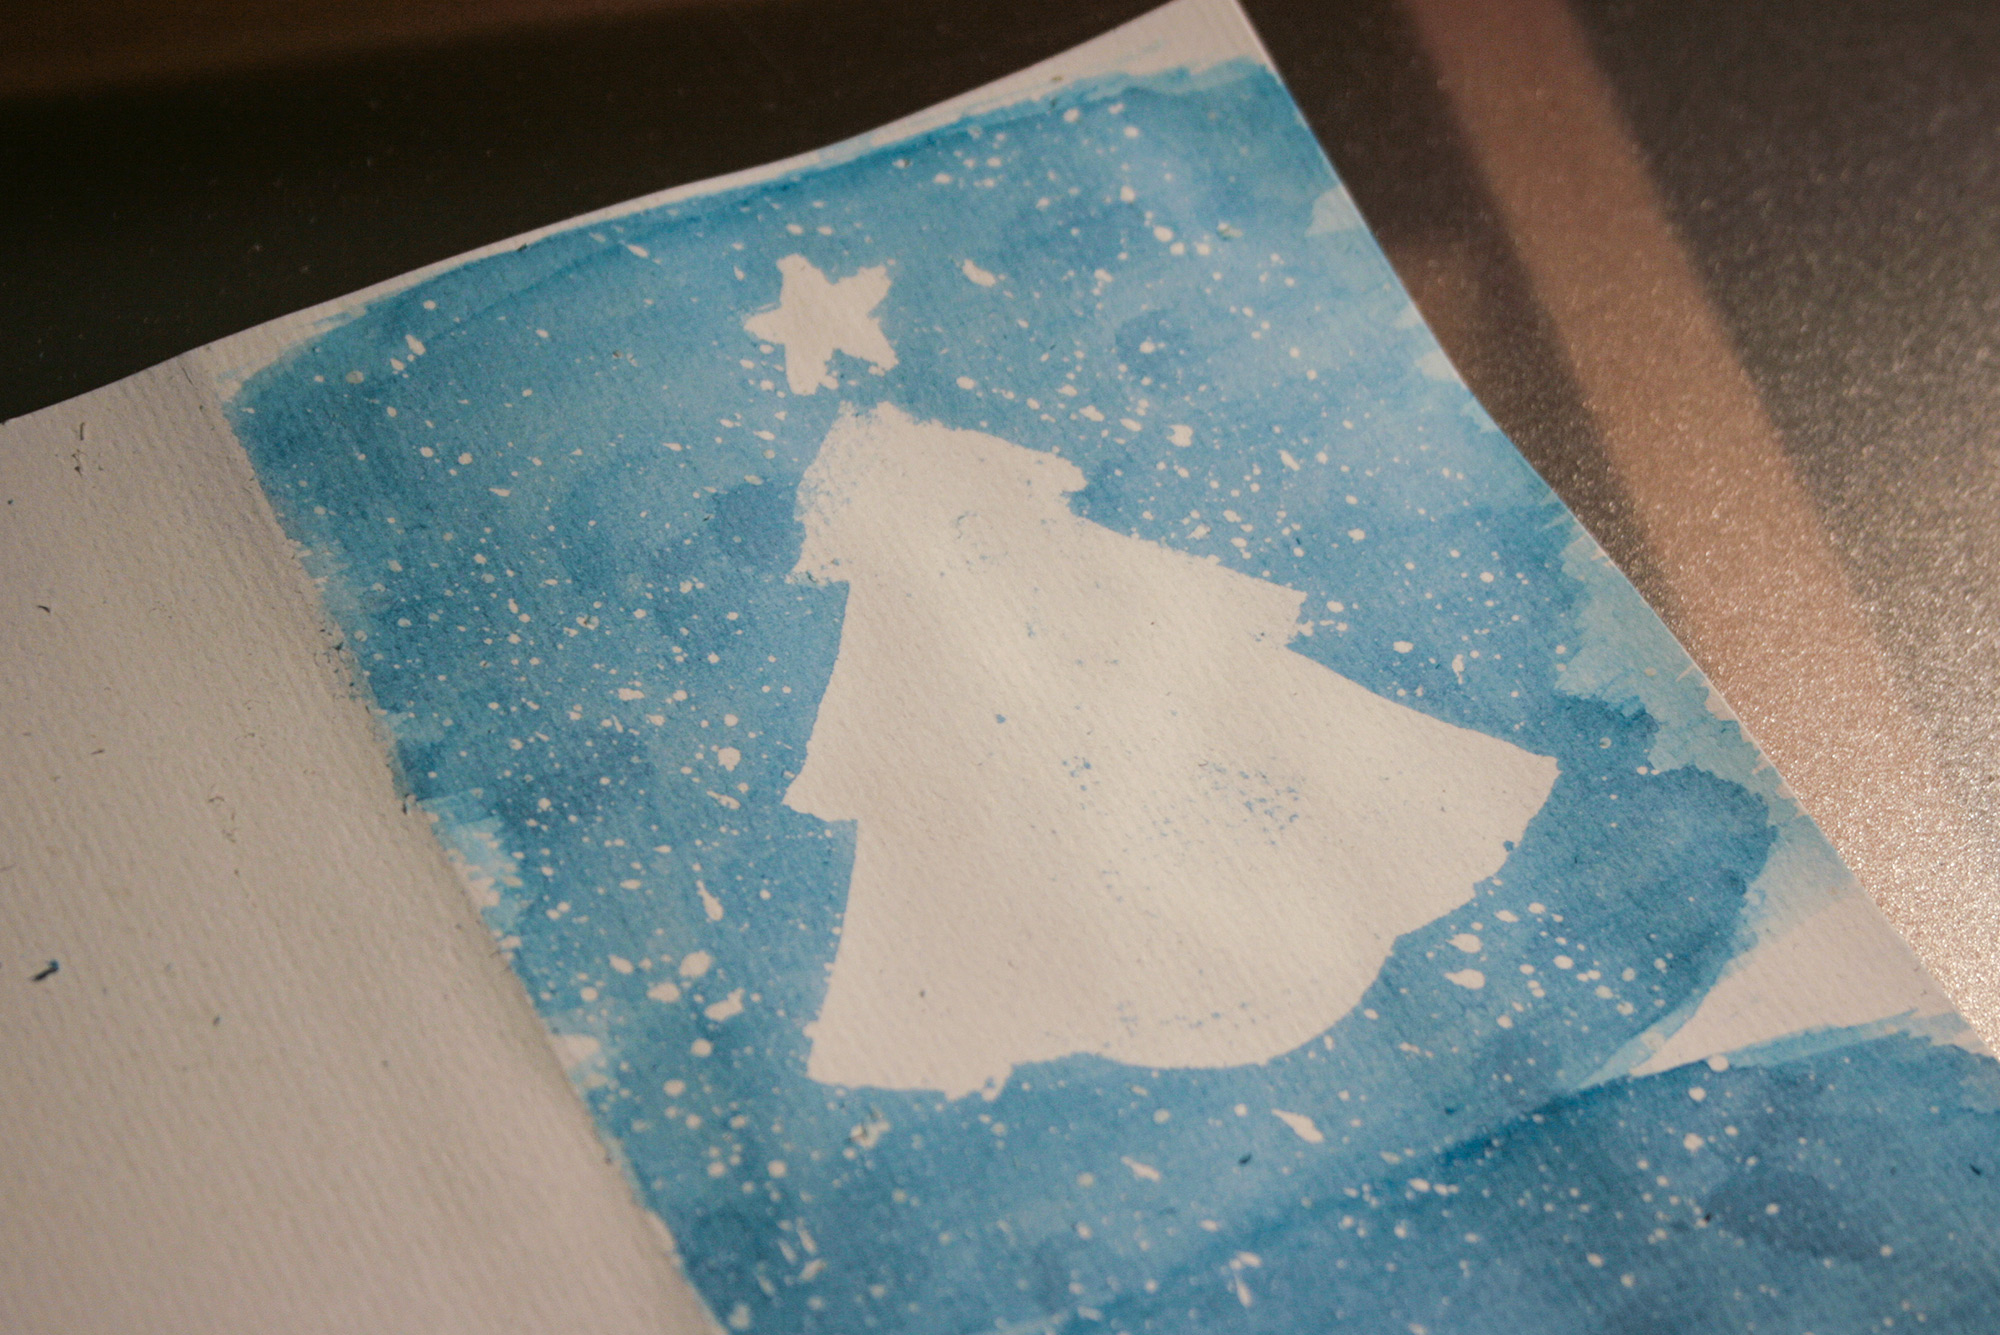
I also did some ‘splattering’ over the top to make some smaller speckles in the background. It can be messy though so make sure your work area is splatter safe!
After applying all the masking fluid make sure it is COMPLETELY DRY before applying anything over the top of it. I don’t own any proper watercolour paints and instead use the pencil variety and just make a large coloured area to dip into as needed.

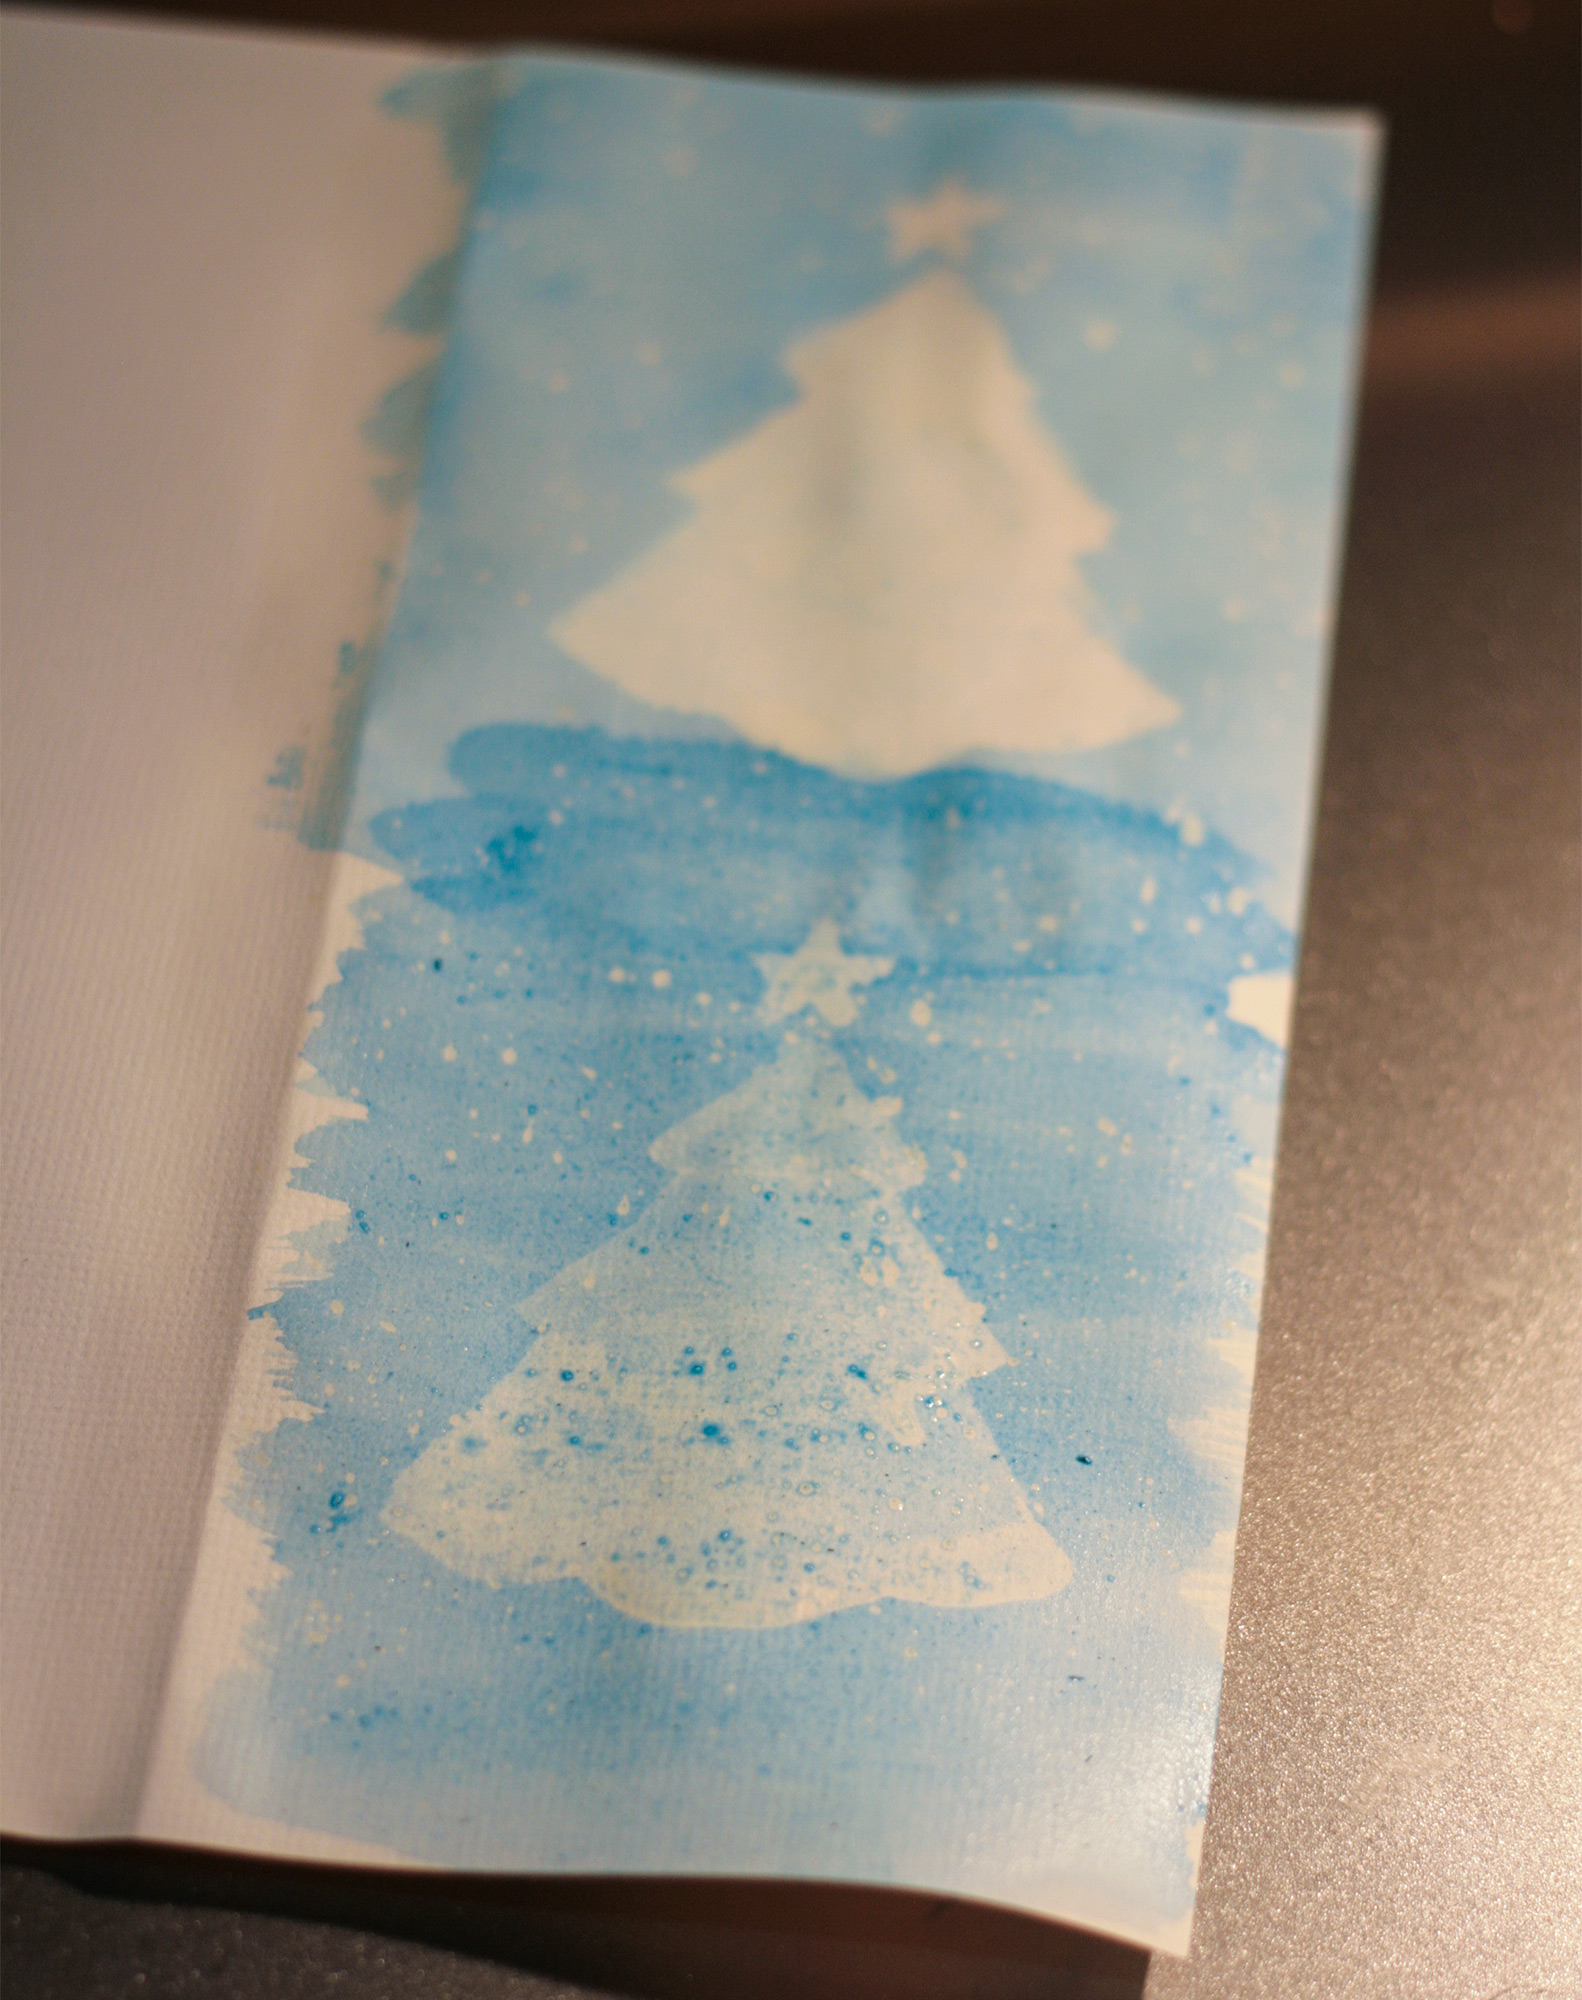
After all the watercolour was applied, I left the cards again till they were 100% bone dry. It’s worth leaving them for a full day just to be safe. Trying to do the next step before they are dry will risk ripping the paper as I discovered during my initial tests.
Once the cards were all dry, I got an eraser and gently rubbed the masking fluid to make it peel off. This can take some time so don’t try to rush it. For the smaller speckles, you can simple rub the eraser over them quickly and they should easily come right off.

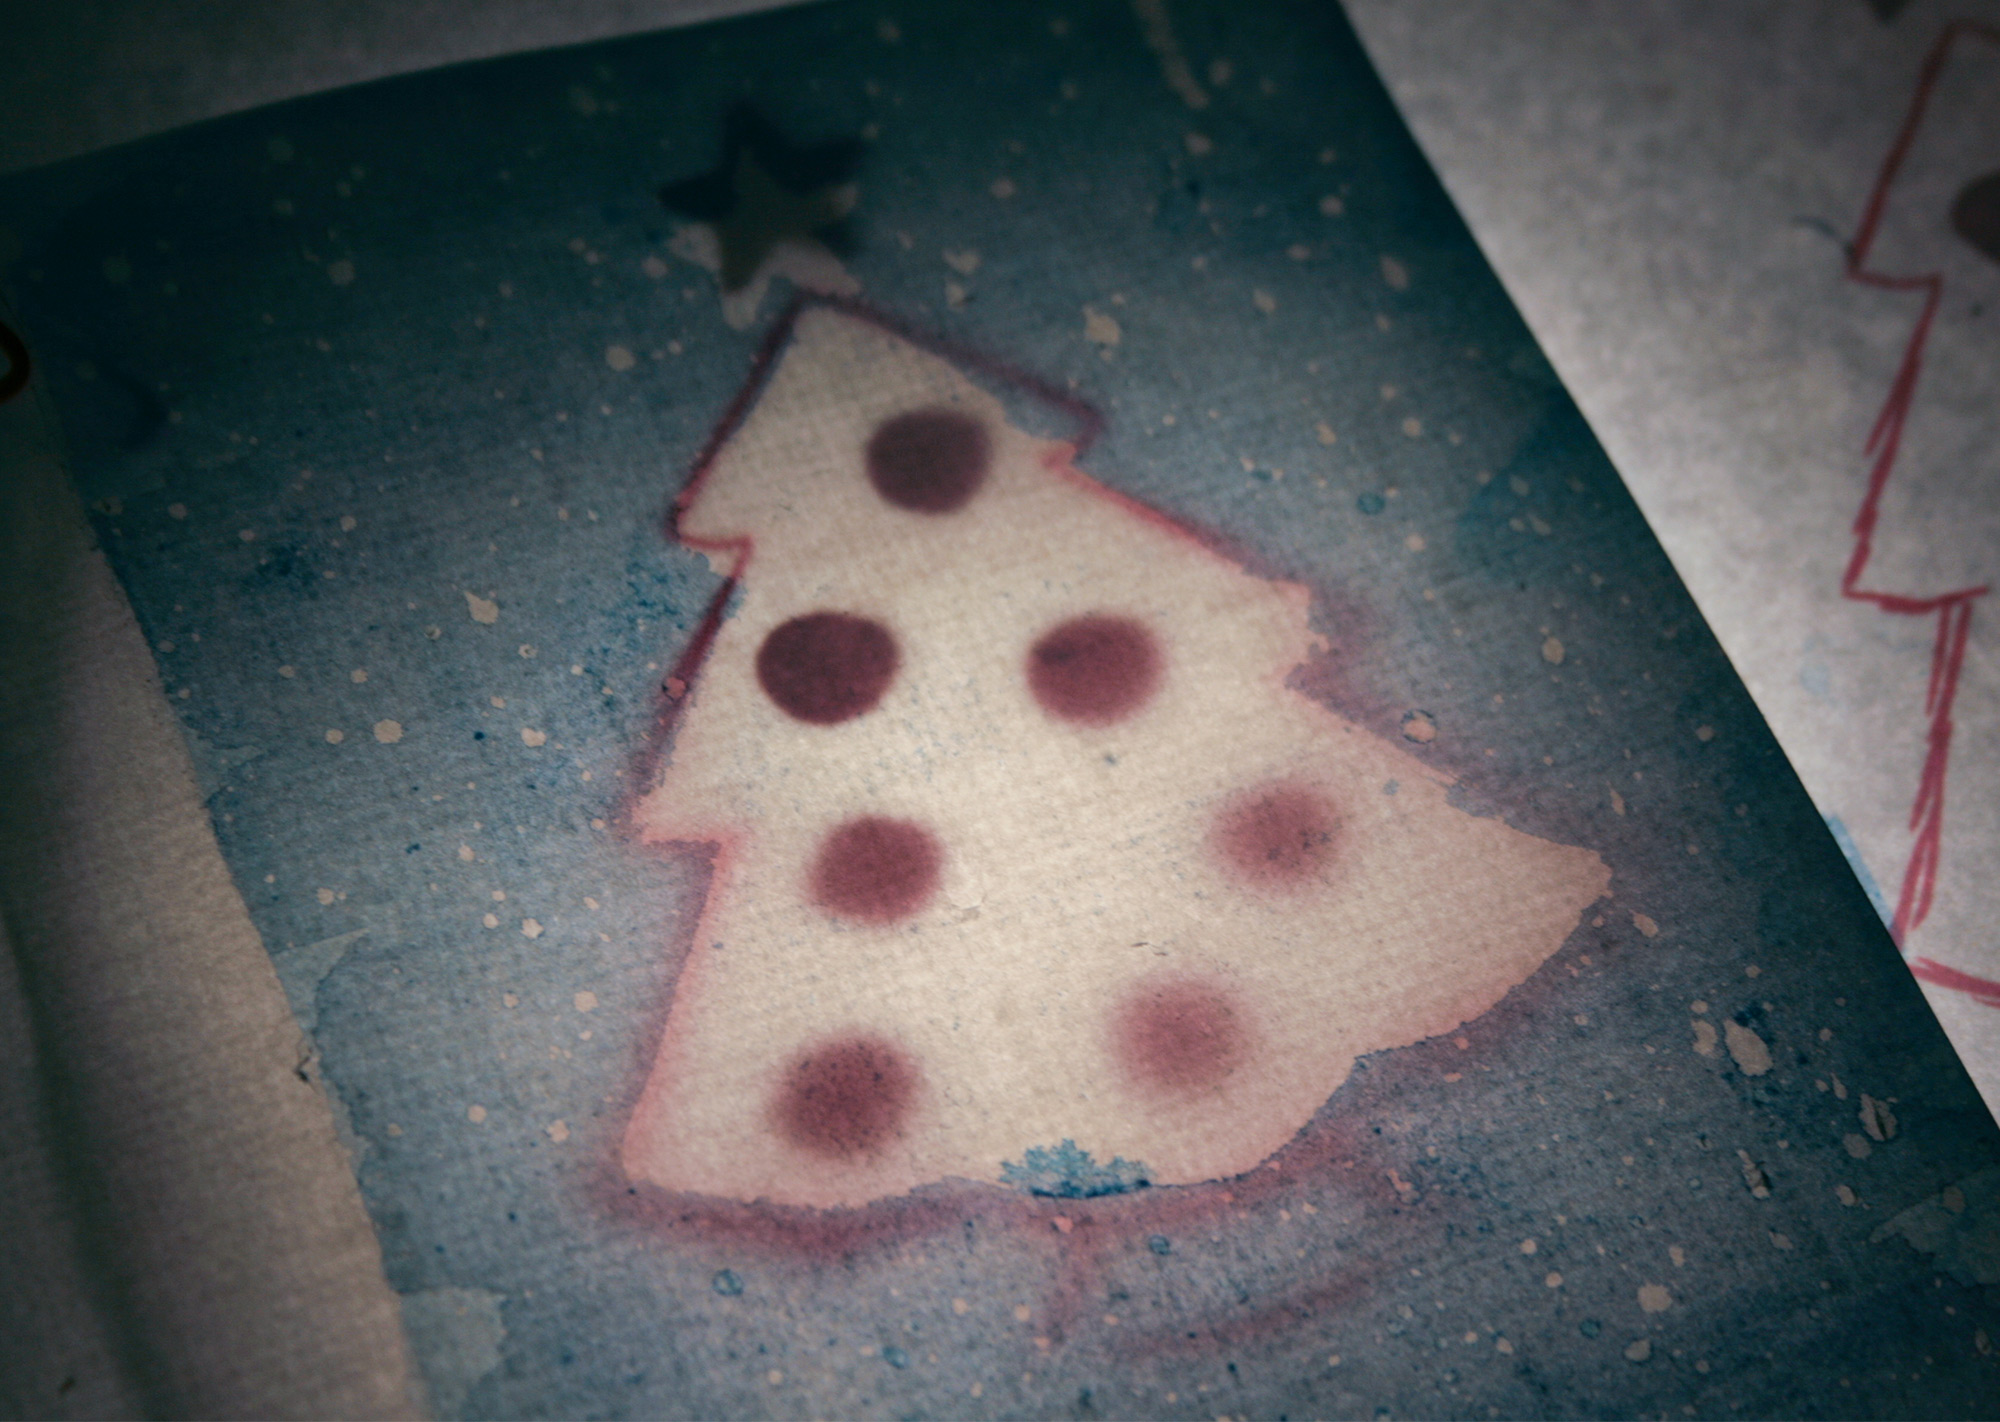
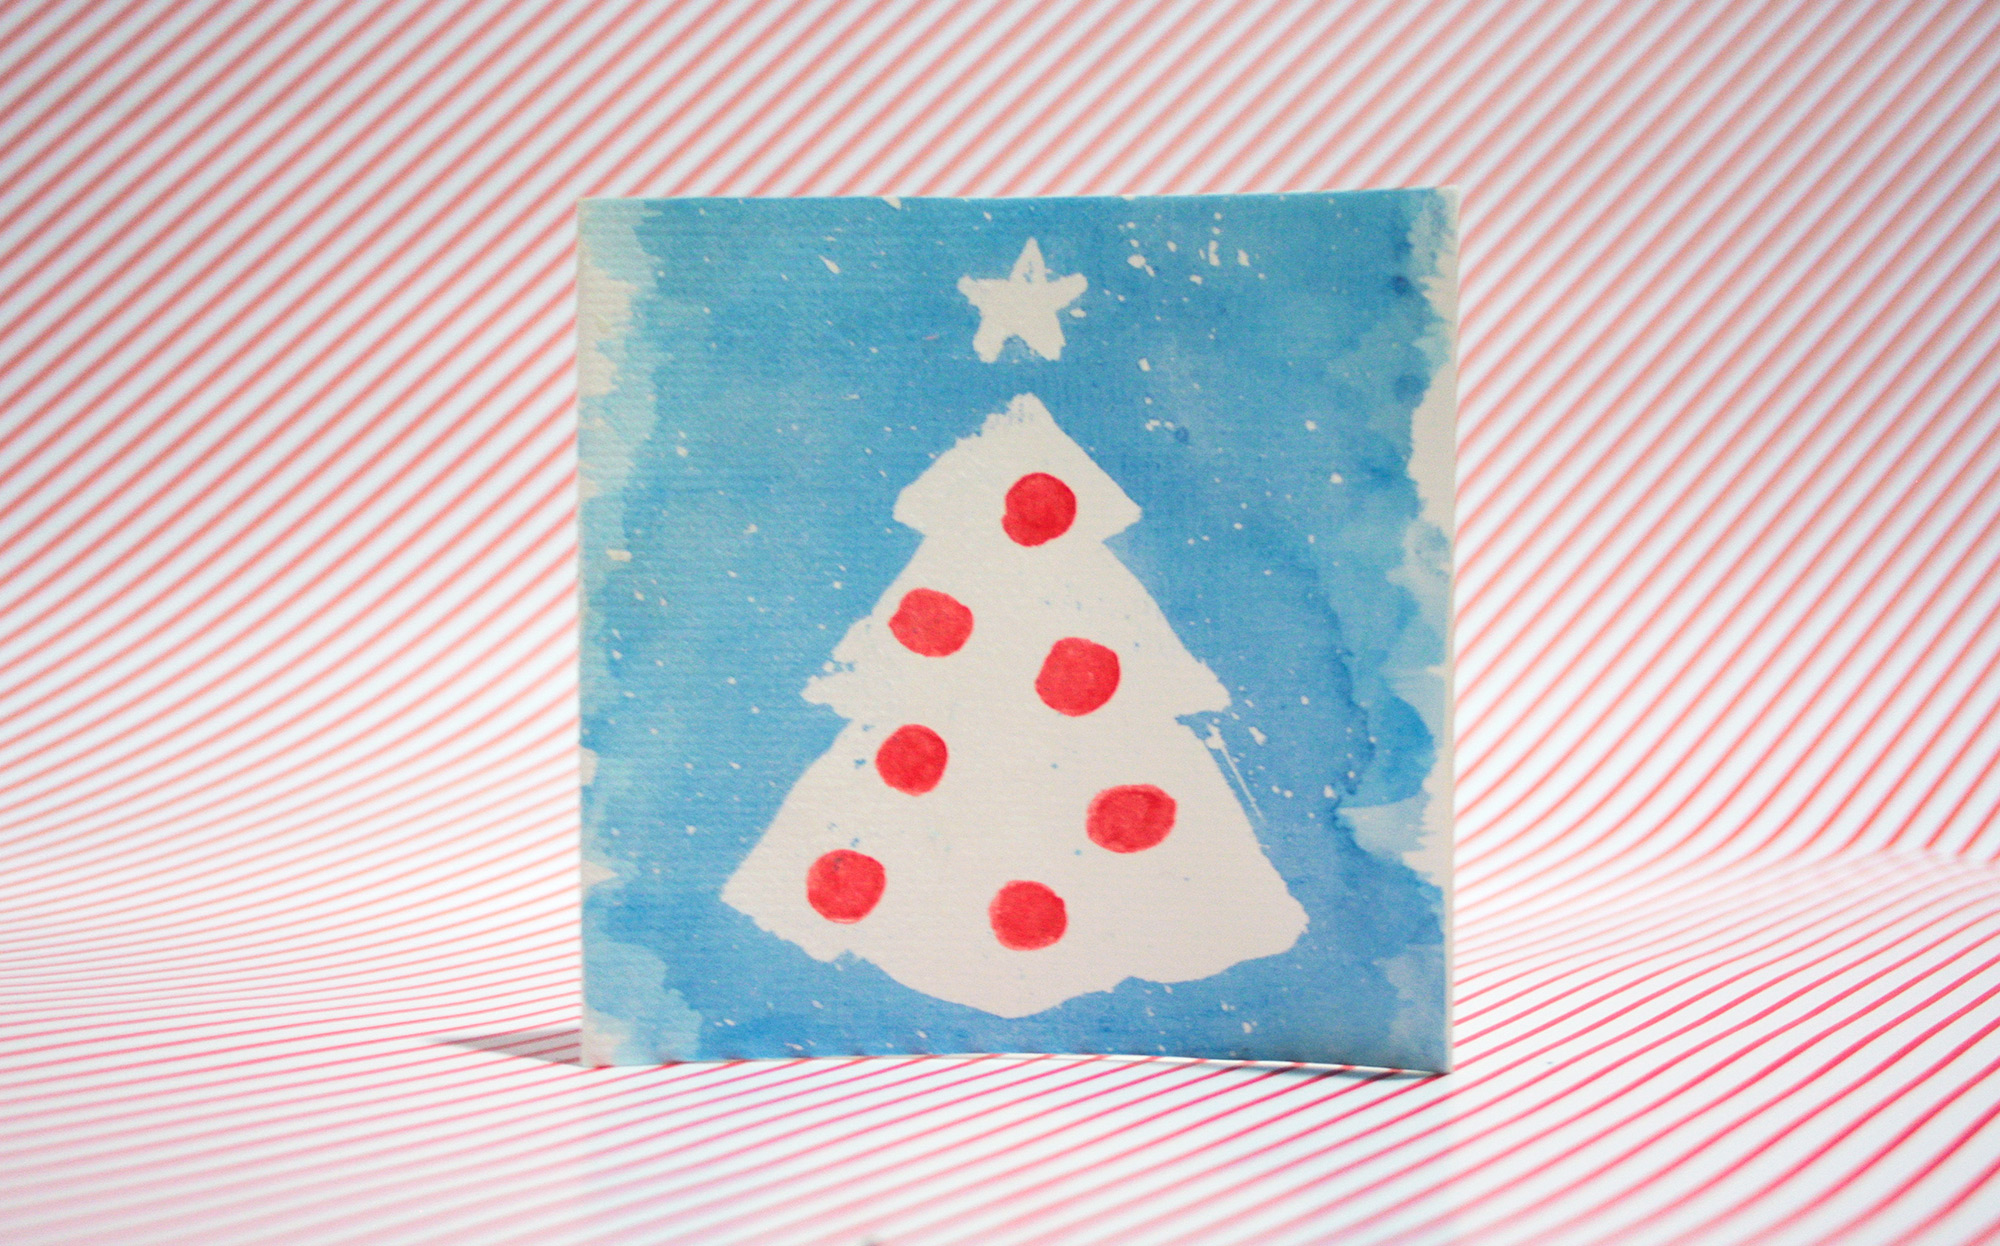
With the masking fluid removed, I now put the cards back on my lightbox and painted in the baubles based off my sketch.
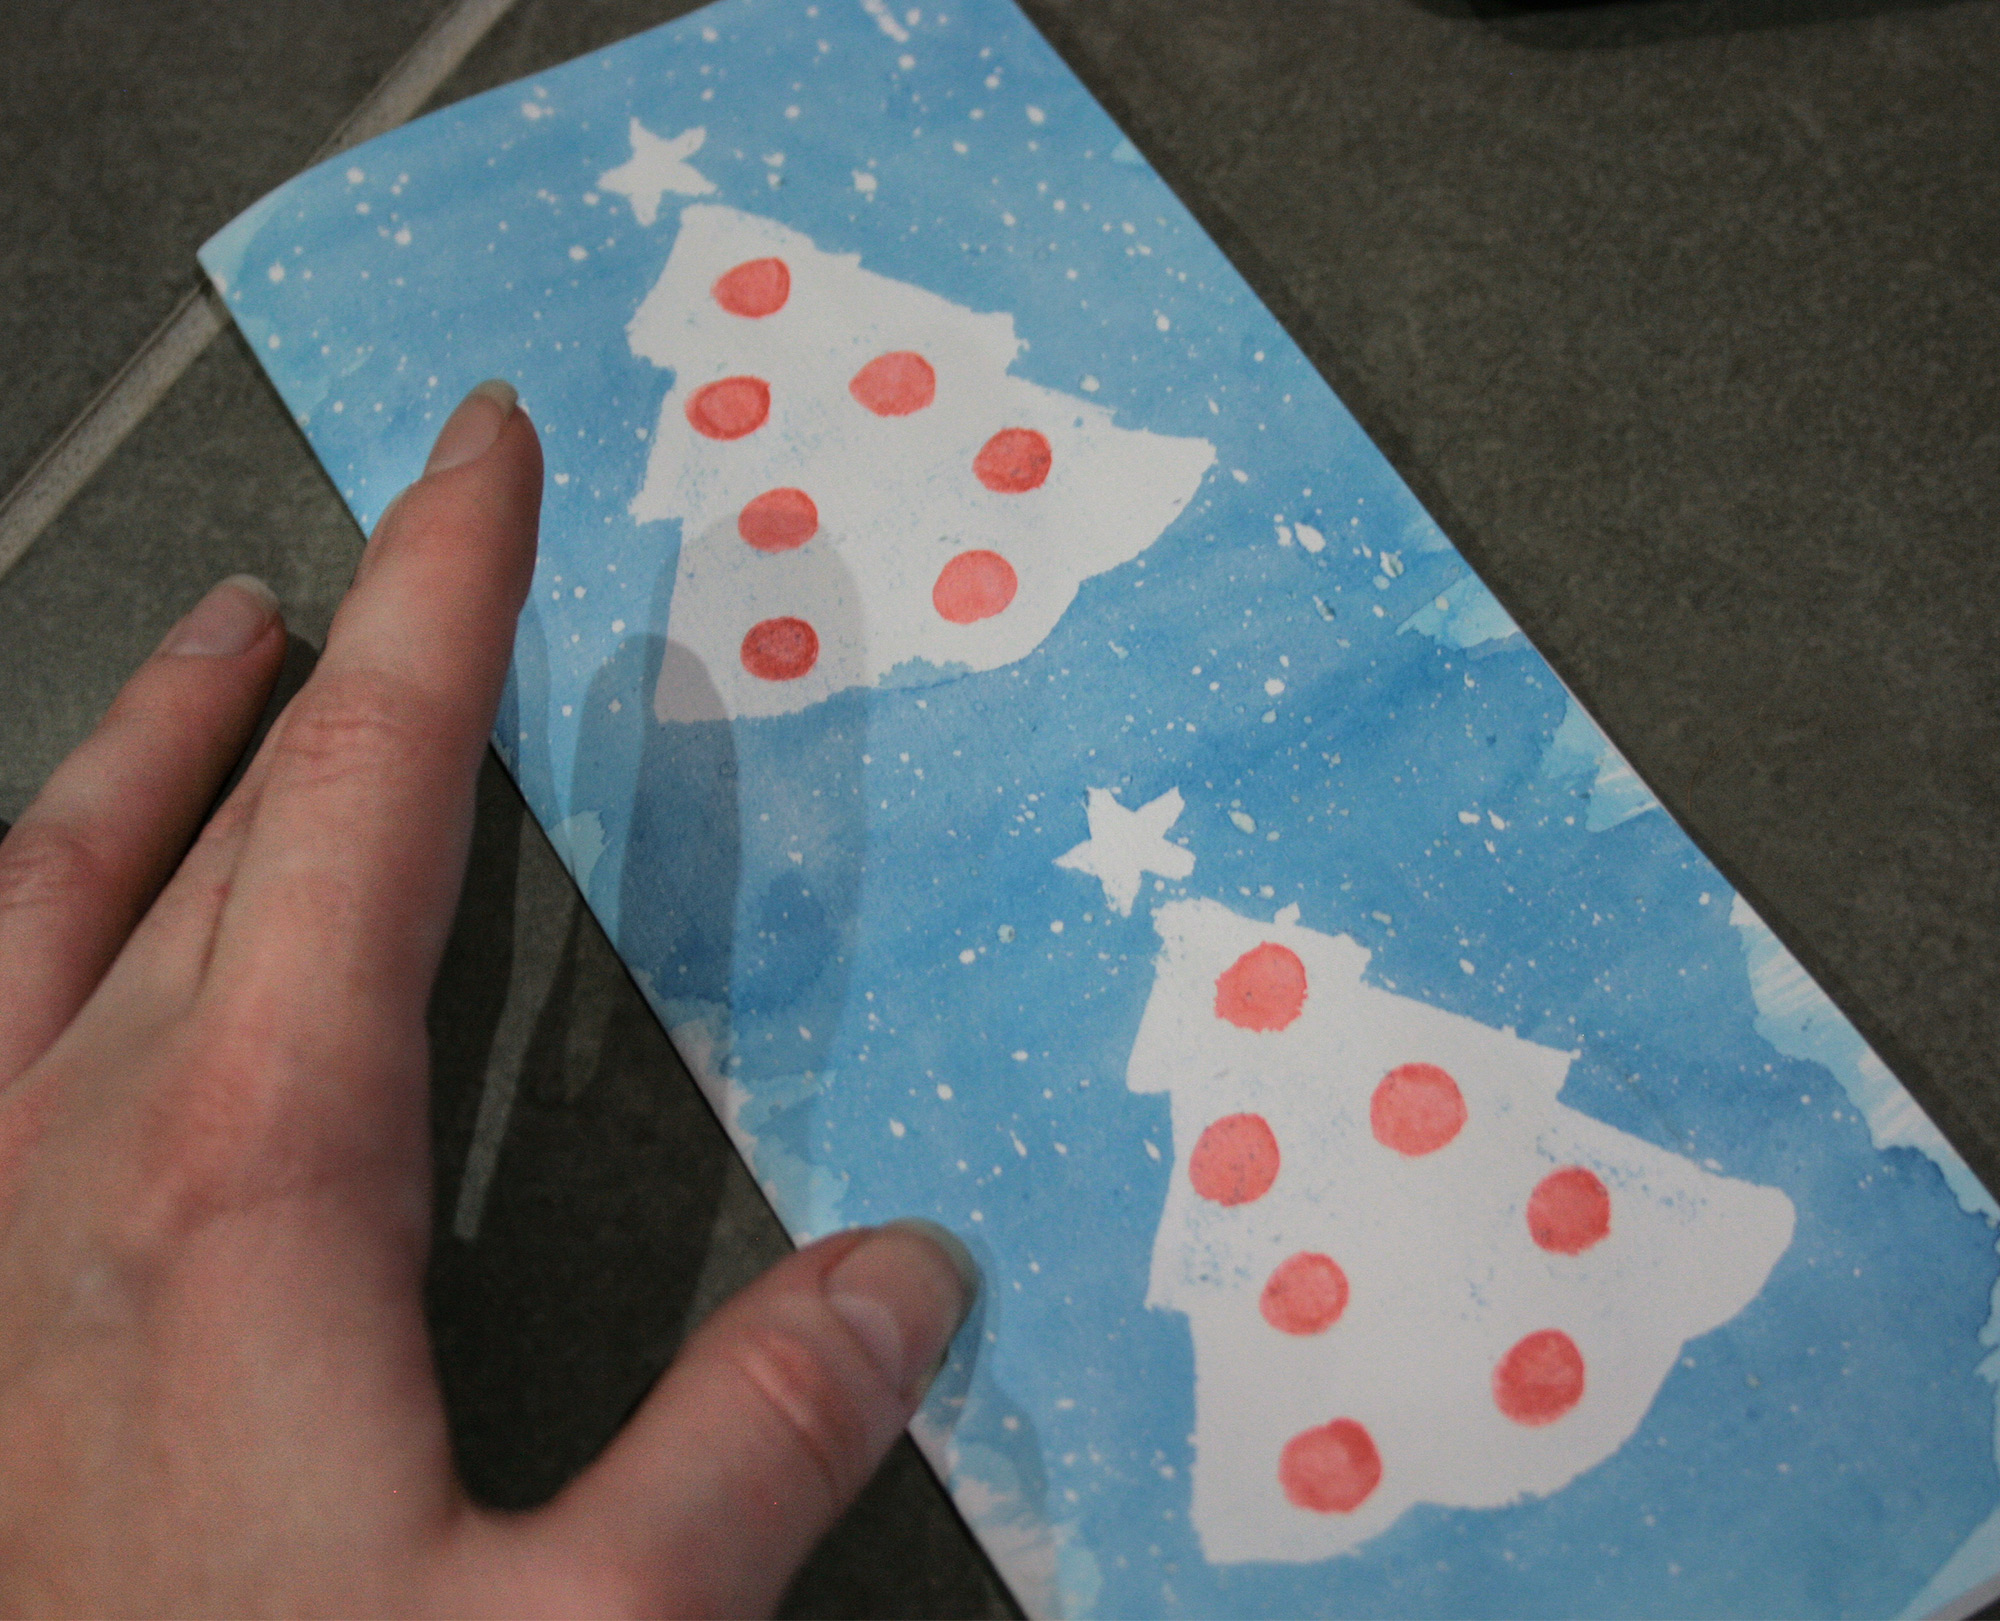
Originally I intended to just cut up the cards and be finished but unfortunately I found some of the watercolour got on the inside and looked quite messy. I ended up sticking the cards to a second piece of paper and then cutting them out. This also gave them have a bit more thickness which I think made them better anyway.
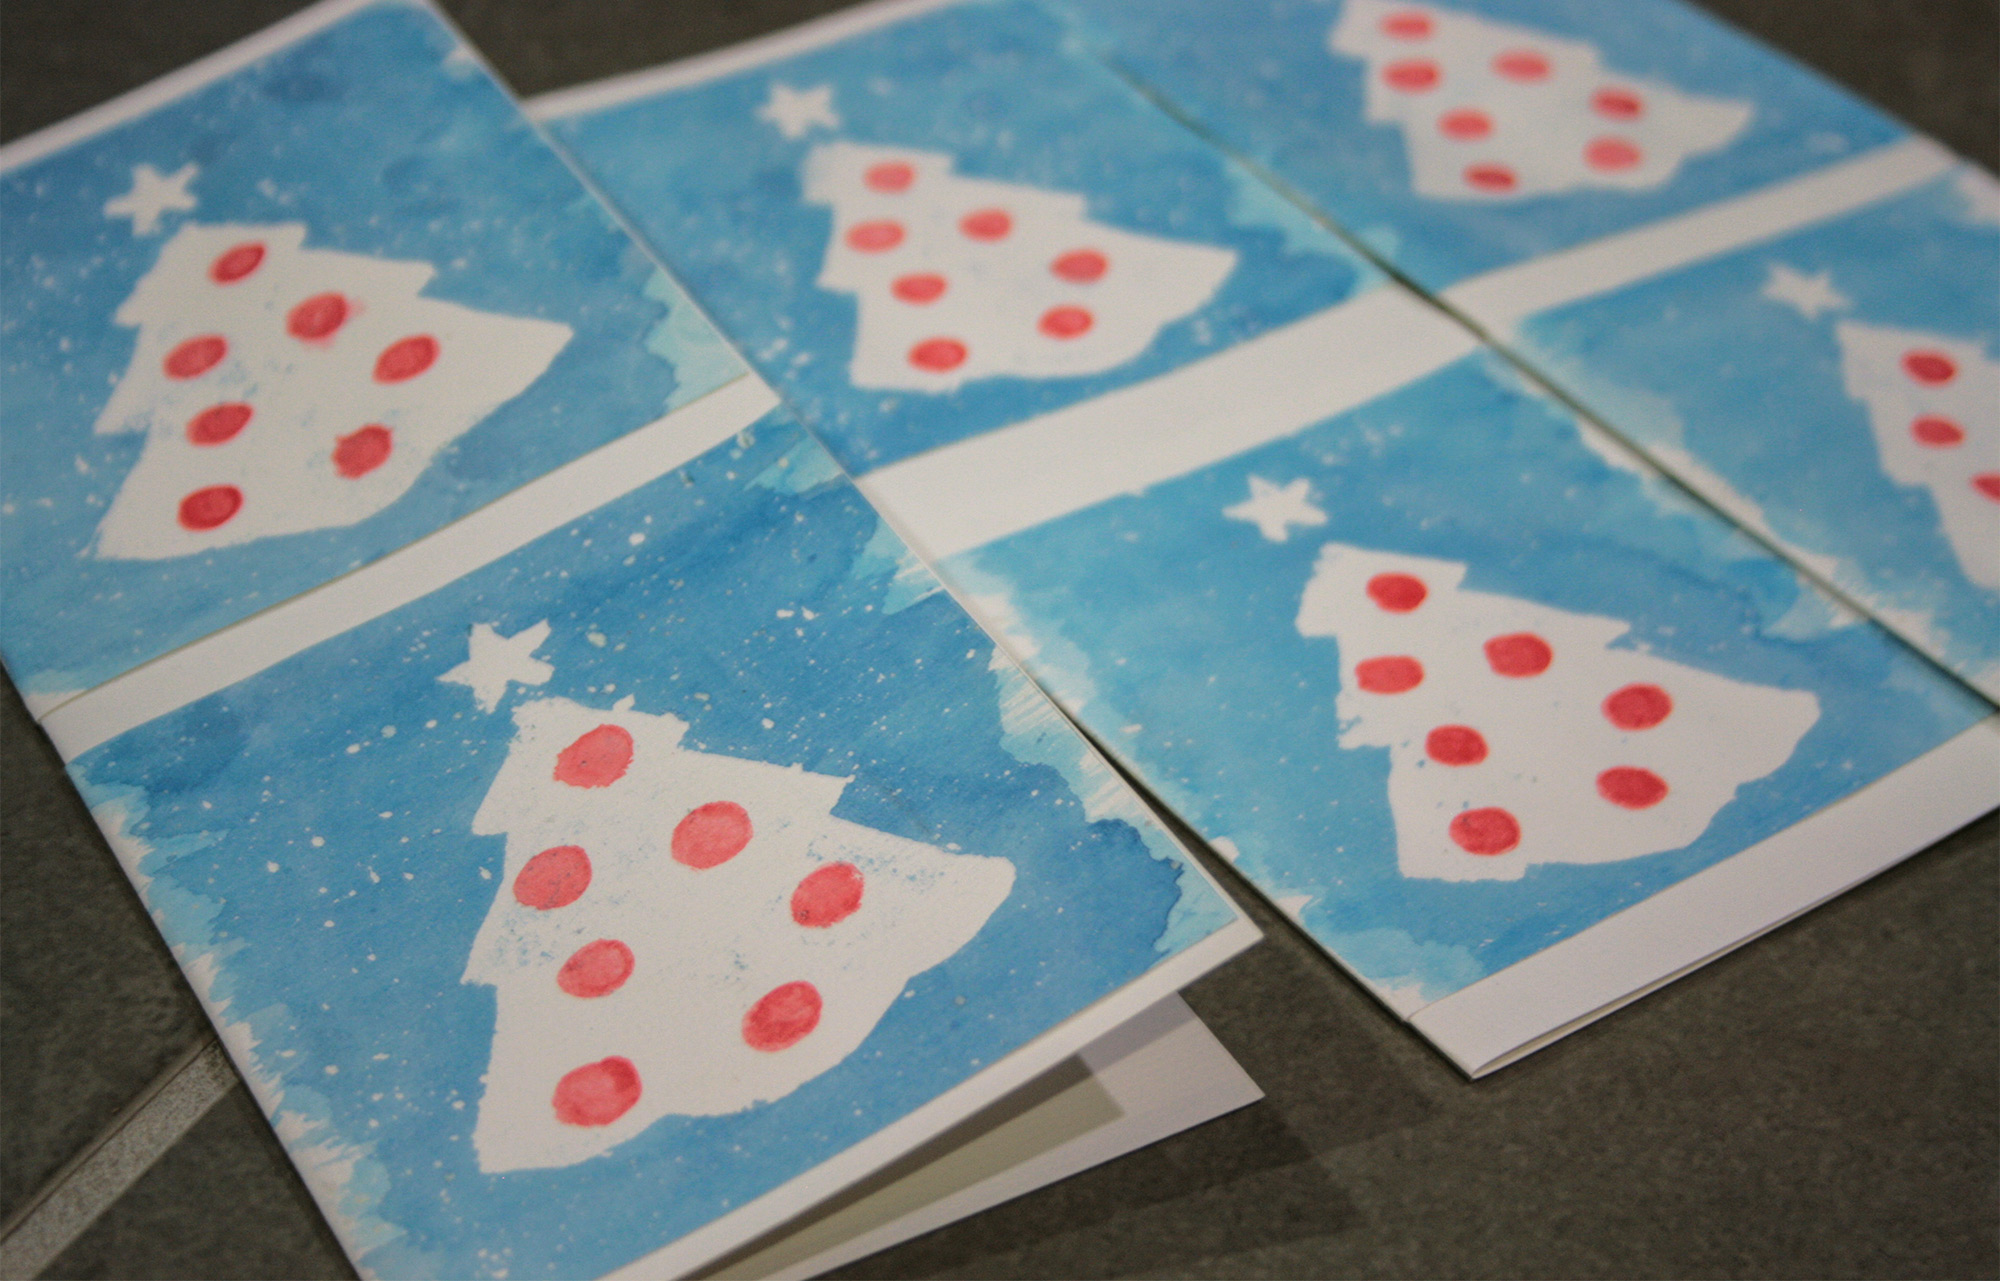
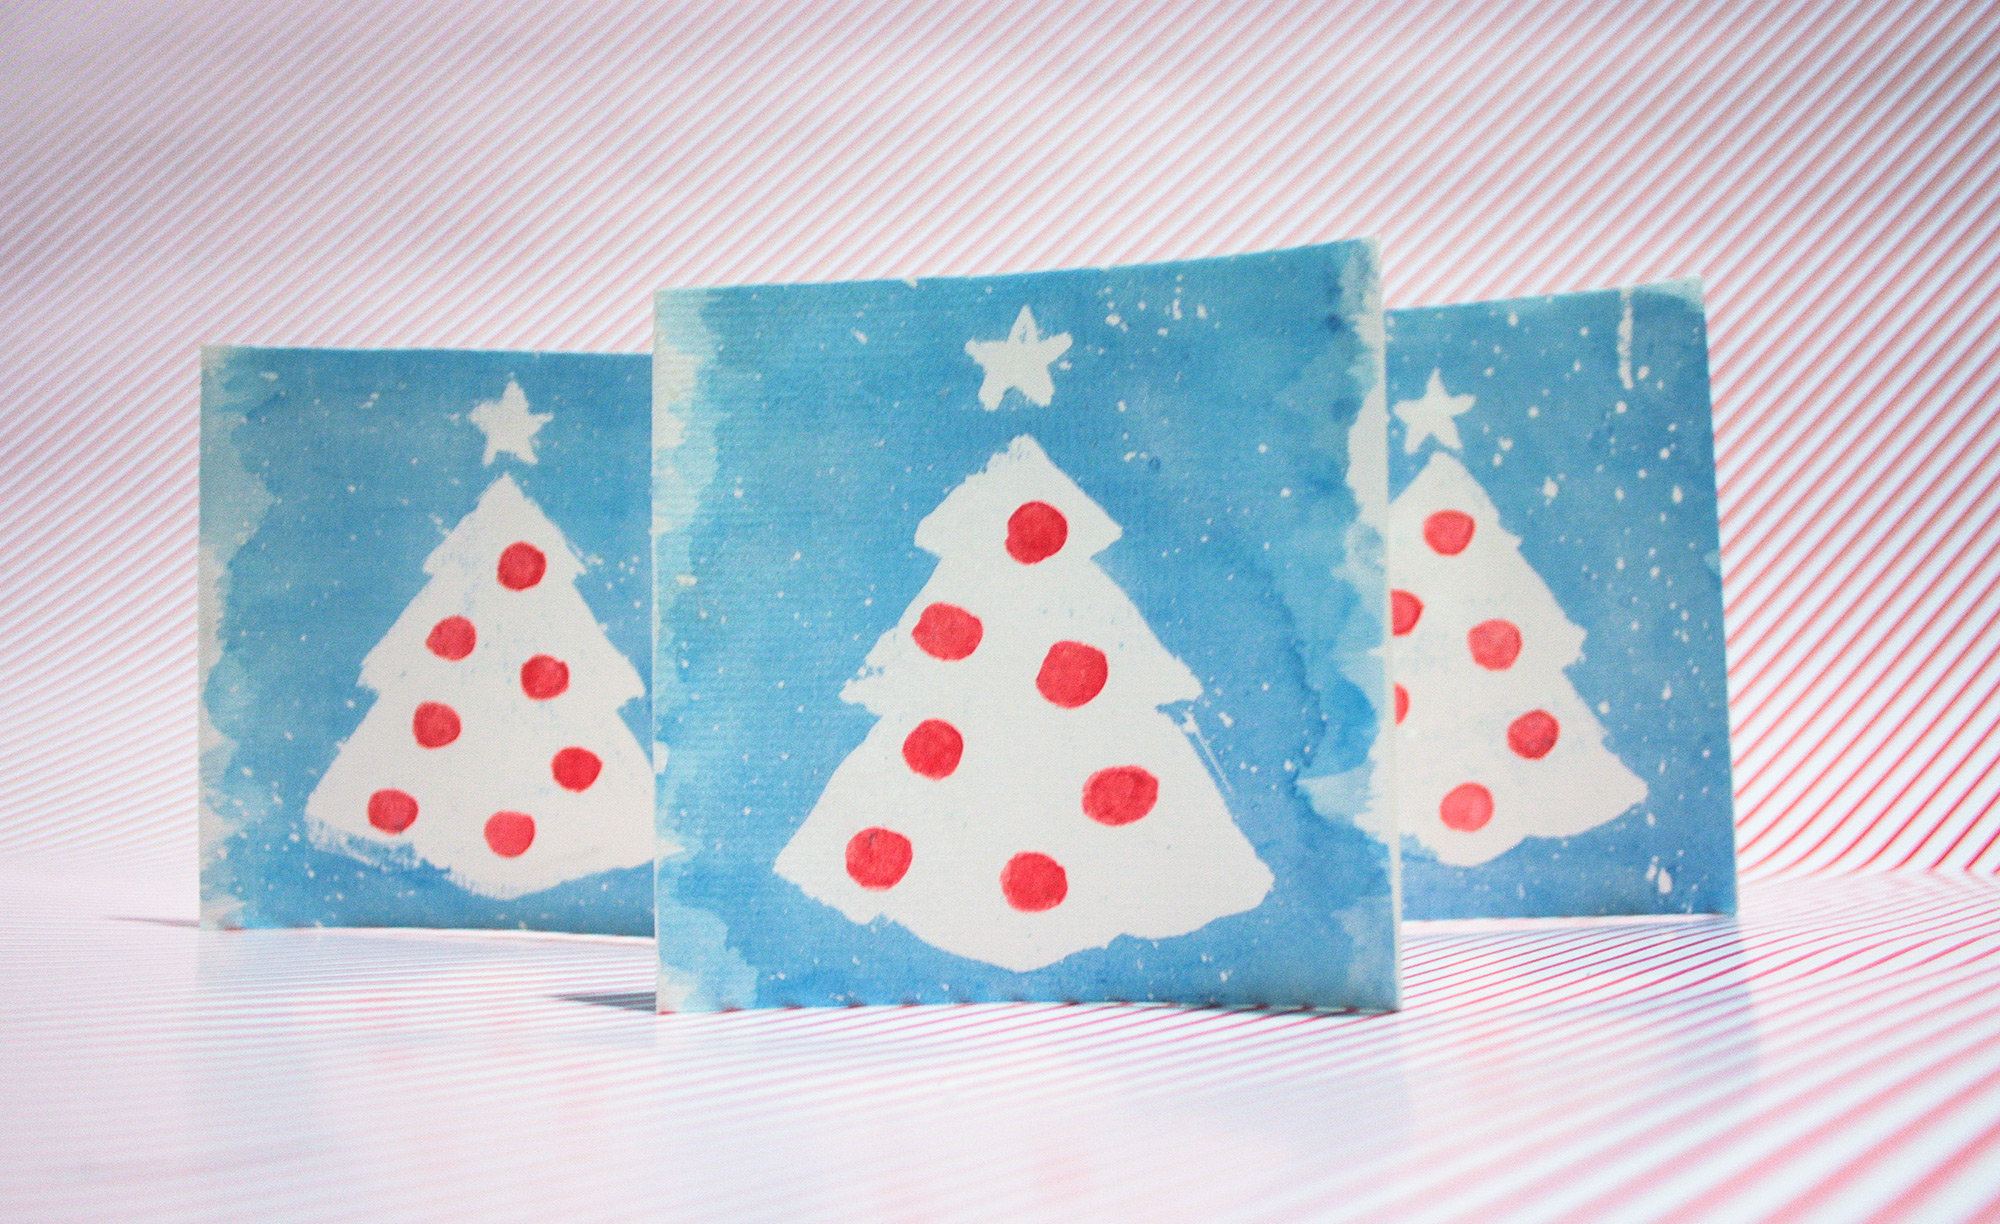
And here’s the final product! Pretty happy with how they came out in the end. I’m no expert when it comes to these things and usually make up my own methods so when they turn out decent it’s something to be happy about :P.
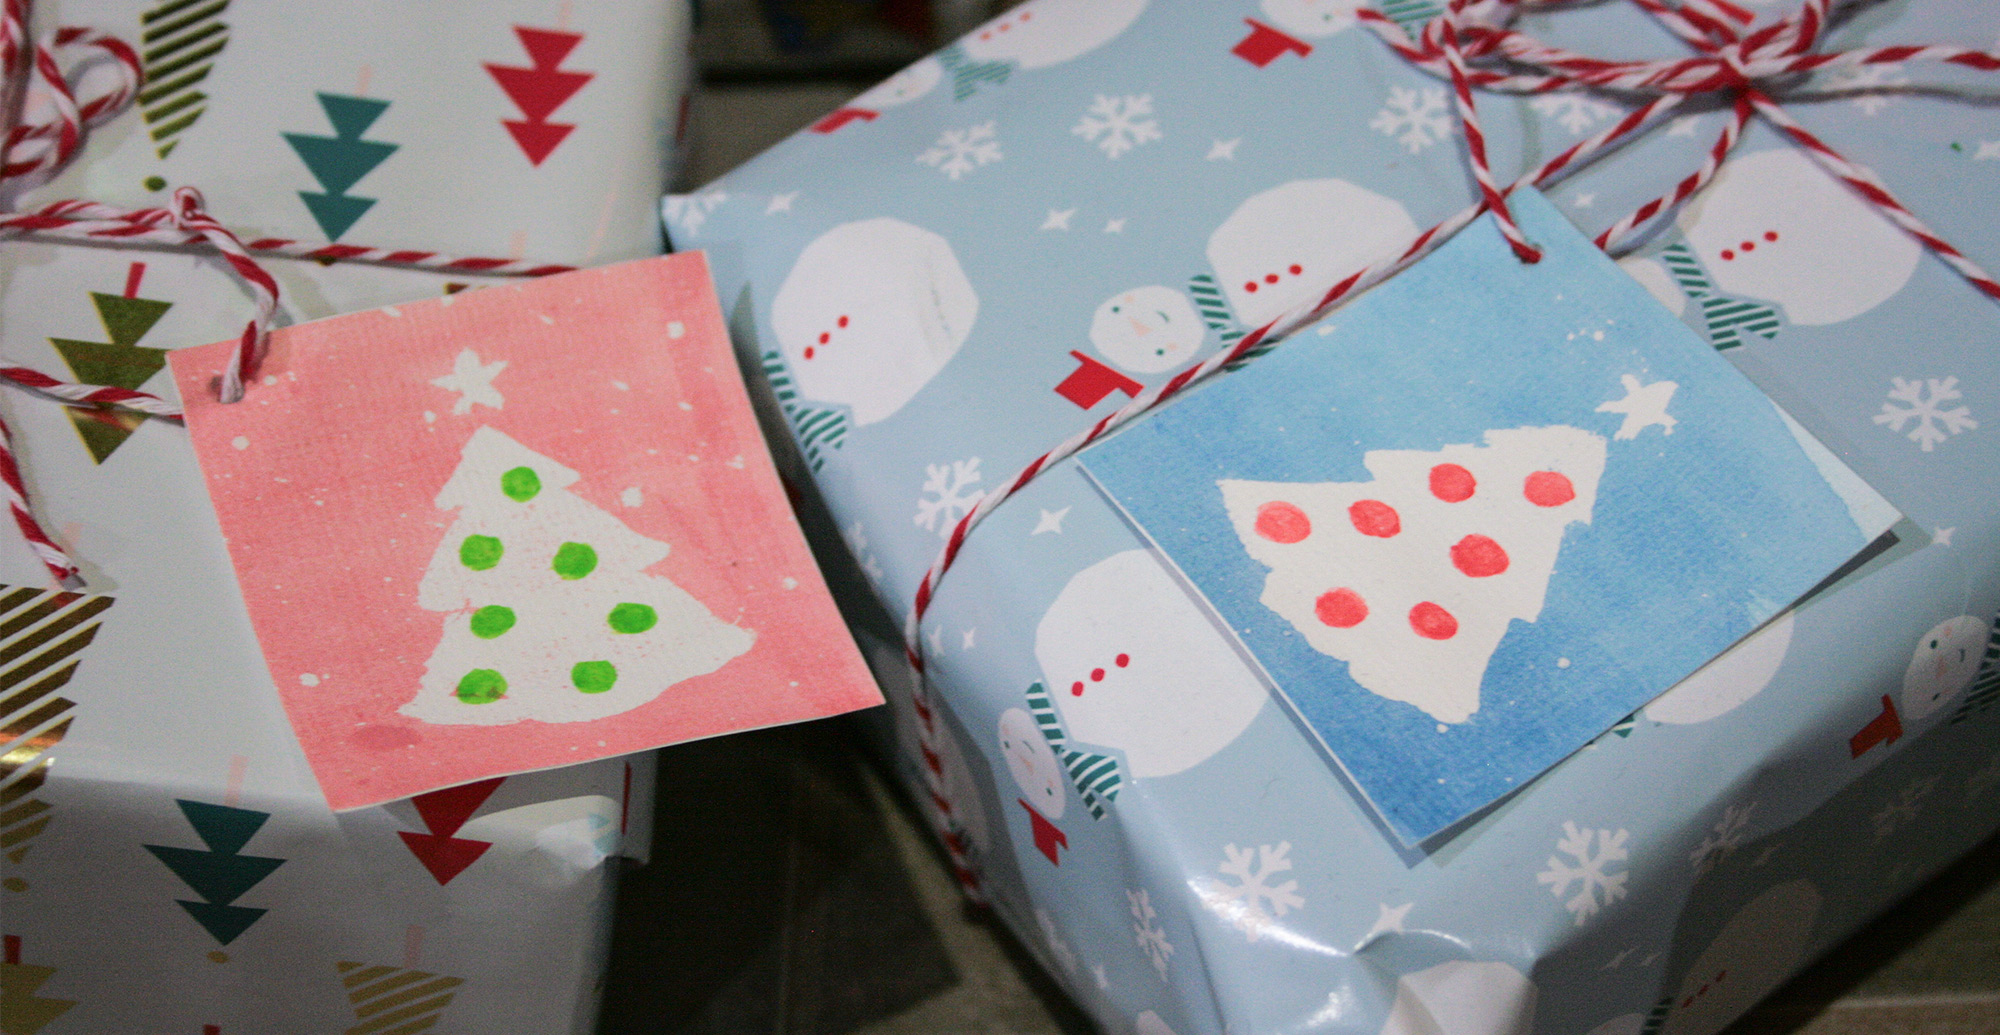
Gift Tags
For the gift tags I used the exact same process as above with the only differences being that they were flat, not folded cards, and due to their smaller size I only used the small brush for the masking fluid. I also made red versions to mix it up a bit.

And with that my cards and gift tags are done! I hope any of you who want to try making these found the above useful in some way. I’ve already had ideas for next years cards so keep a look out for those in 2015 :).


