I can’t believe it’s already 2016, the last few months just seemed to fly by. I hope all of your end of year celebrations were fun and joyous ^_^.
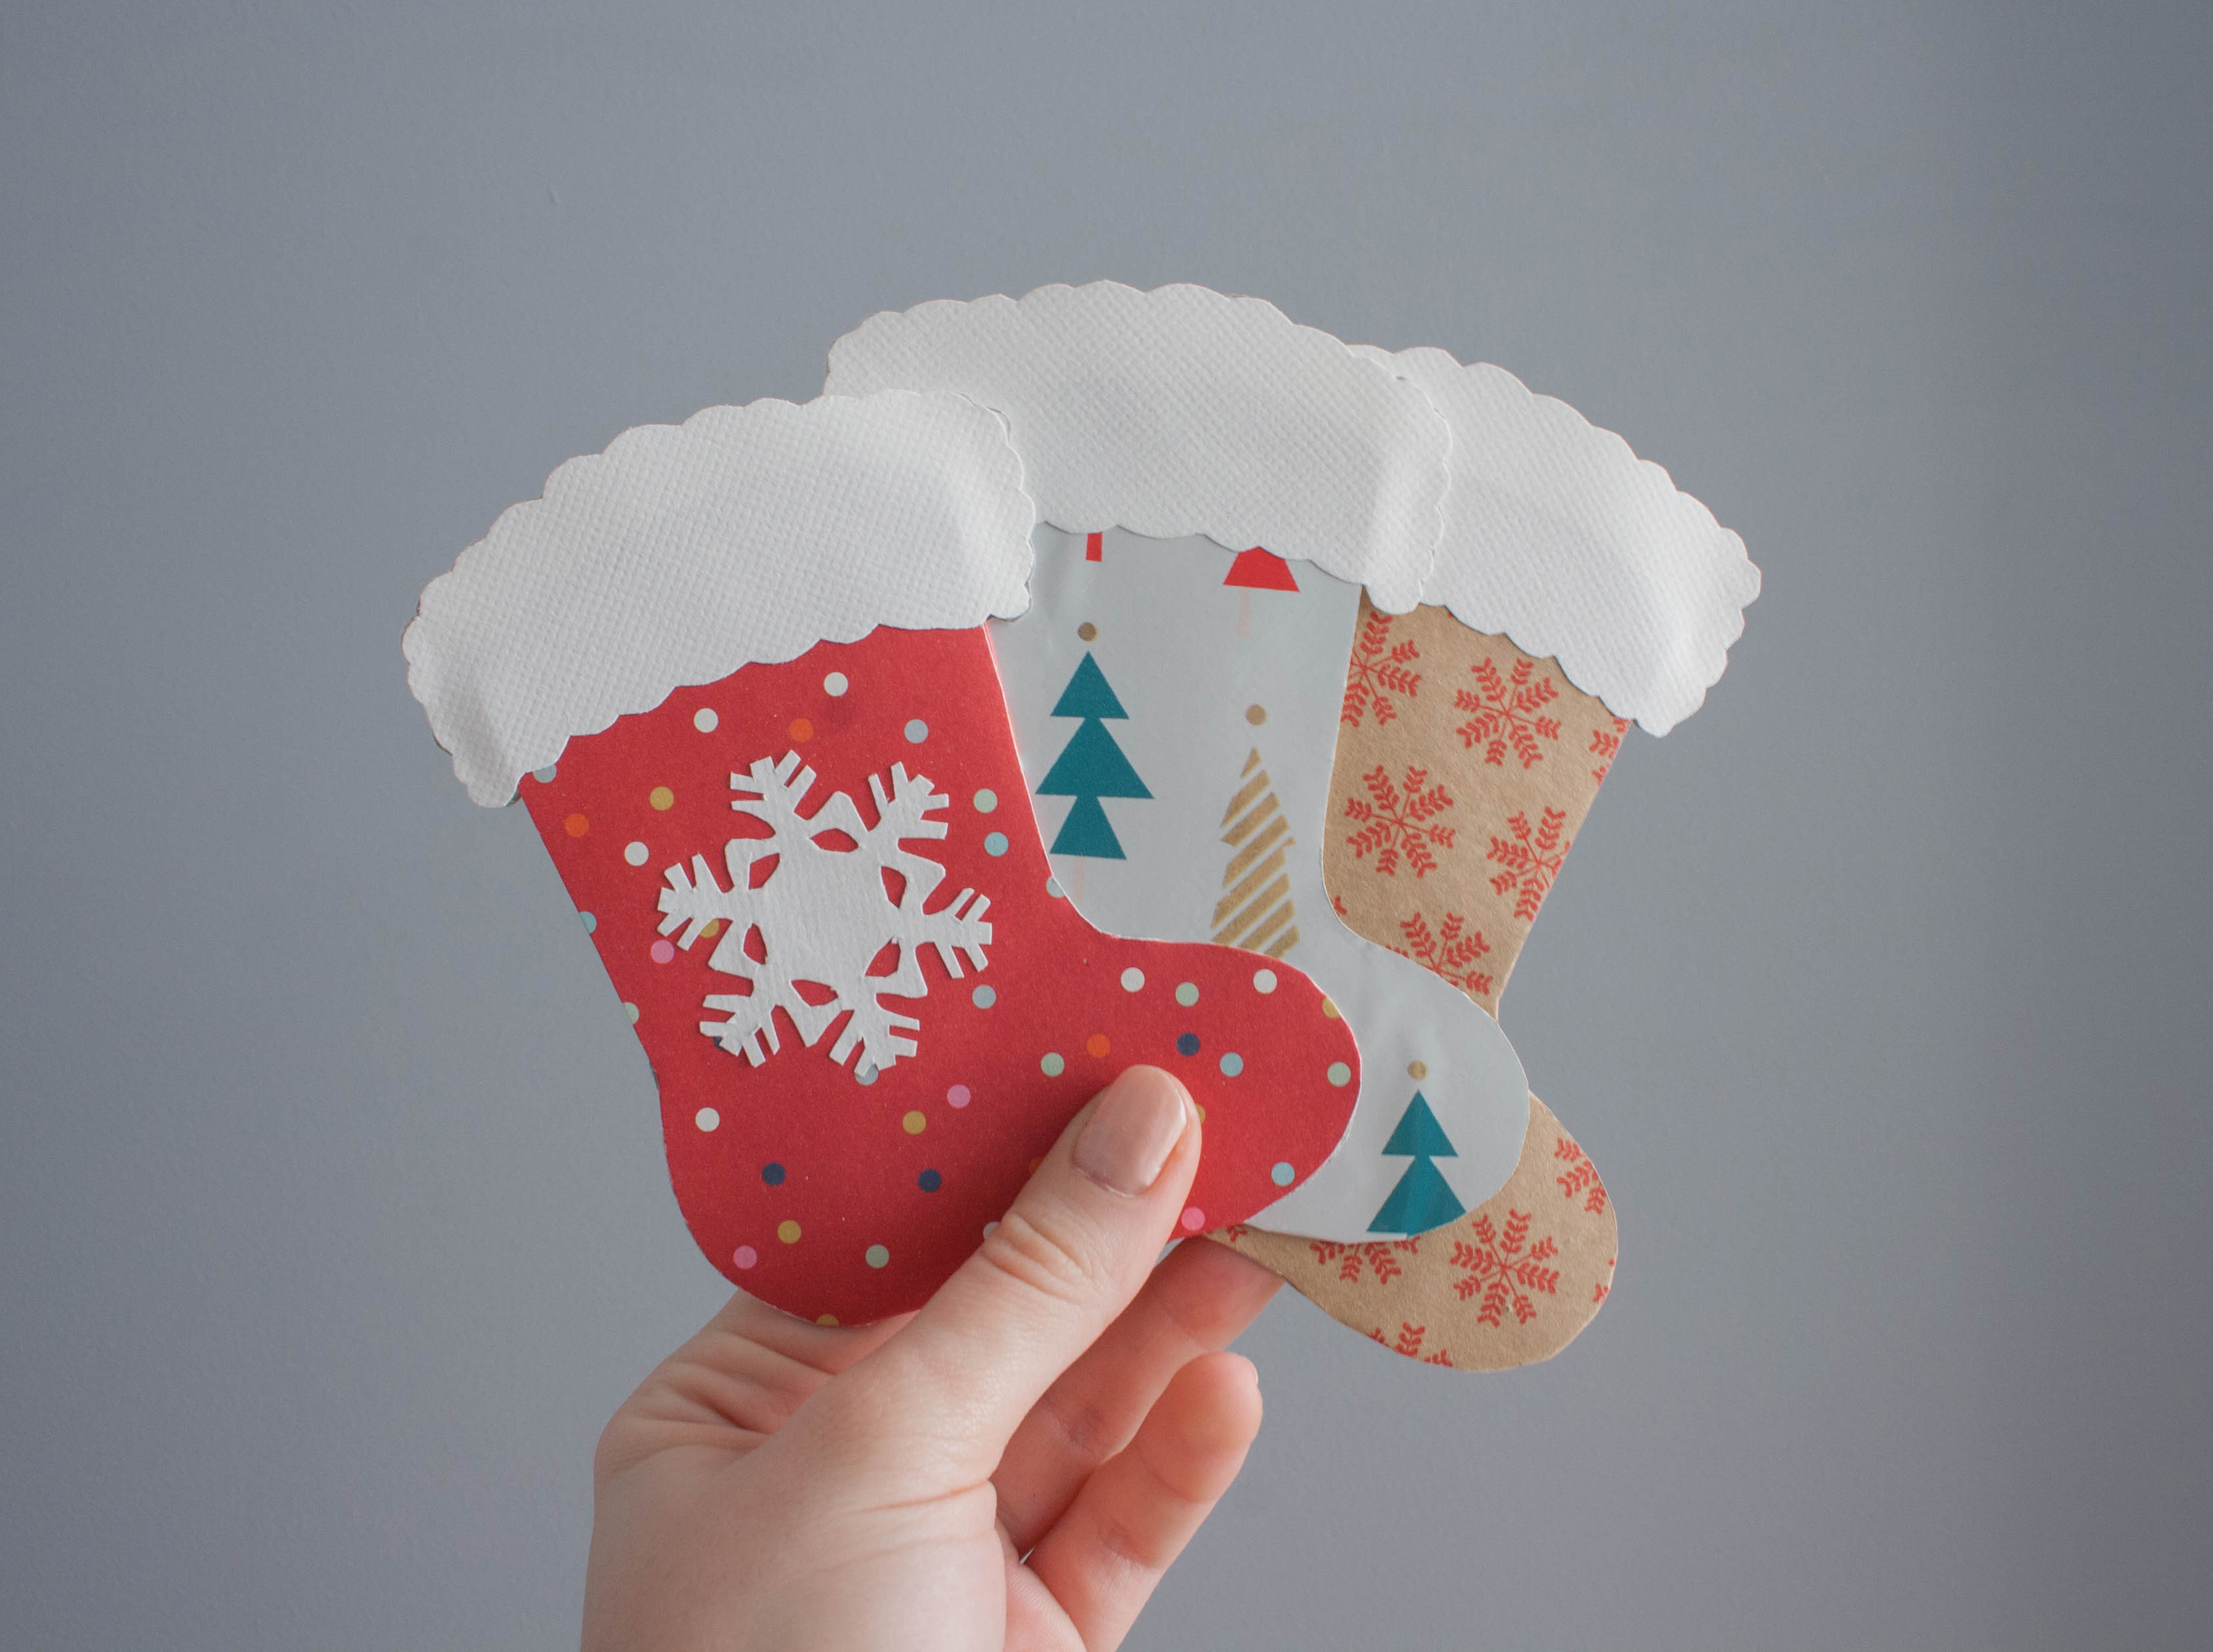
Keeping up with tradition of the past few years I once again made all of my Christmas cards, this time creating Christmas stockings using just paper and gift wrapping. Below is a step by step guide on how I made them along with their gift tag counterparts.
Christmas Cards
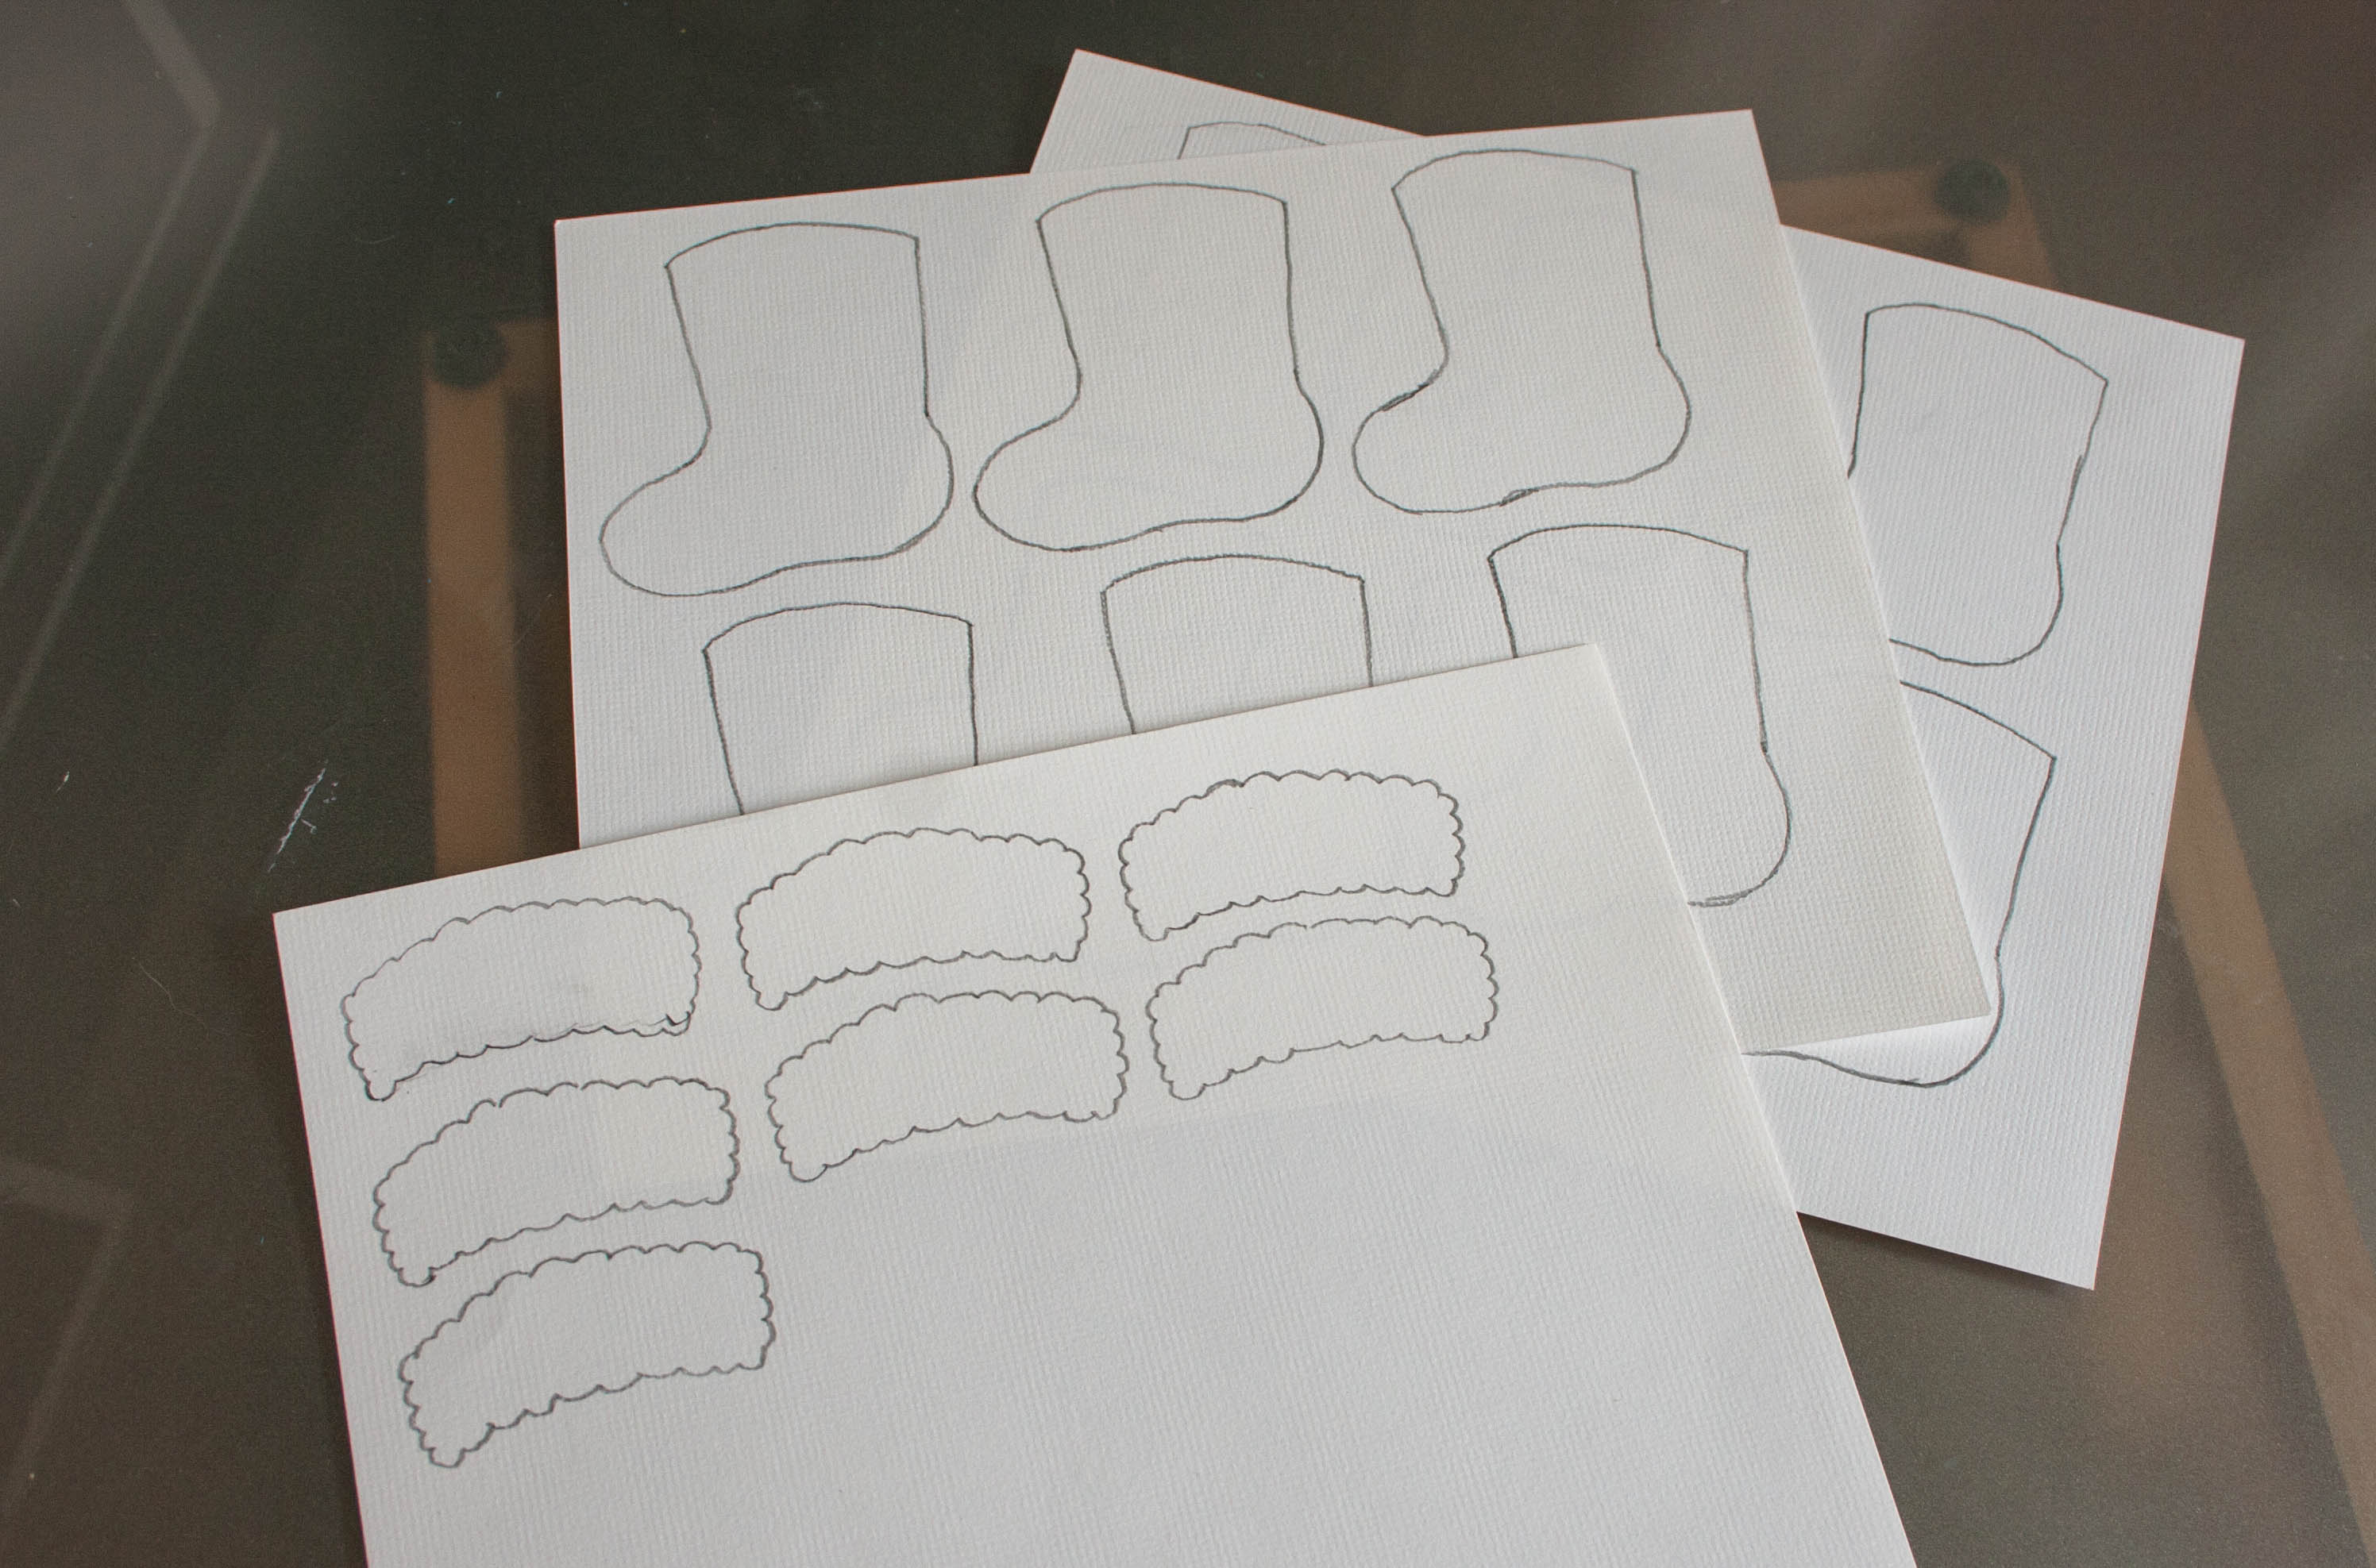
To begin with, I traced these guides I made onto my preferred type of craft paper. You could also just print them out and glue the sheet down as an easier alternative.
It should be noted that the stocking itself is more like a pocket with a separate piece of card sitting inside of it. If you like to write a lot in your cards its probably worth printing the guide out at a larger size so you’ll have more room to write your message.
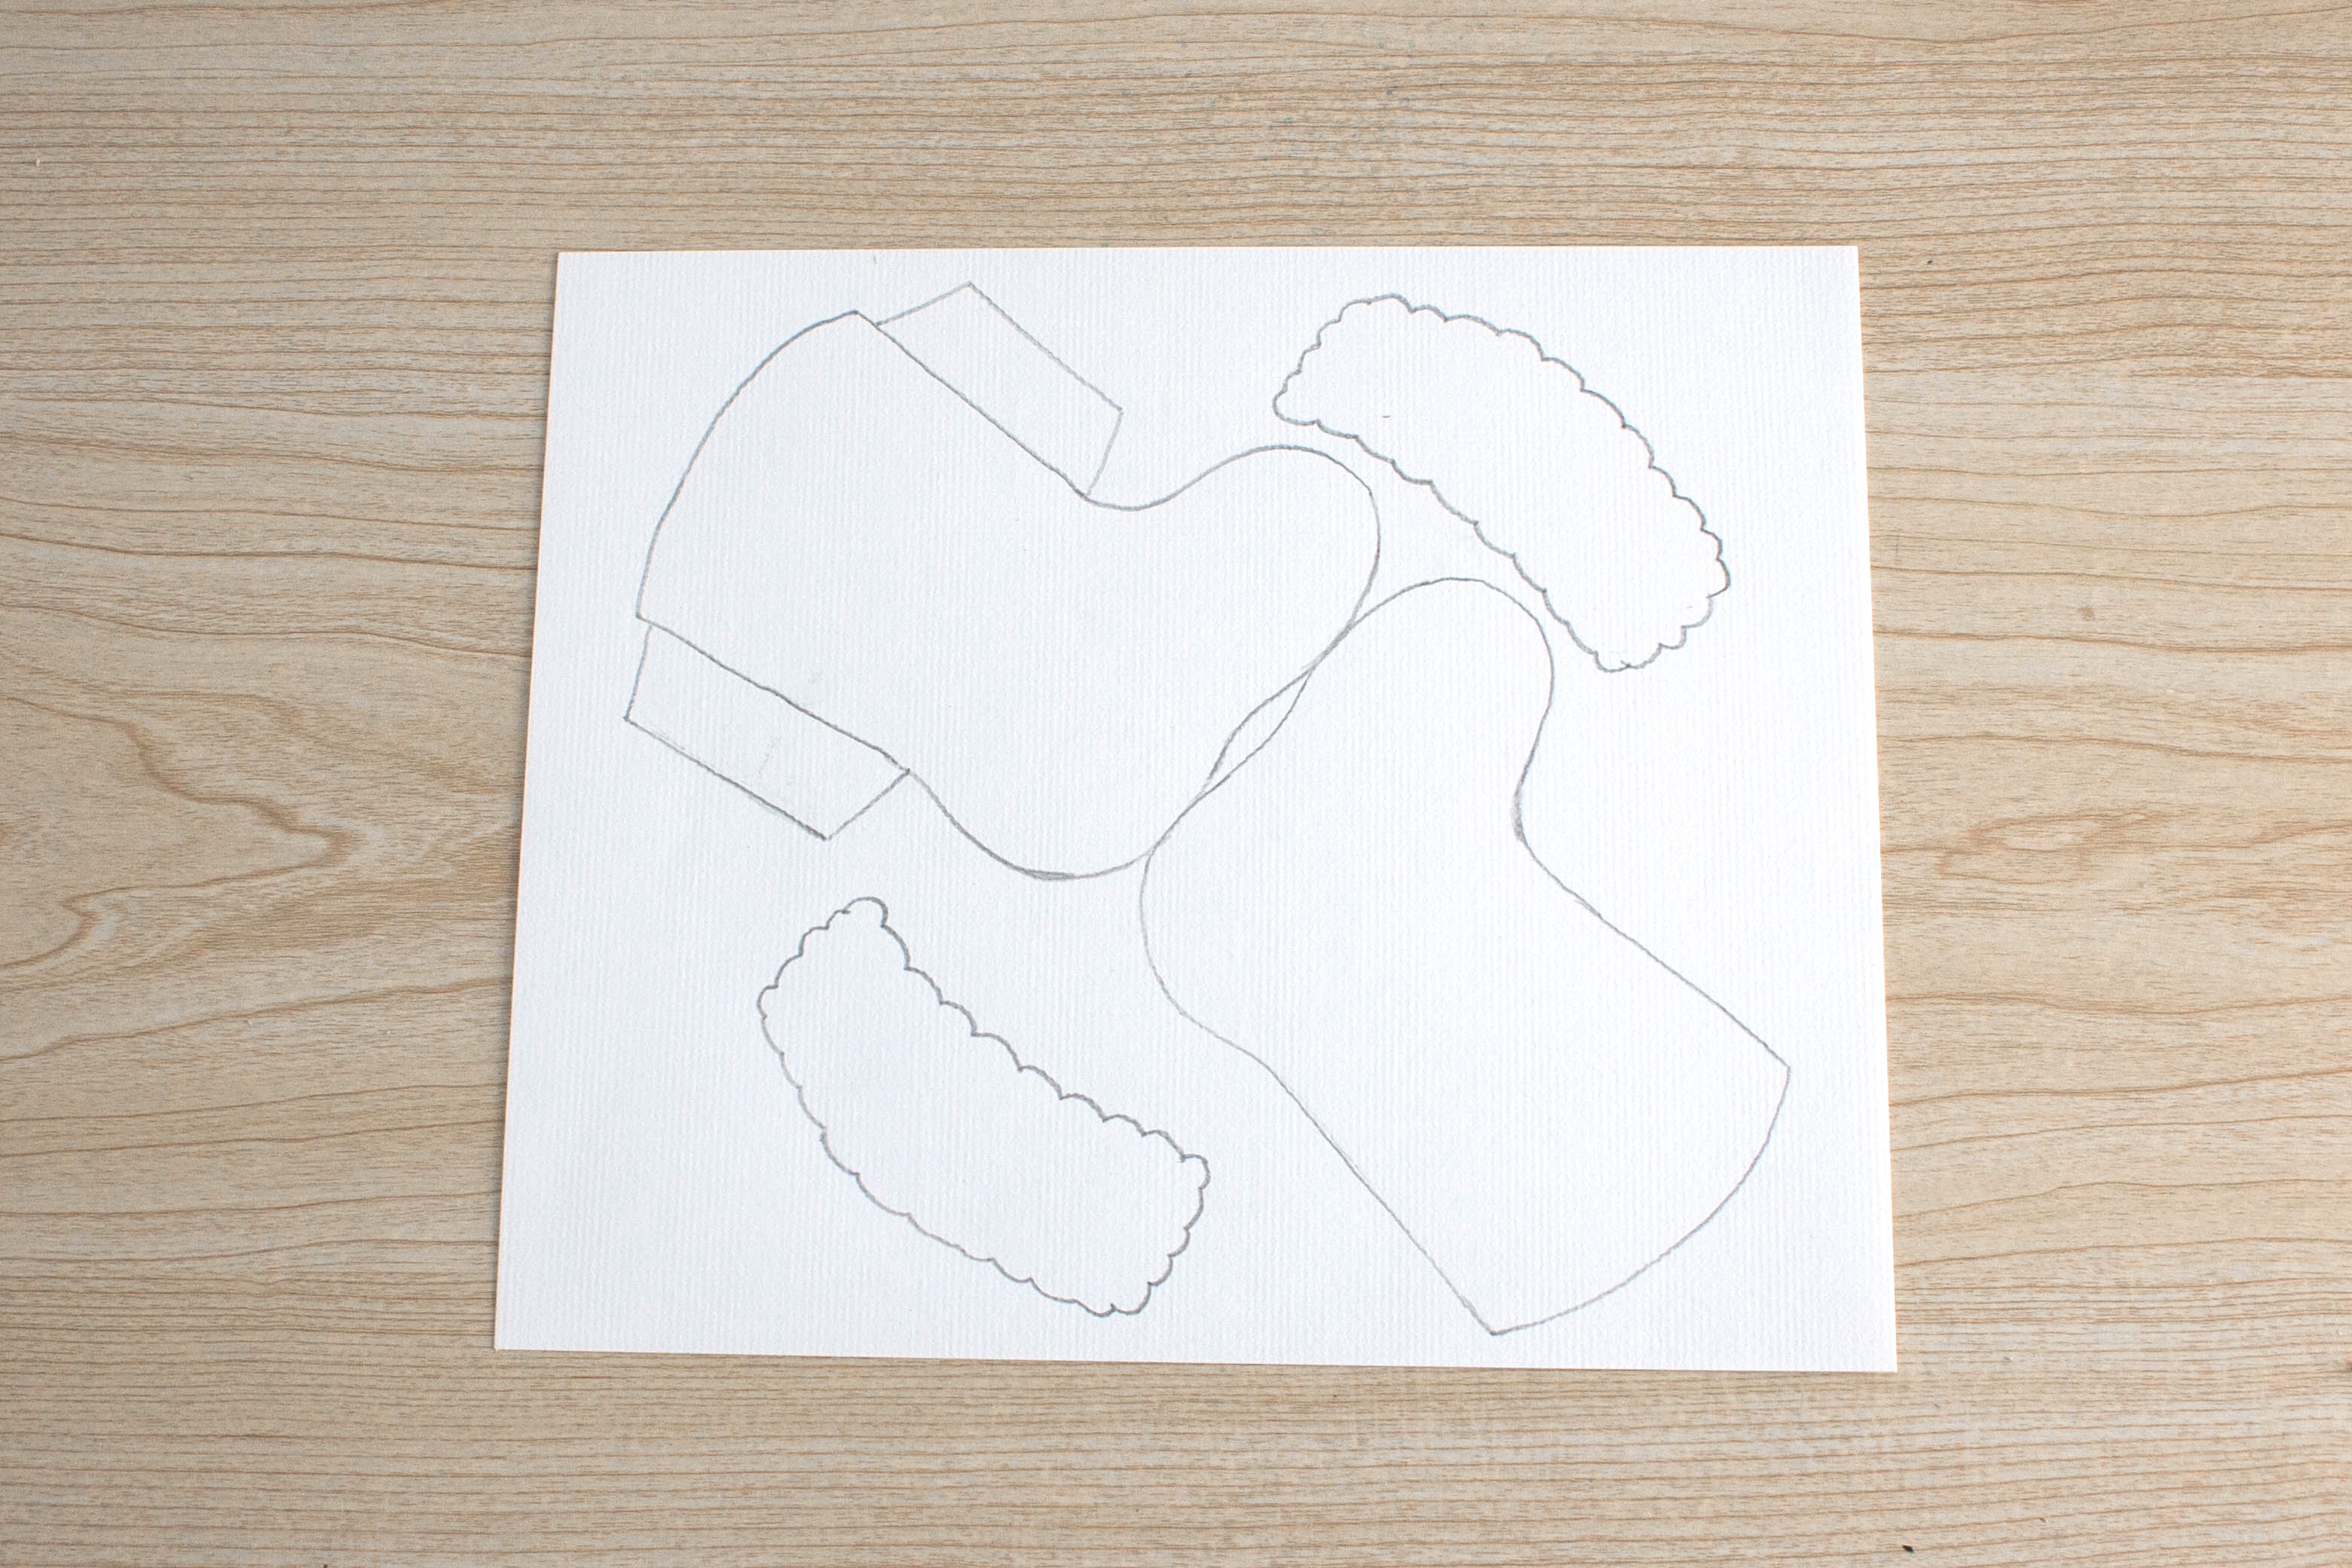
Cut out the two smaller bits that are the trim and put them aside. Roughly cut around the stocking shape, making sure to leave some space around the outlines.
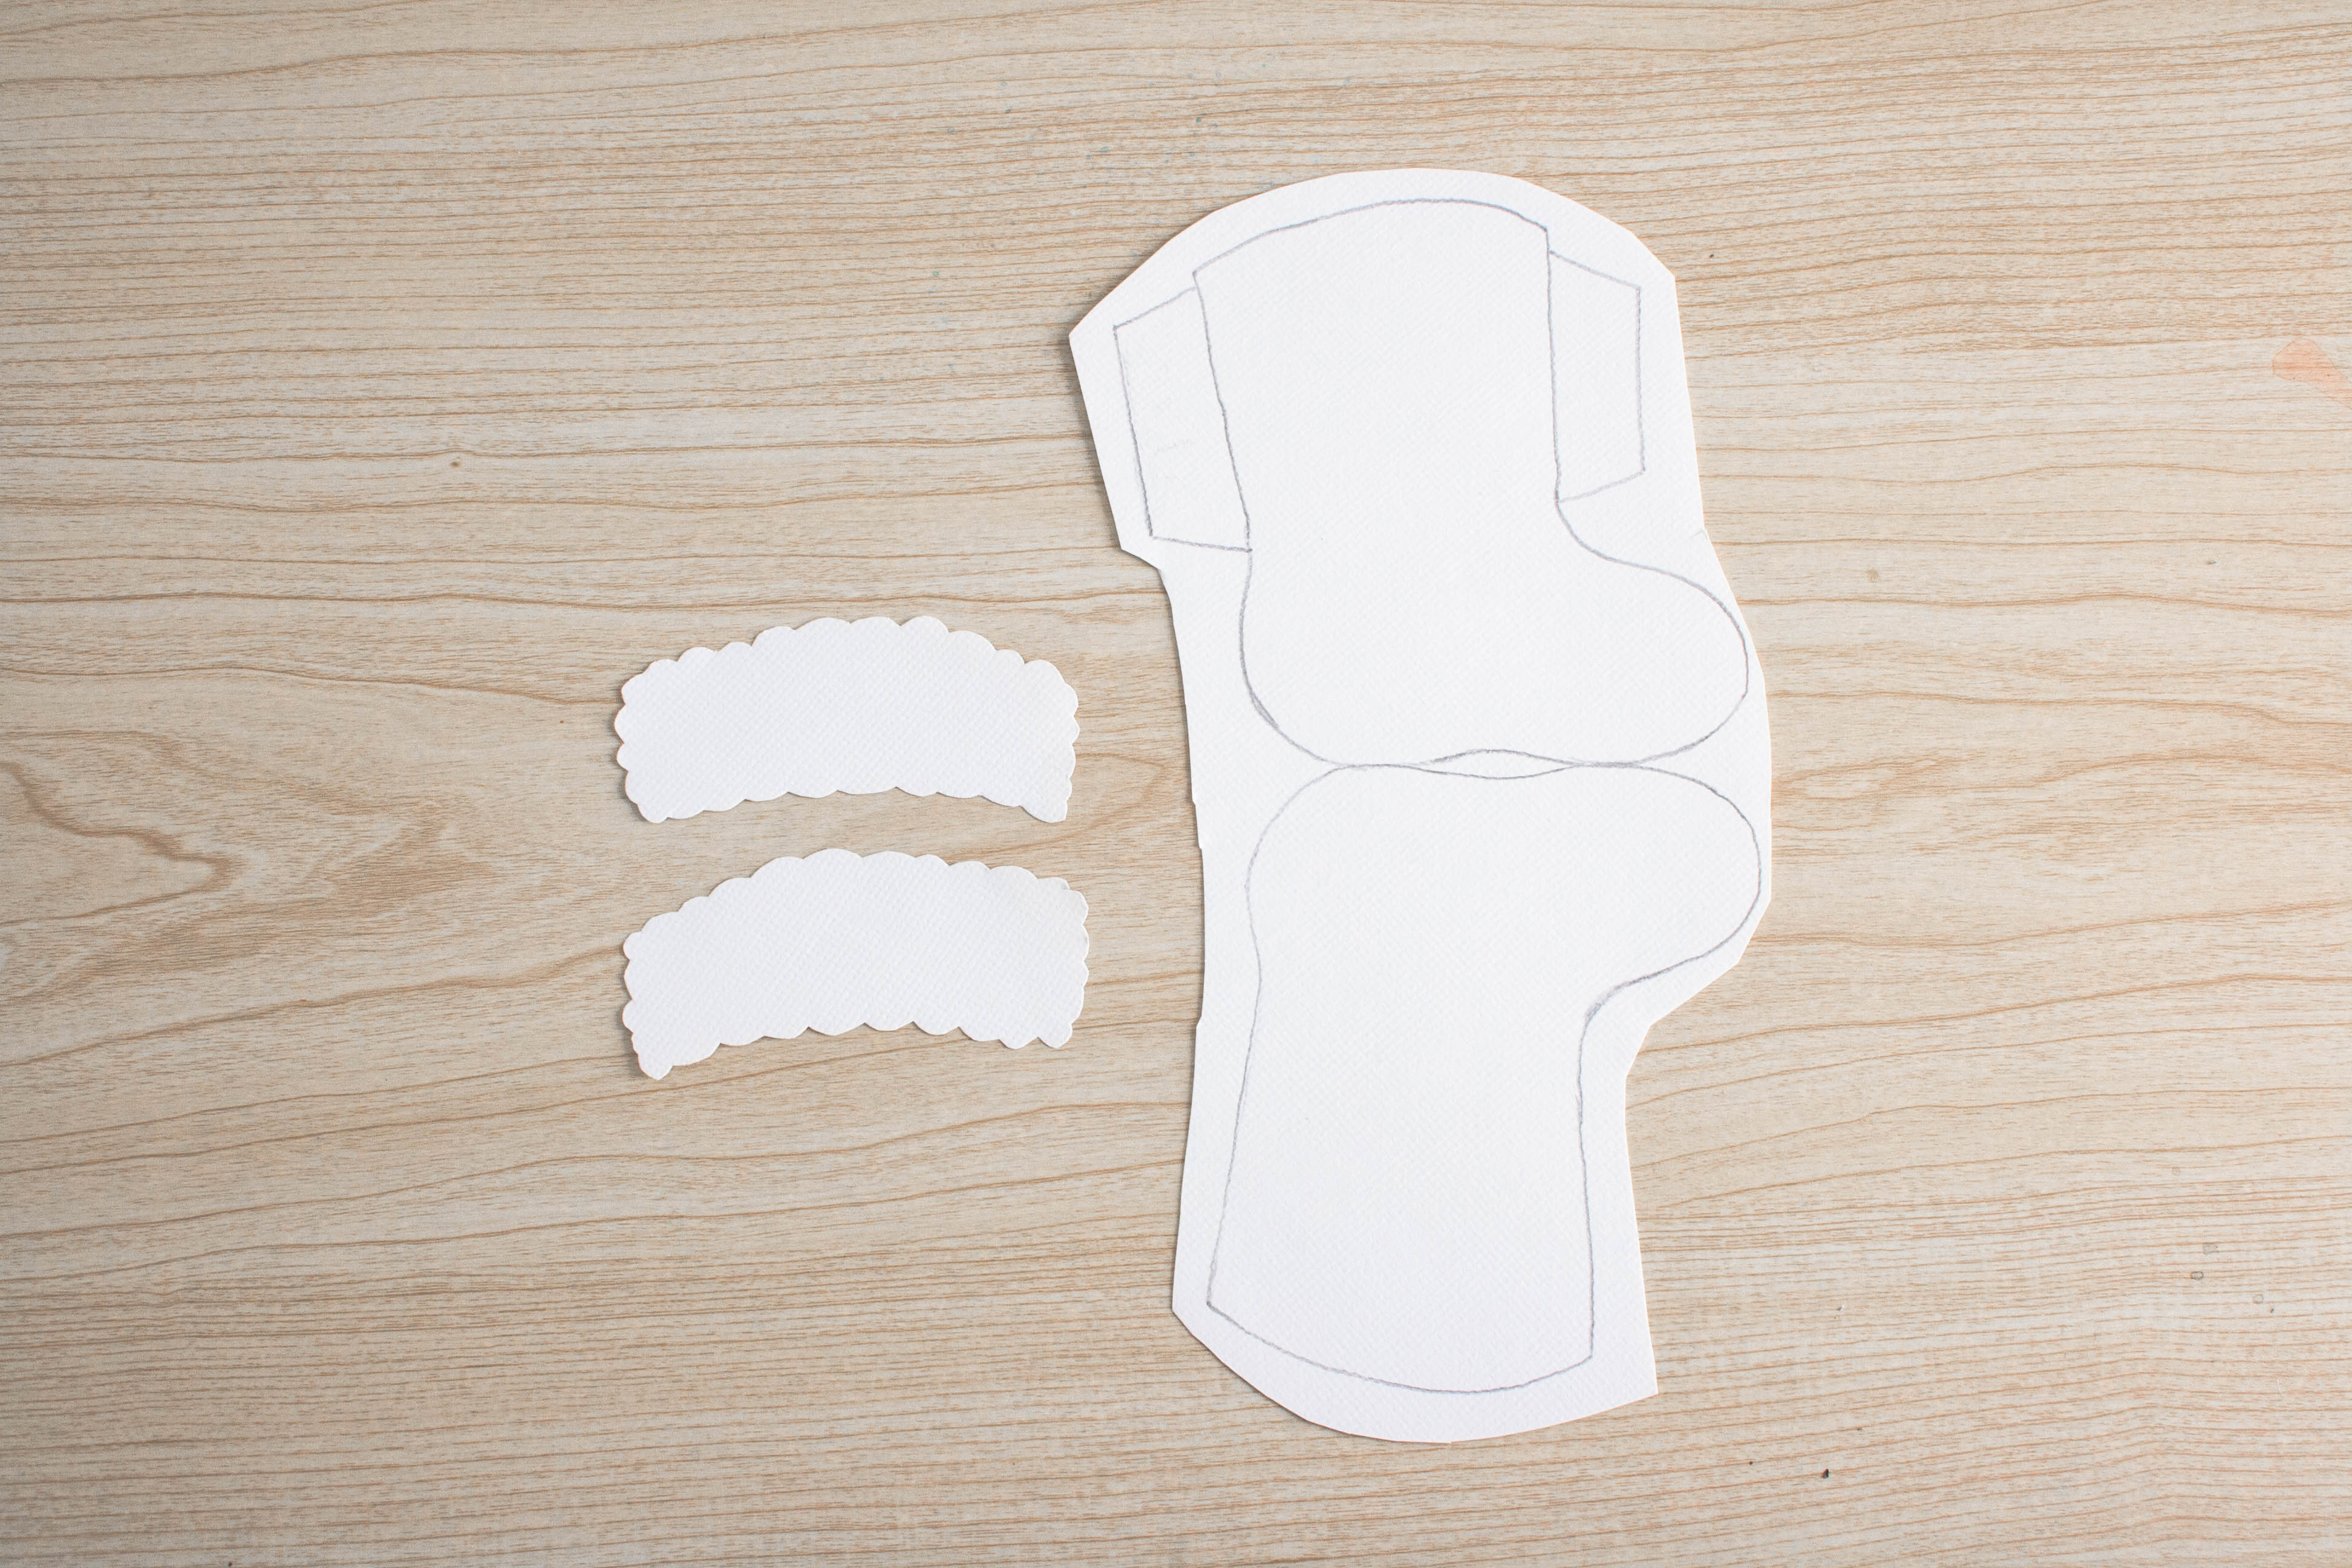
Flip the stocking shape over to the back. Cut out a section of wrapping paper of your choice, making sure you have enough to cover the entire stocking shape and then glue it on. Once in place, put it under something heavy and flat (I used a stack of magazines) and leave it to dry.
NOTE: If you’re using wrapping paper with a pattern that only has one right way up (e.g a pattern of Christmas trees that all face the same way) make sure you stick down the paper facing upright on the stocking side with the “wings”. The pattern will appear upside down on one side so make sure it’s the back side!
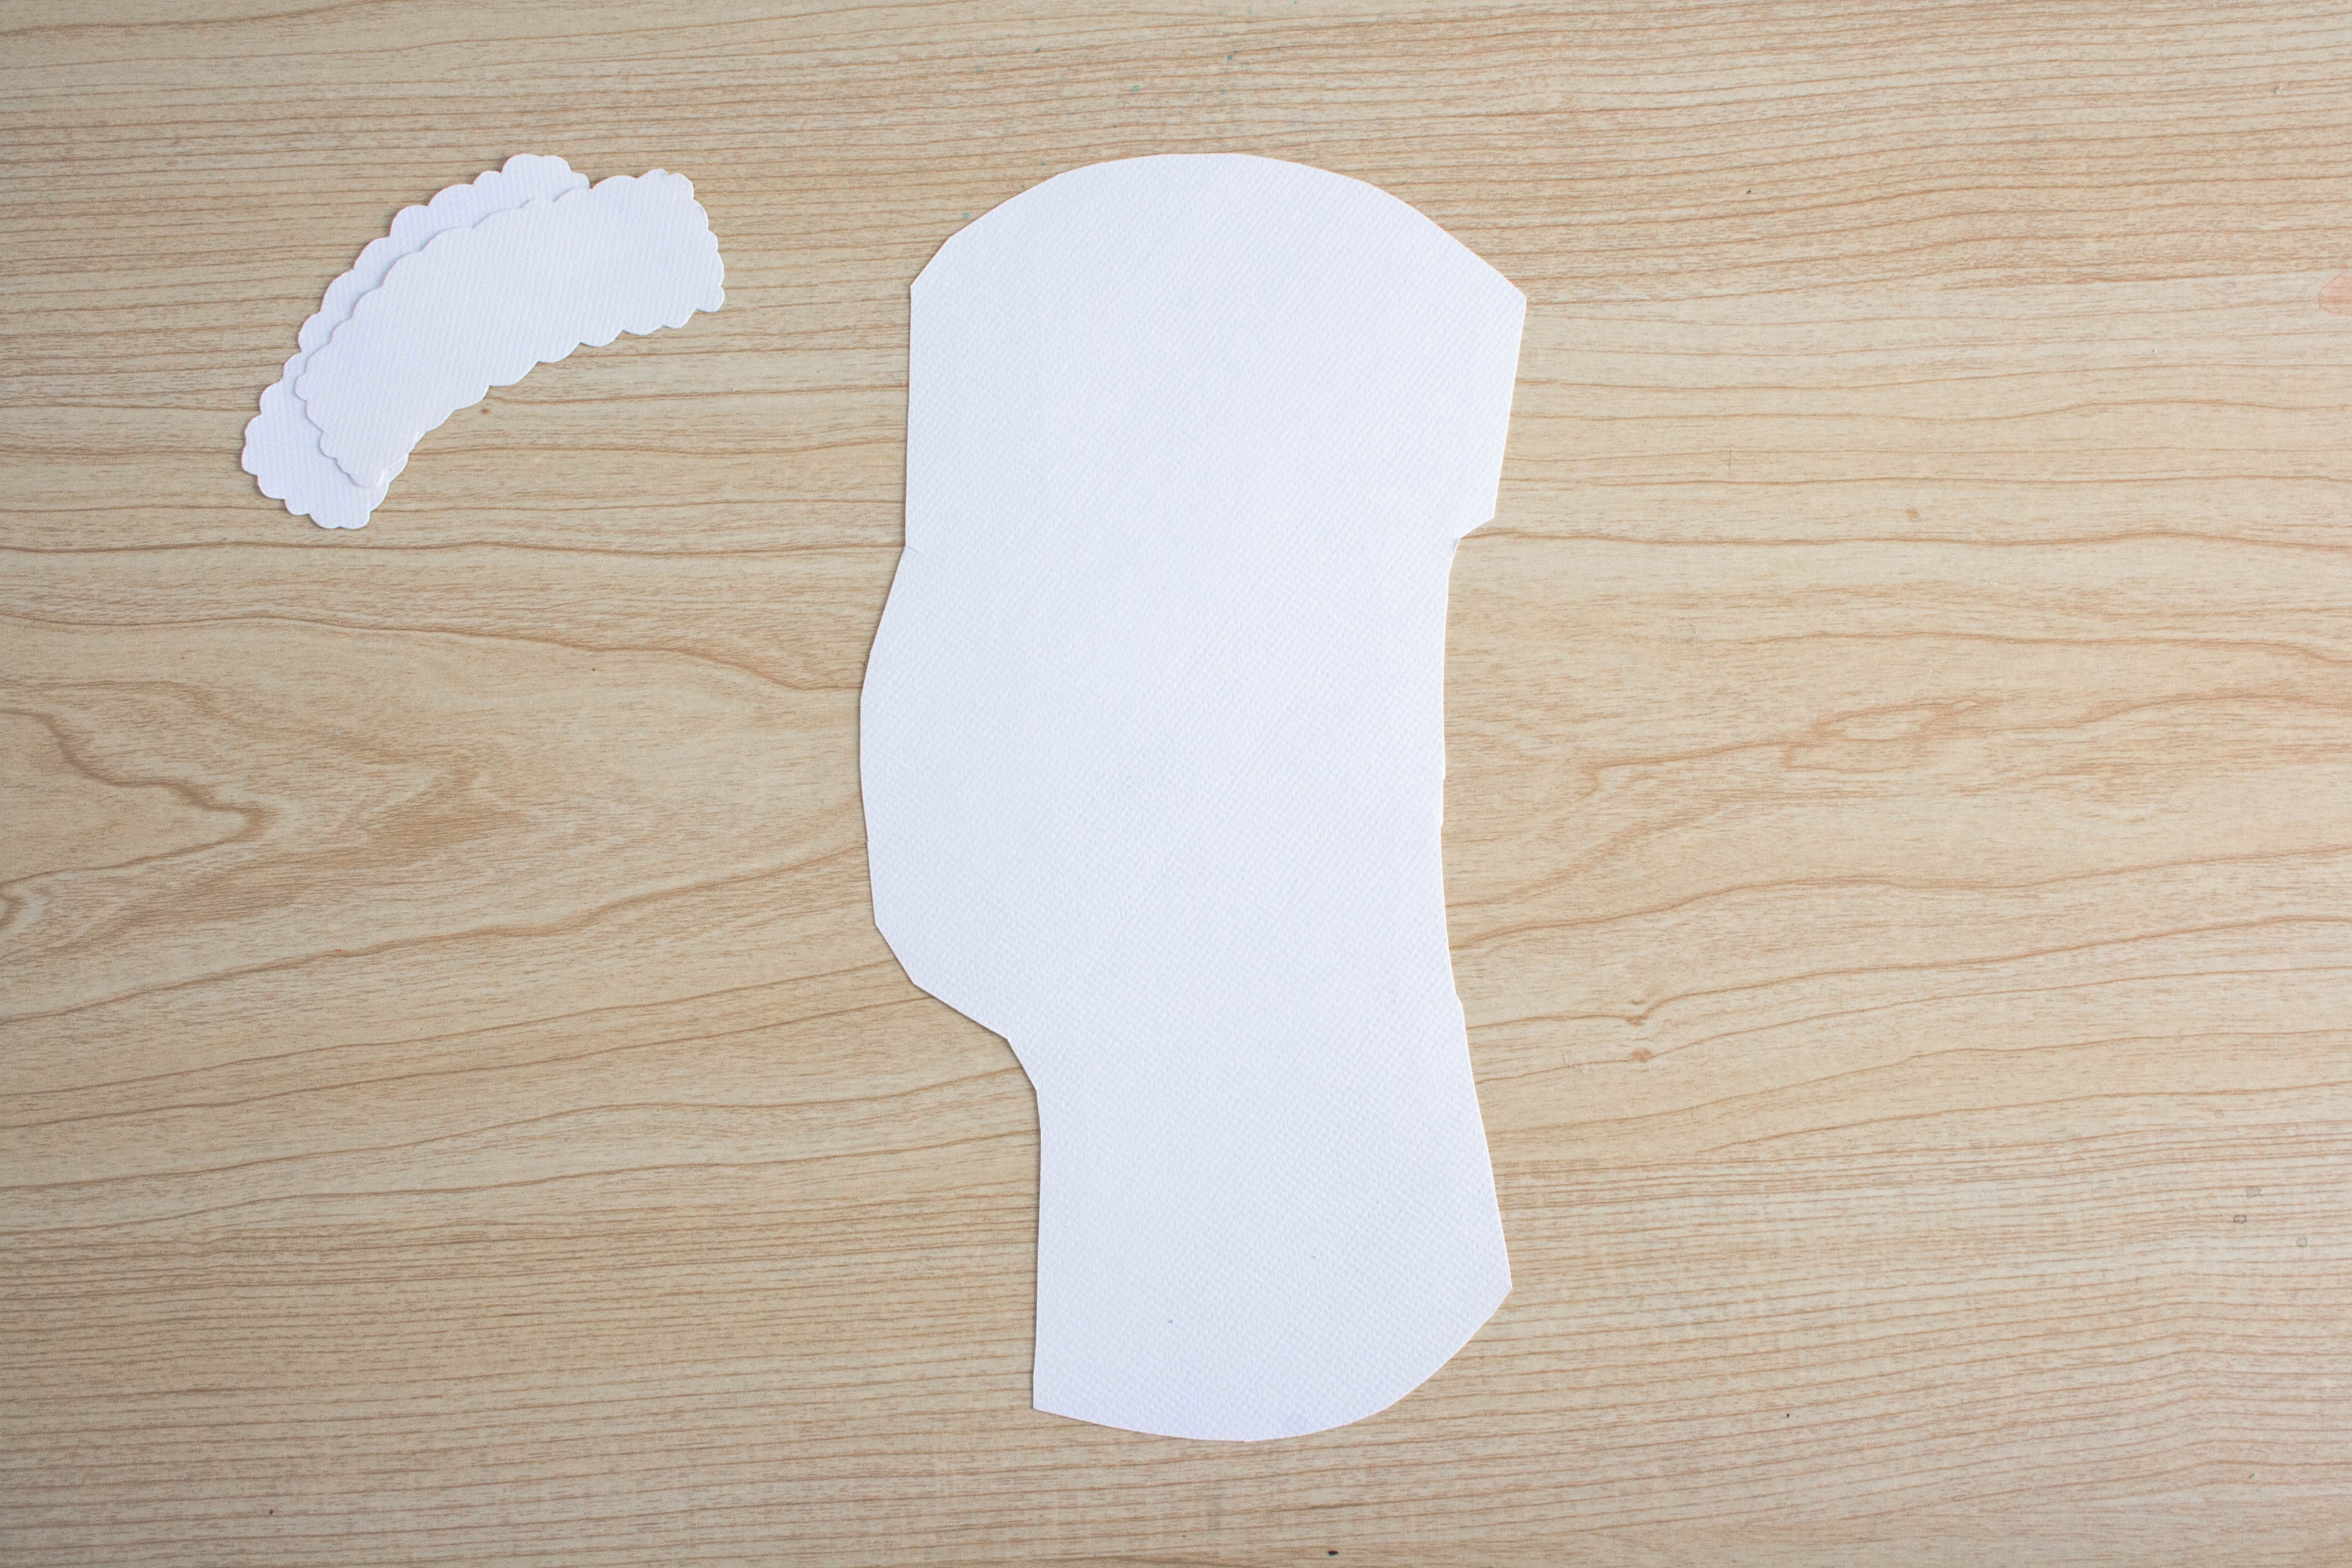

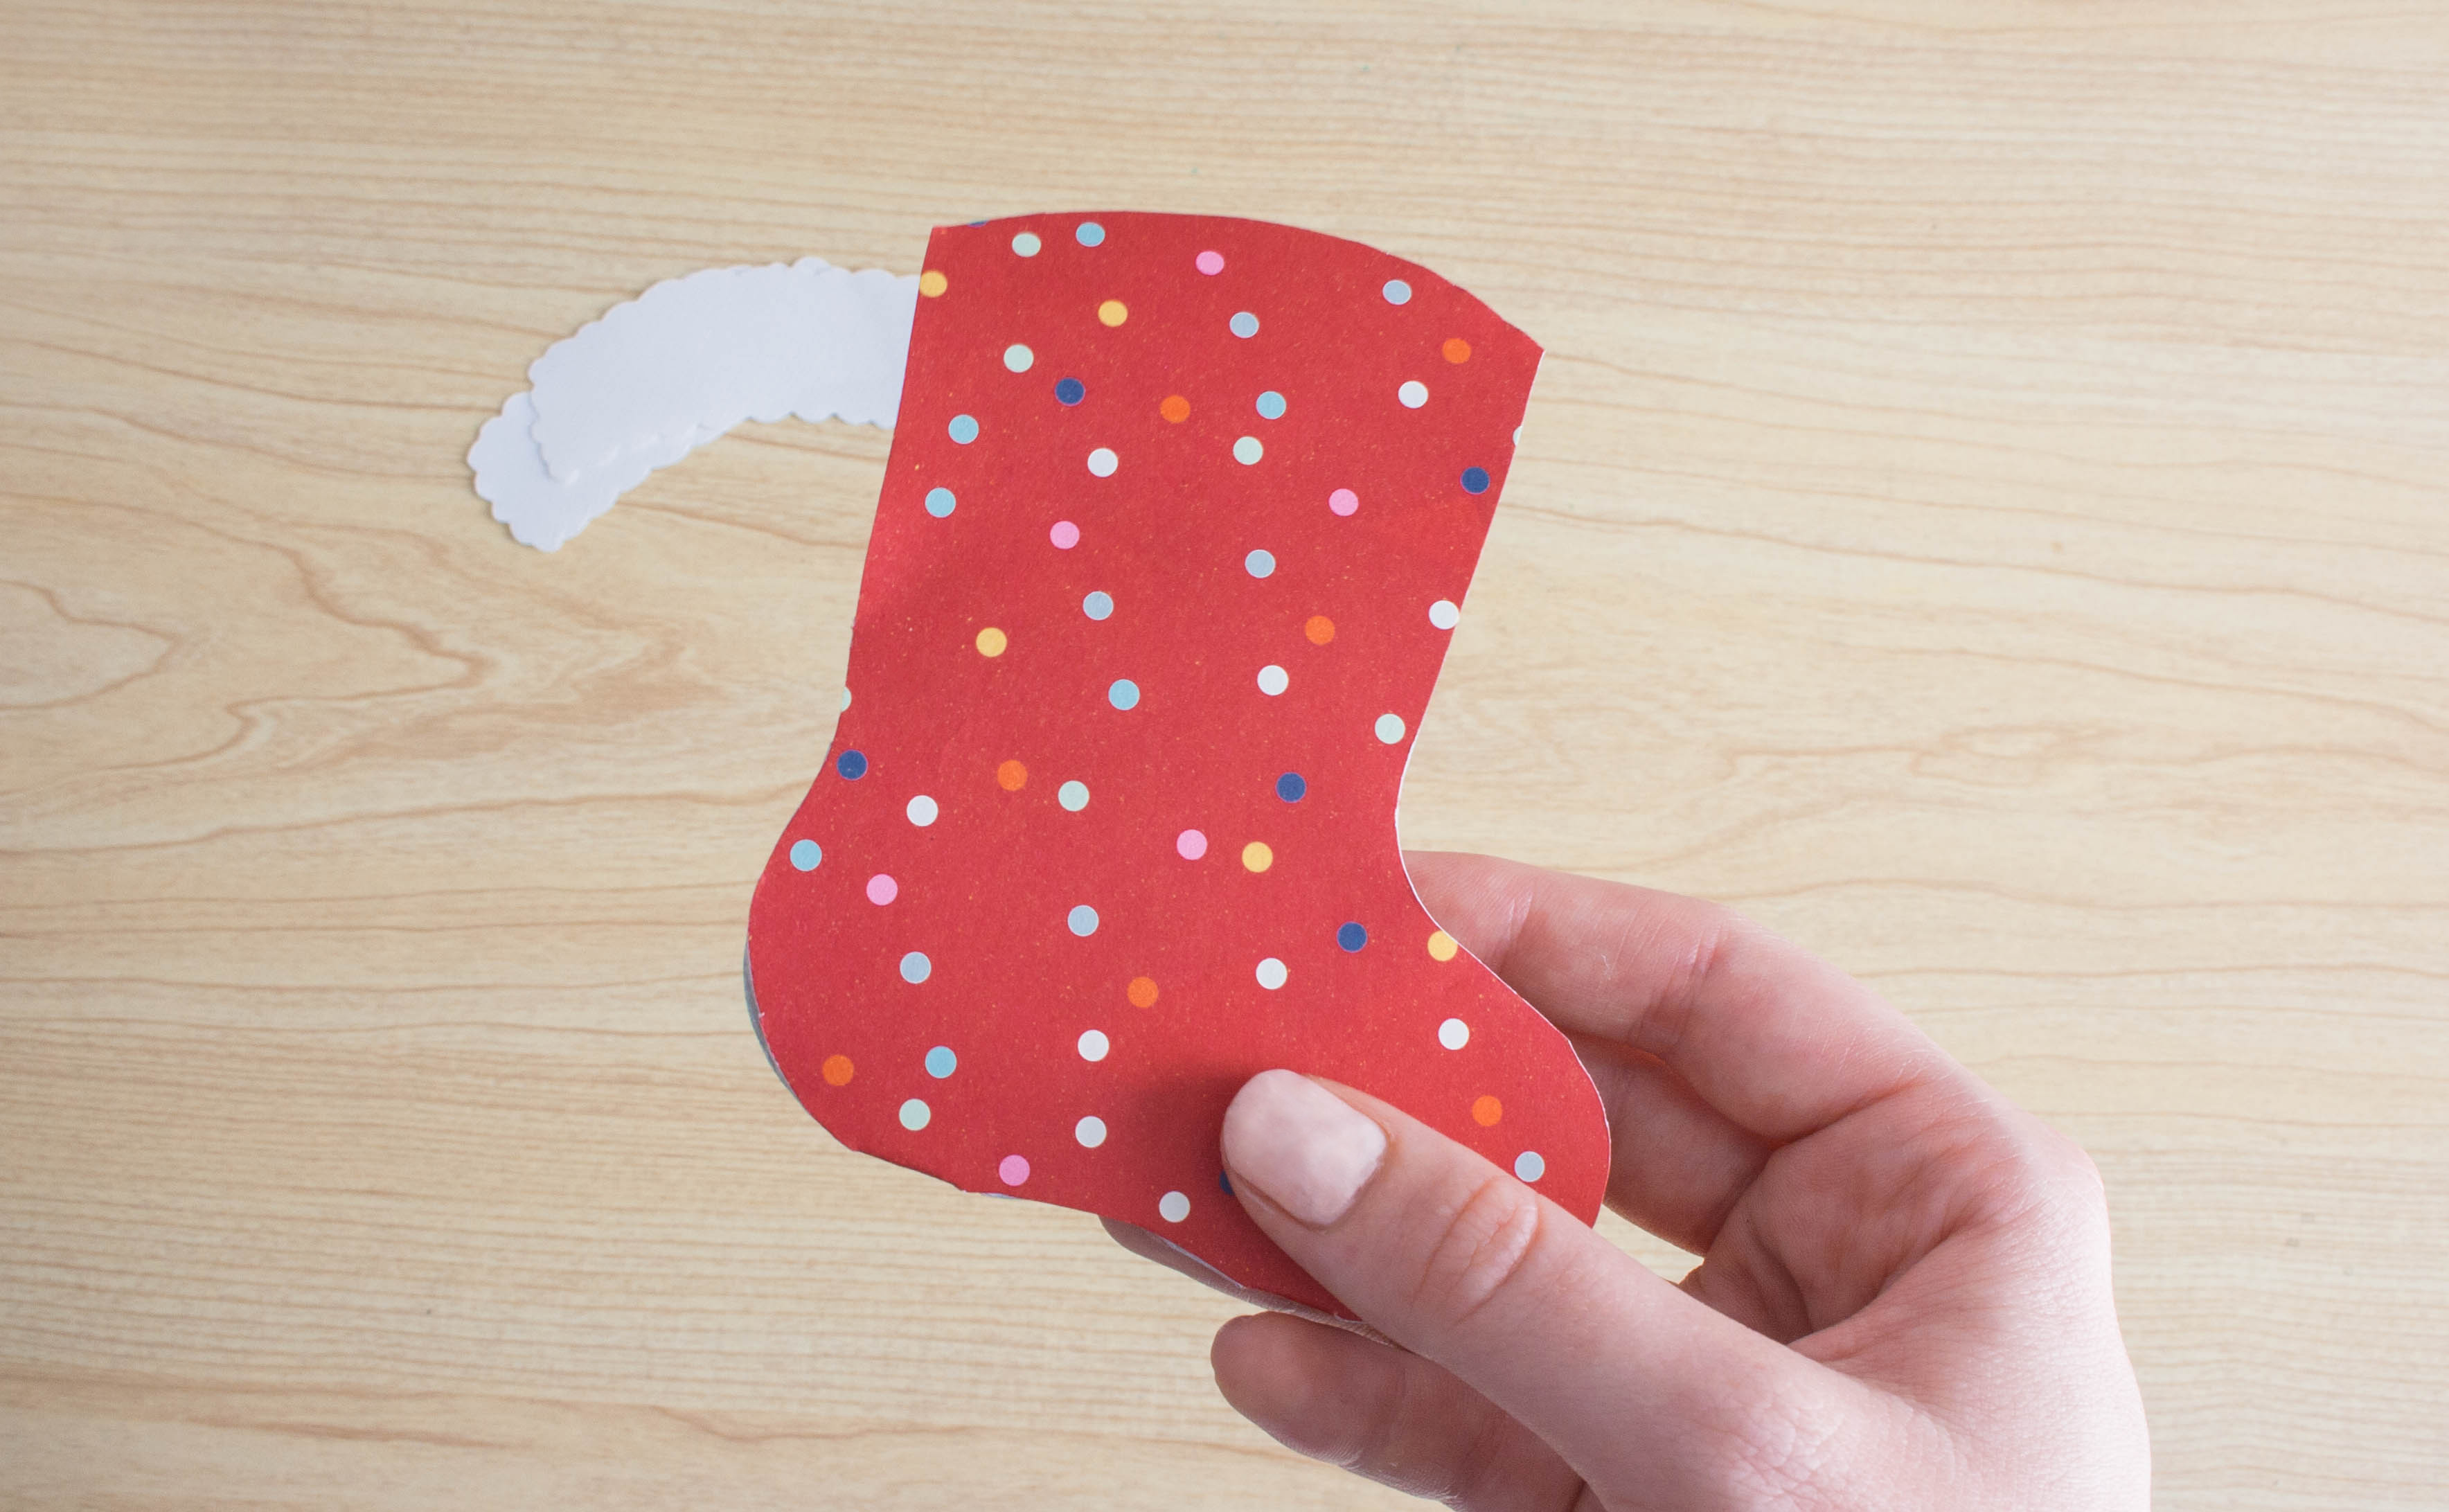
Once the card is dry, cut out the stocking along the outlines. Don’t forget the small gap on the bottom of the stocking as well.

With that done, we can now fold it up so it starts to resemble a stocking. Fold the wings inwards and the bottom part of the stocking up to the top (see image below). Try to make both sides align as best as possible but if they don’t that’s okay, we can fix that later.

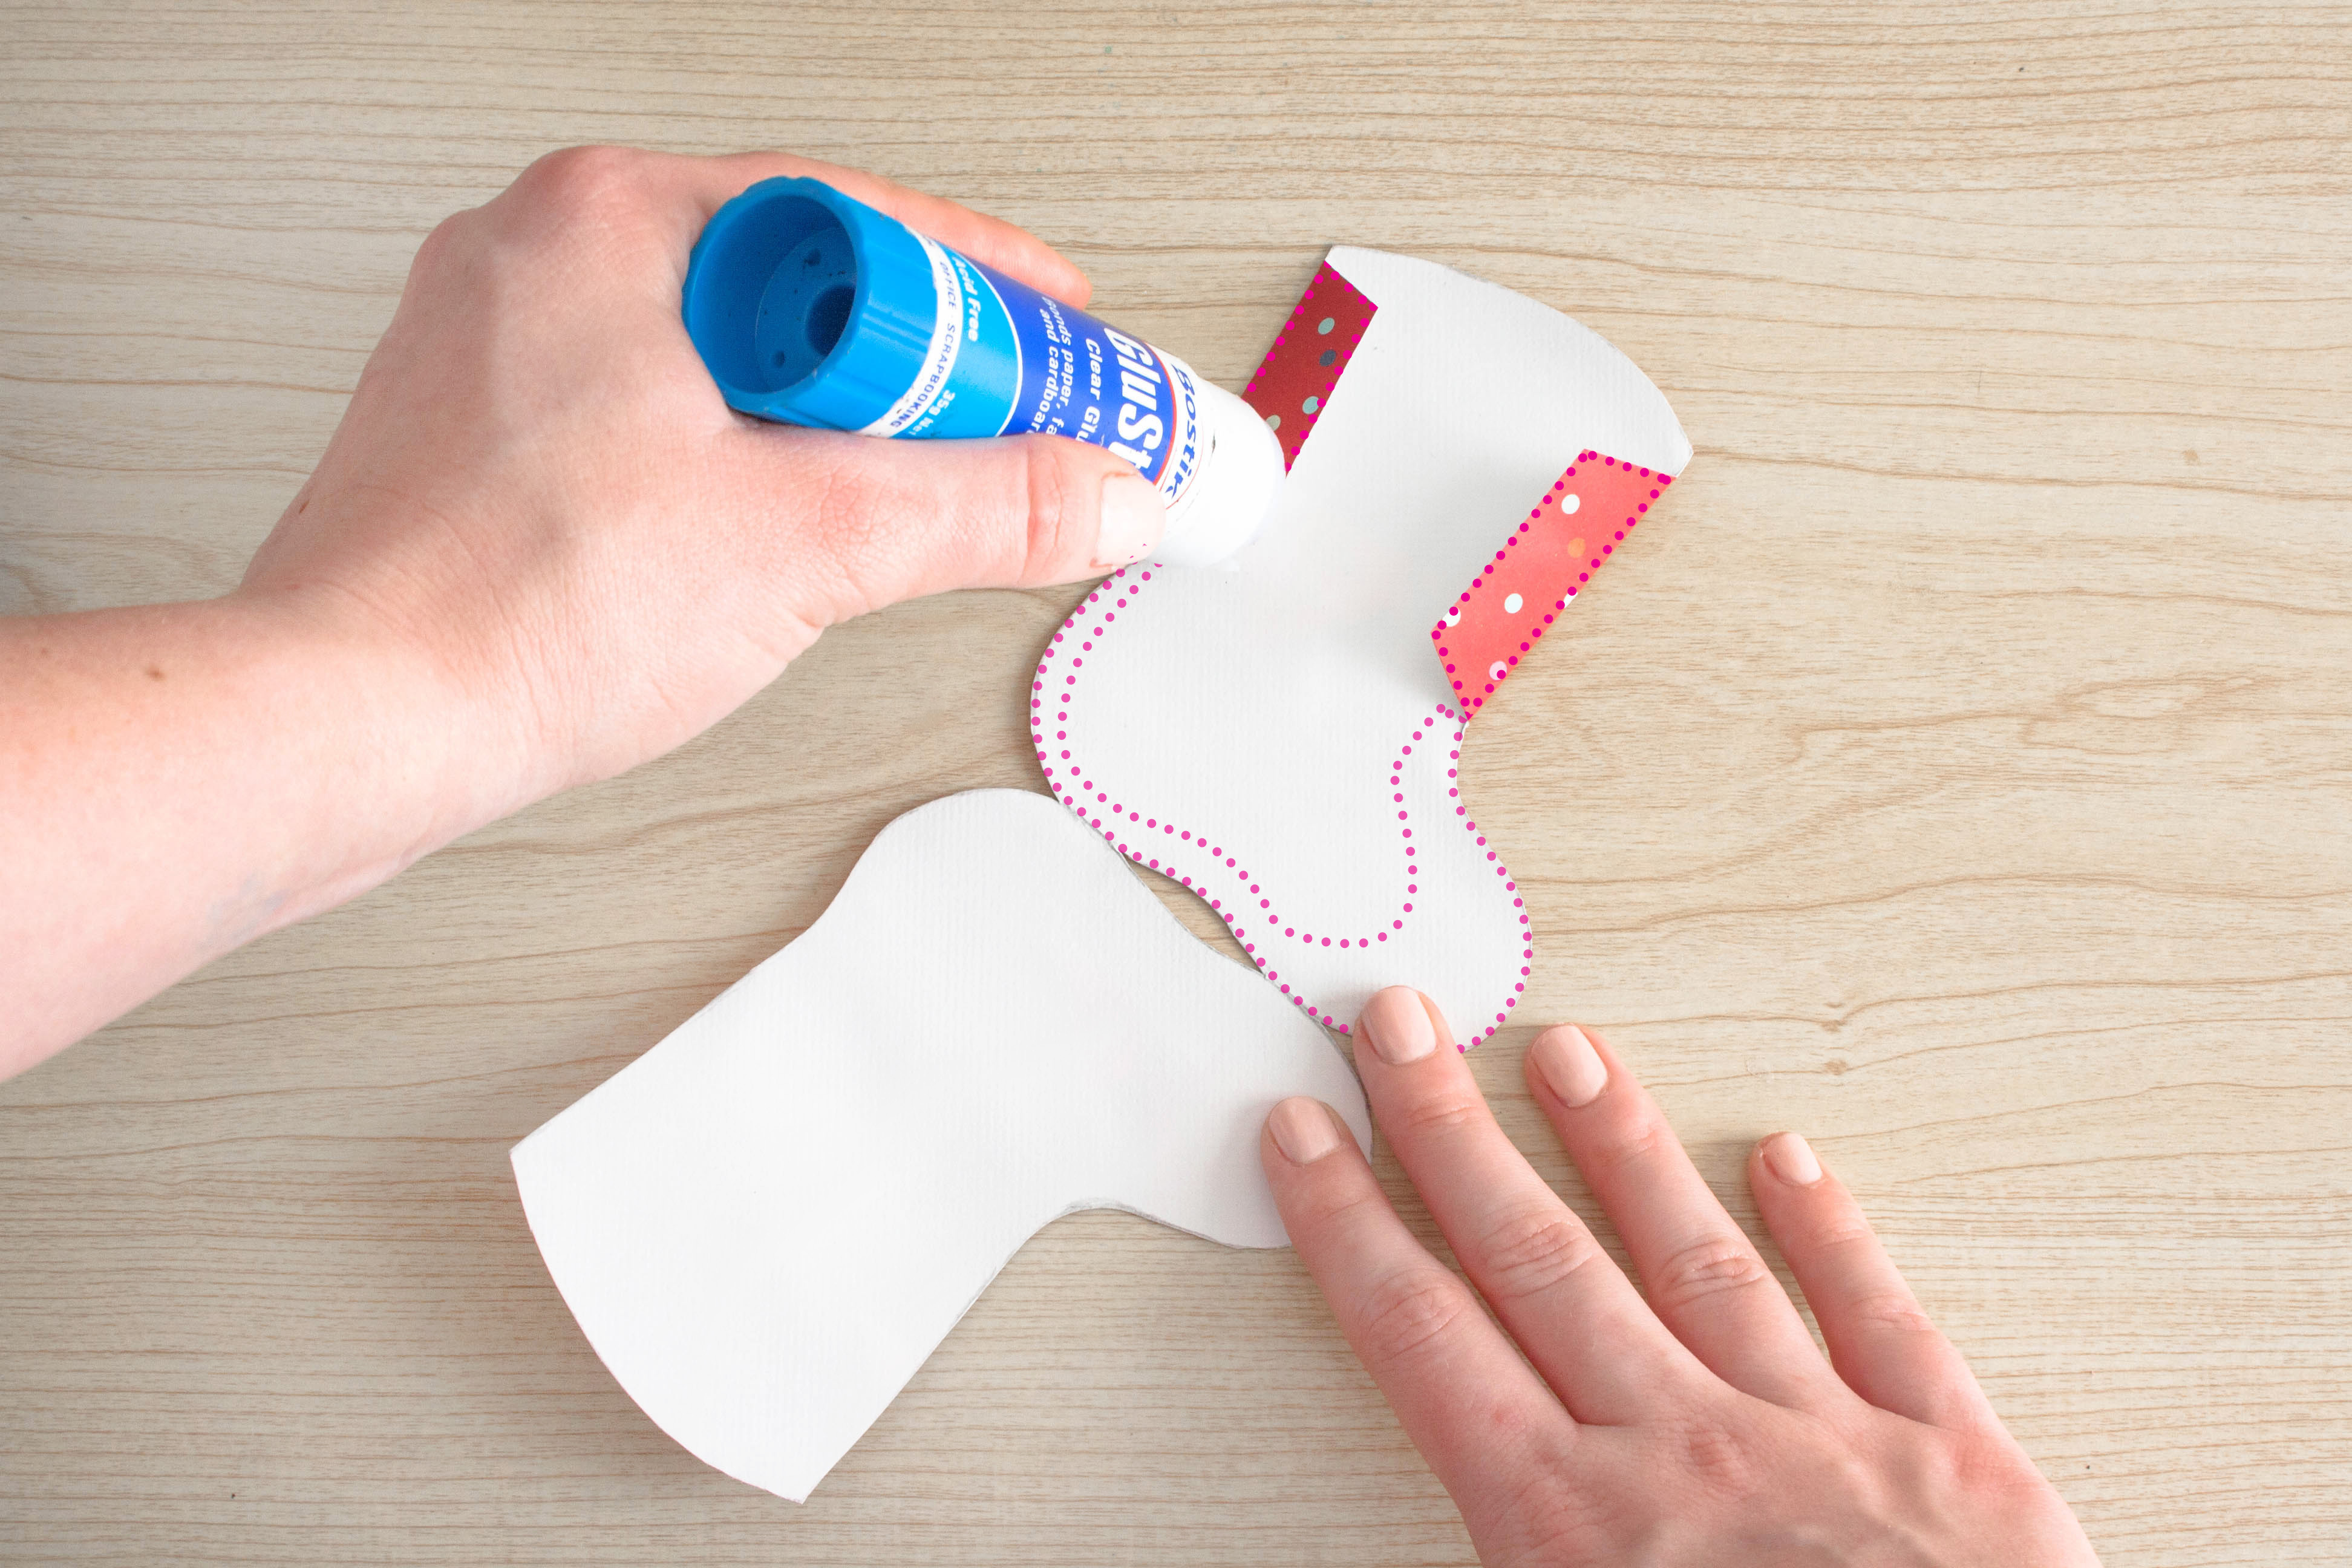
Now onto gluing this all together. Put glue on the outside of the wings and then along the edges of the bottom half of the stocking. Then fold it up again as you did before and place it under your trusty flat, heavy object to make sure it drys properly.
Once dry, gently open up the ‘pocket’ to make sure it hasn’t accidentally stuck together. If all is well next is cleaning up those edges. Very carefully trim off any overhanging sides and also round off the edges from the joins at the bottom of the the two stocking halves.

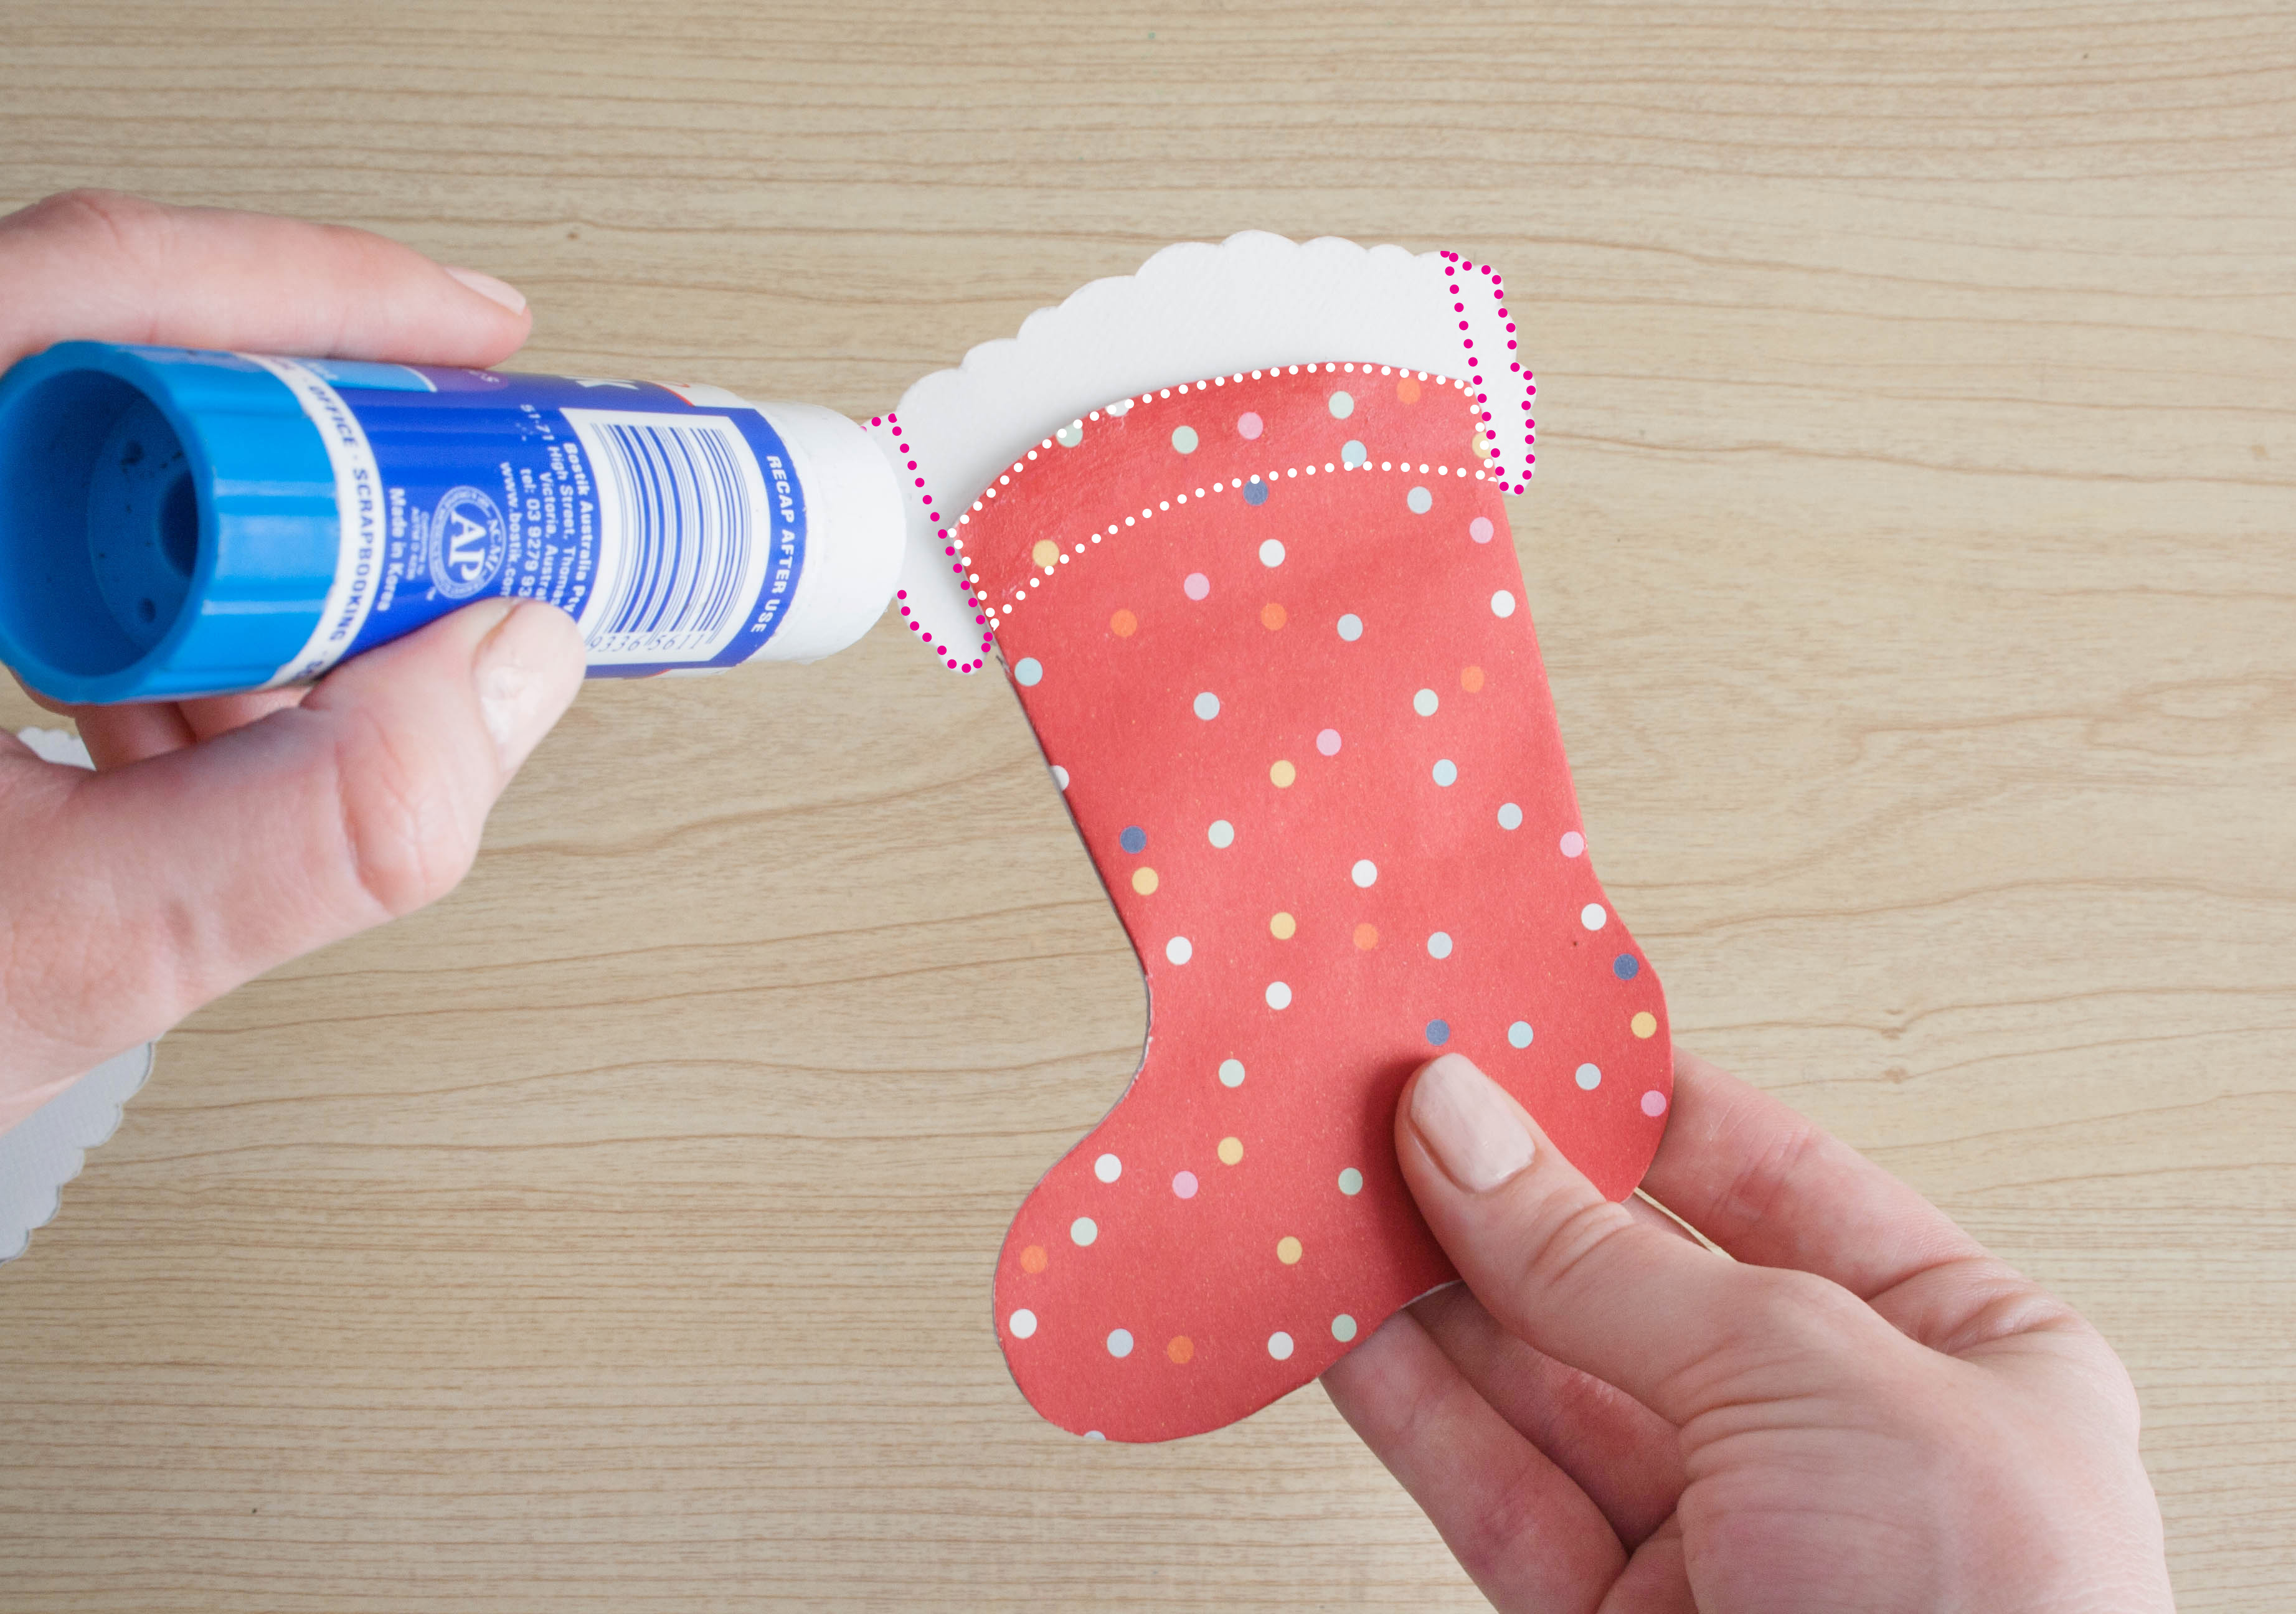
The final part is now putting on the trims. Simply put glue on the top edges of both sides of the stocking as well as the side edges of the trims and stick them on. Put the card back under your flat, heavy object again and wait for it to dry.
Once dry the stocking card is pretty much done! All that remains is to create a message card to pop inside. If you plan on using nice paper for your card, I suggest cutting out sizes on some plain paper first and test putting them in the stocking to ensure they fit correctly. Then you can use that as a template for your nicer paper. I also added some red and white twine to my message card as a little draw string to help pull the message card out.


I found these cards really easy and relatively quick to make (sans glue drying time) compared to many of my other creations. What I like about them is that you could easily mix them up with added decorations and different materials. On a few of mine I added a snowflake cut out to the front as a little variation but the possibilities are endless.
Gift Tags
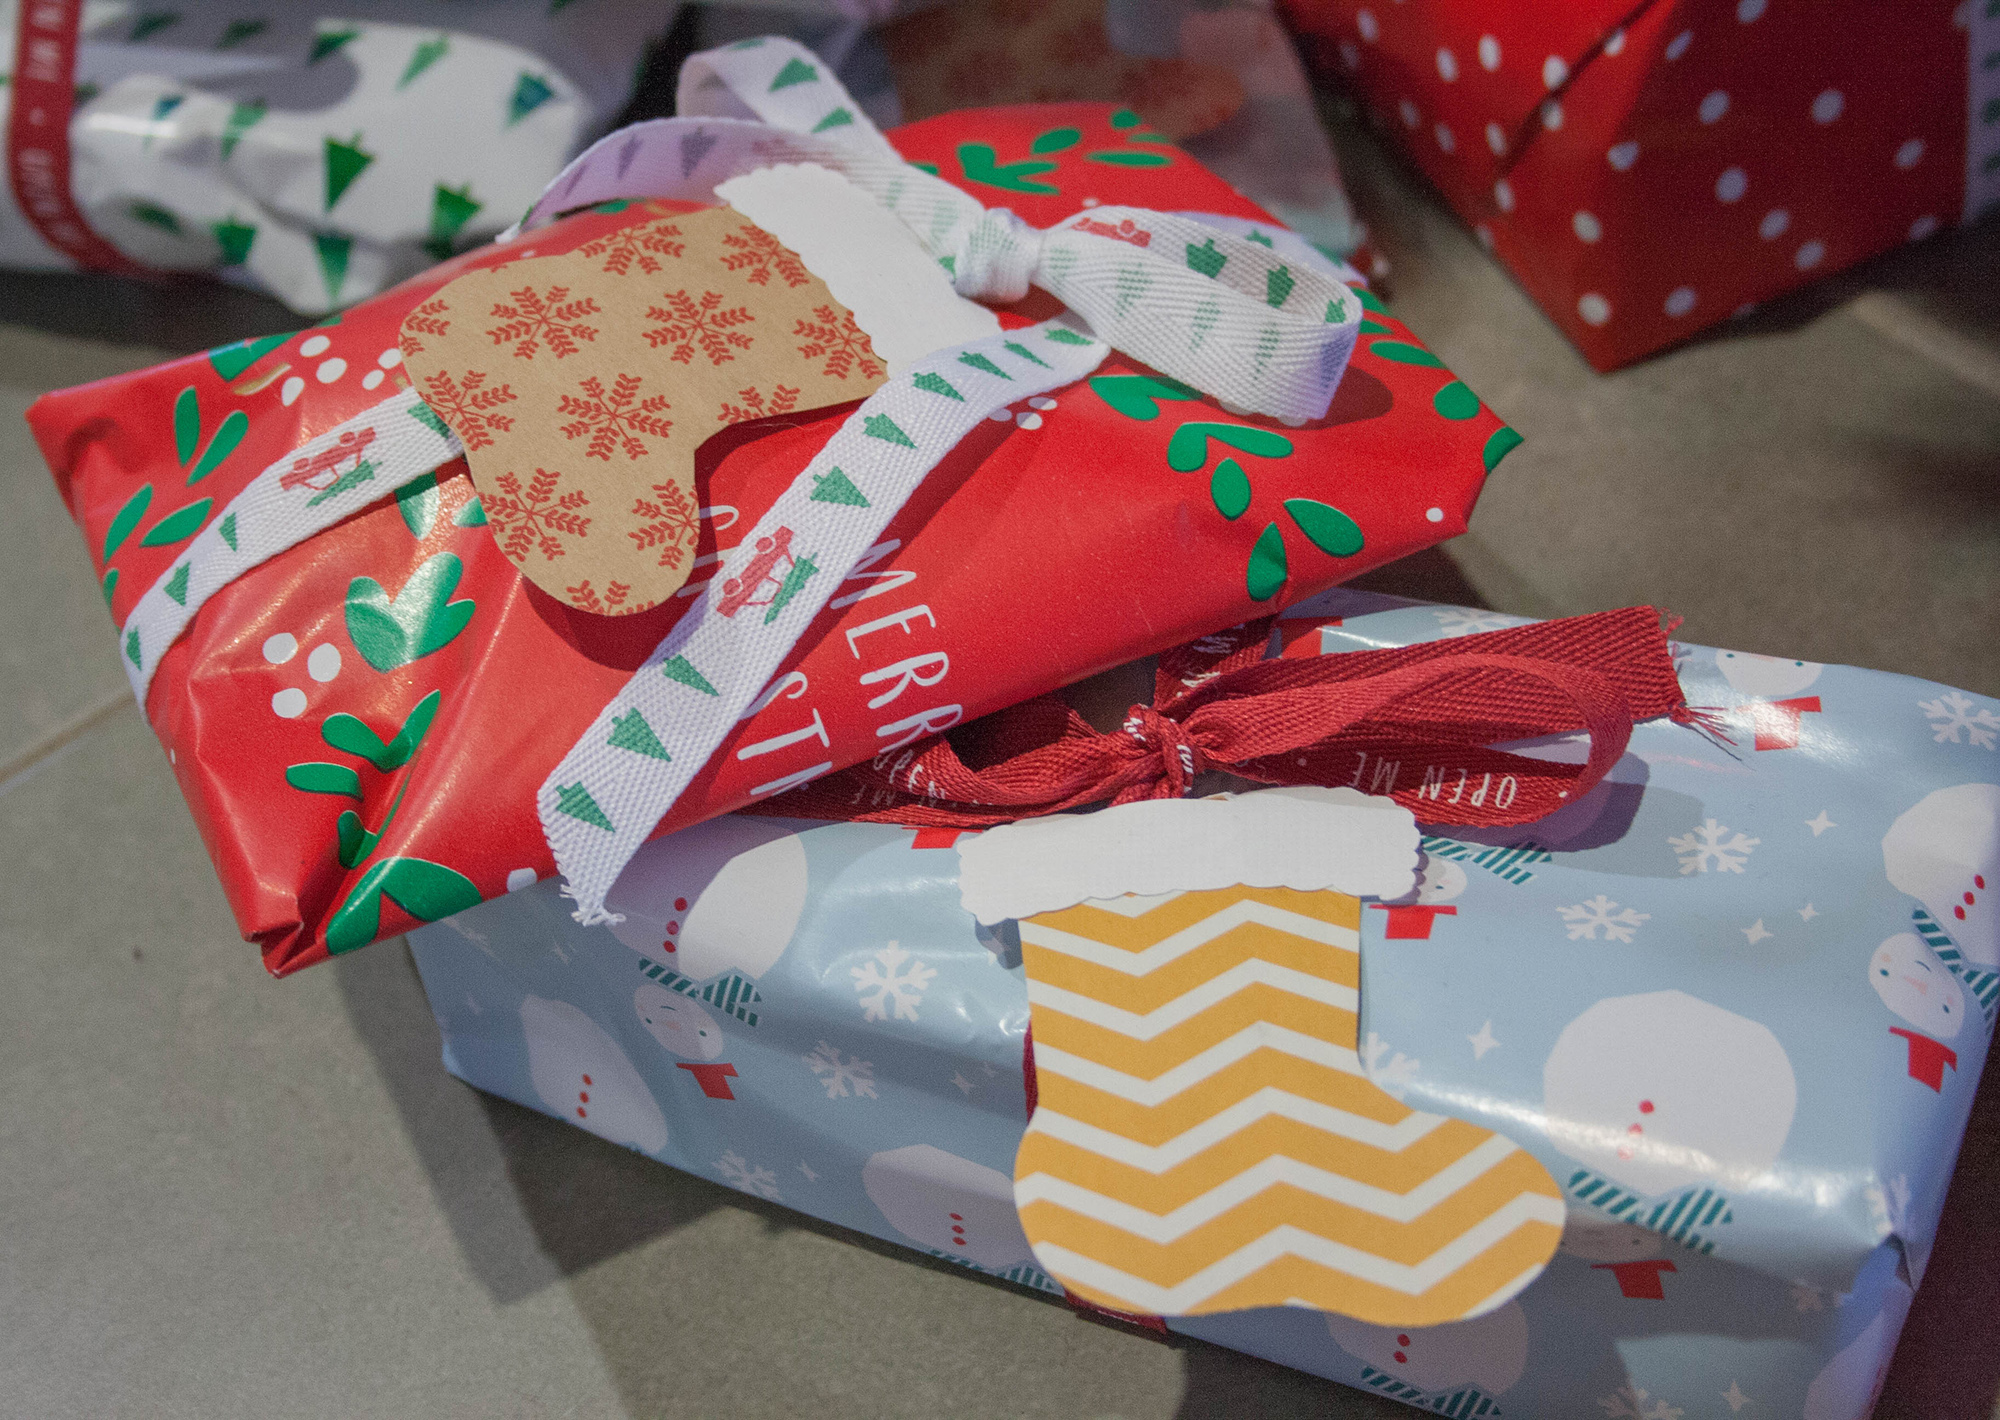
Along with the cards I always create a smaller version as well to use as gift tags for my presents. For this I simplified the card down to just a one-sided stocking with a single trim. I once again traced the outlines again onto card, this time drawing multiples on the same piece of paper. The benefit of doing this was being able to just glue one large single piece of wrapping paper onto the back.
Once the wrapping paper was dry, I cut out all the stockings and attached the trims. Then they were ready for adding to presents!
And with that, all Christmas cards and gifts tags are done for 2015! I hope some of you find this useful.
Now to start pondering next years creations…


