Continuing the theme from last year of avoiding overly complicated cards, I wanted to find something that wouldn’t be too stressful to create. I’d always had an interest in using gold leaf but was unsure how difficult it would be to incorporate. After doing some digging and watching some videos, I discovered that the process was rather simple and the materials fairly inexpensive. From that moment, I decided to create a completely gold leaf card with a simple brushstroke design.
The only materials you need to get started working with gold leaf is some brushes, gold leaf sheets and a special adhesive, all of which you should be able to pick up any good art supply store. For the gold leaf sheets, you don’t need to buy the expensive ‘proper’ version, gold imitation leaf works fine.
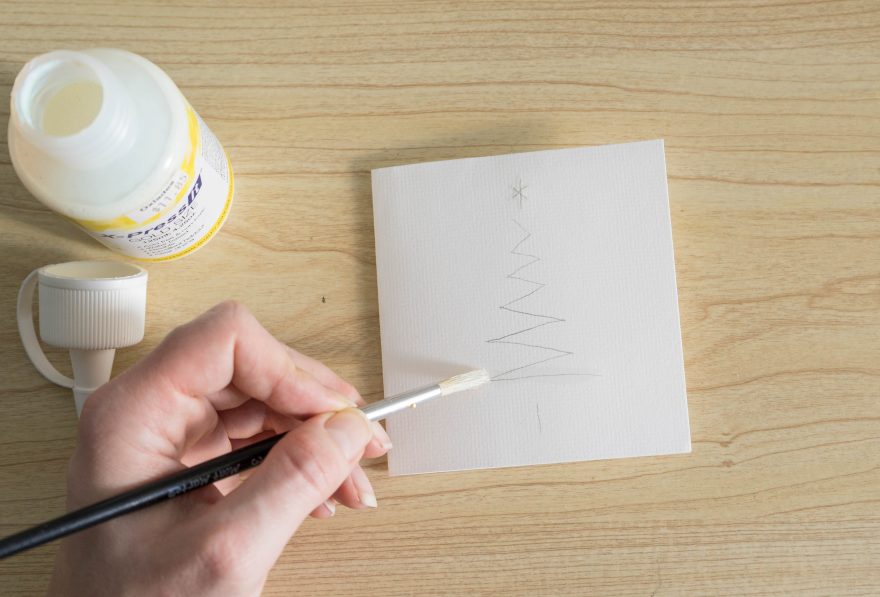
For these cards I chose a Christmas tree design again because, being me, I love the tree shape and I could keep it rather simple. Depending on how you’re applying the adhesive, you may want to sketch your design out on the paper first to use as a guide that you can follow with your brush.
I chose brushes that were relatively small but were also a little rough to ensure that I could capture the texture in the strokes. Simply dipping into the adhesive, I followed the guide with the brush up the tree, applying an even coat, and used a smaller sized brush for the star on the top.
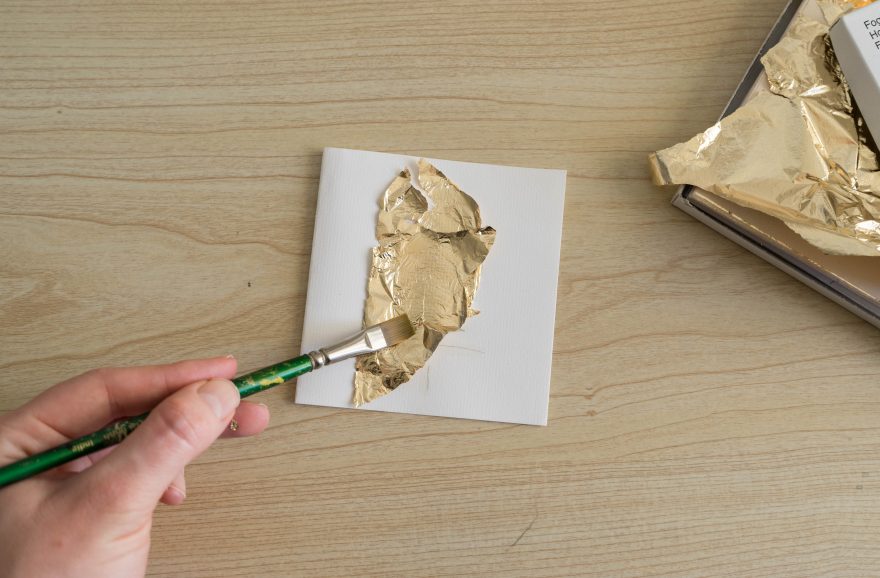
Once the adhesive is applied, leave it to cure for about 10 minutes or so (check the instructions on the label) until it has a tacky texture to the touch. Once it feels tacky, you’re ready to start applying the gold leaf.
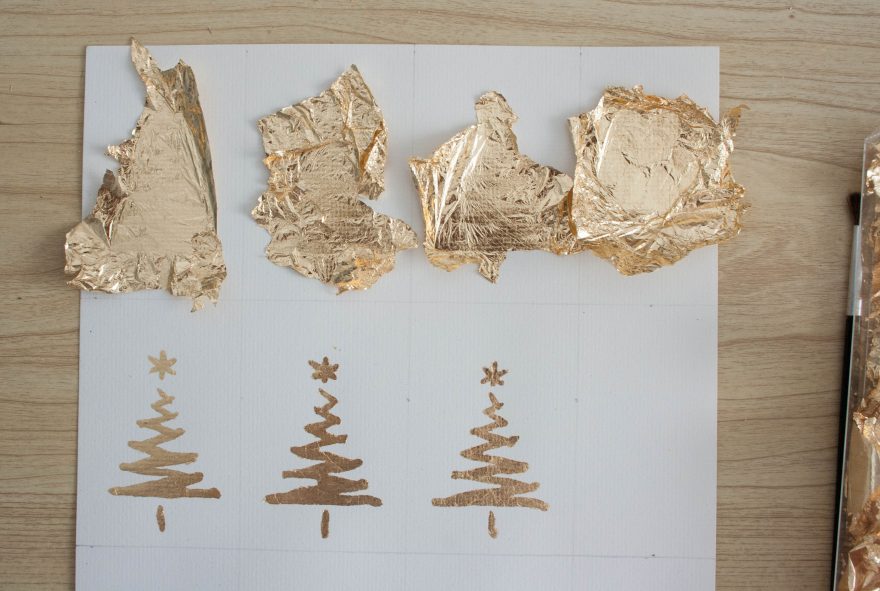
Take a single gold leaf and lay it over the design. Depending on the size of the your design, you may need more than one. Make sure that every bit of where you’ve applied the adhesive is covered and don’t be afraid to fold the gold leaf over or rip off bits and reapply them elsewhere. The material is extremely generous and it doesn’t need to look pretty at this stage.
With all of your gold leaf now on applied over the adhesive, gently use a clean brush or a cloth to press down and smooth out the gold leaf to make sure its all flat. Once this is done, leave the cards for at least a couple of hours to let it fully stick down.
After this time has passed, we can begin removing the excess gold leaf and reveal the final card! Tear off any large sections first and set them aside, you can save these and reuse them later. Then using a brush, slowly work around the edges to remove the excess, lightly pushing inwards. Once its all removed, there may still be some tiny ‘edges’ left that stick up. I found lightly using a cloth over the design in small circles helped removed these little edges.
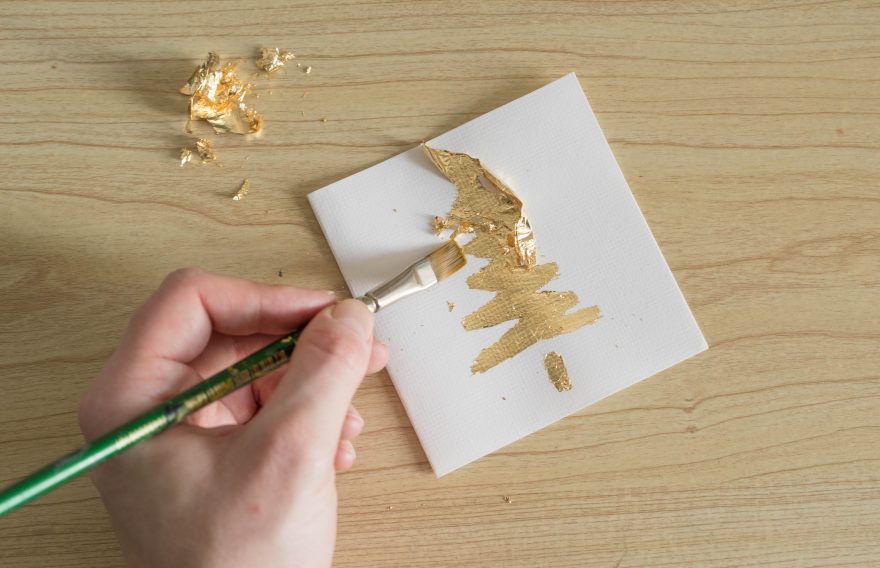
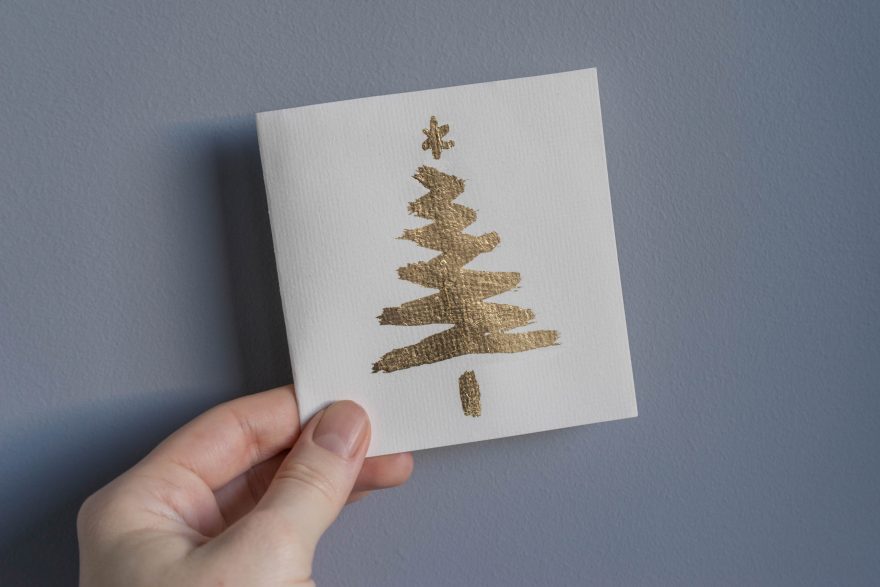
And with that, your card is ready to go!
An extra step you may want to consider is using a varnish of some sort (not sure what type) if you want to keep the gold looking bright and shiny over a long time. I’d only suggest this for more precious artworks though. In this instance as a simple card design it’s really not necessary.
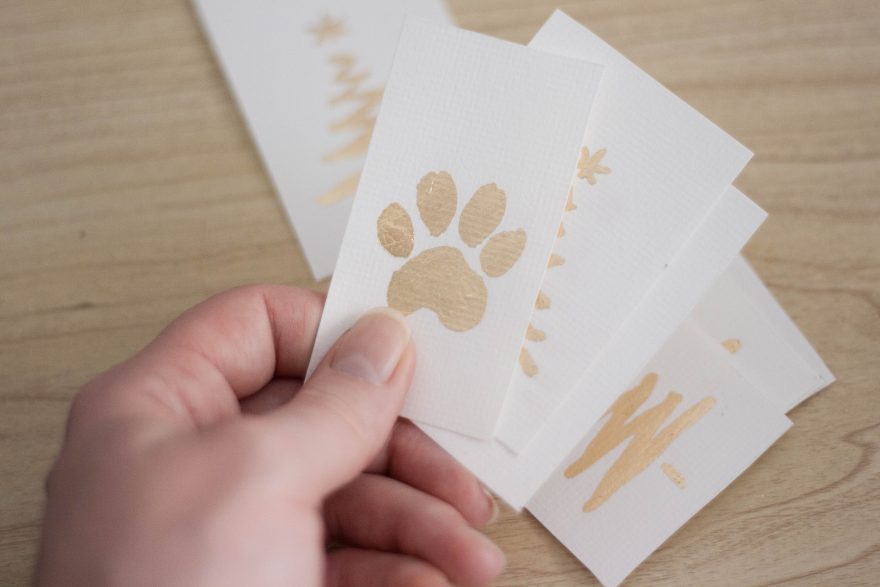
These cards were so quick and easy to make and so far it’s one of the most enjoyable materials I’ve found to work with. The end result always turns out really nice and it can be easily adapted into any design or size, like the gift tags you can see below. I have so much gold leaf left over from this project so expect a lot of cards incorporating it in the future!